So lets get something new on here, first an update.

You might remember when I built the mk2 mod2 wood rack for camp that I cut enough wood to make two of 'em. This is the other one installed at the house. The mk1 it replaced is actually in pretty good shape, I'm going to push it over to the side of the yard where the big woodpiles are and use it there. I've had terrible luck building woodpiles this year which is to say my wood piles have had a tendency to fall over this year so I'll use that once its full of wood as a brace for the other piles. We've had a heckuva lot of rain lately and I'm sure glad I built this new rack.
This here:
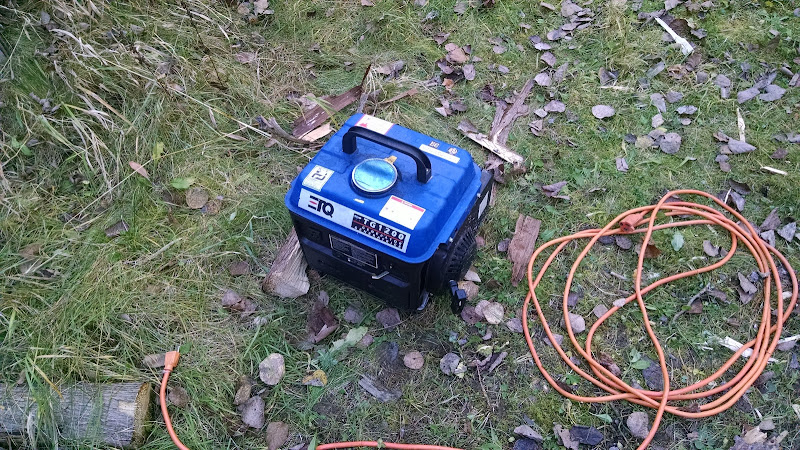
is a Chinese made ETQ 1200w 2 stroke generator. I picked it up in 2008 when we had the big ice storm. I ran it a couple times just to make sure it ran but never really used it as such. I'd planned to take it to camp a couple times but kept forgetting. In November I finally took it to camp. We've got a little solar electricity system at work (more on that in another post) that isn't really big enough for our needs in the fall when the sun is low in the sky so I hauled the generator up so we could use it top off our batteries. The battery charger only provides 6a at 12v which is only 72w. The generator is rated for 8 hours of run time on 1 gallon of gas at 50% load. I figured it'd run a good long time with this teeny load on it.
So I got it up to camp and went to fire up when the fuel petcock broke right off.
Fortunately our local CarQuest (now Advance Auto, *sigh*) had a replacement:

The only problem was that the replacement drains from the side and the original went out the bottom so the gas line was a little short. It worked well enough that I didn't worry about it at the time, once I got it home I replaced the line with one slightly longer. To do that the airbox has to come off. Two of the airbox screws also hold on the carb in place and just as I started to reassemble things I managed to break the seal between the carb and the engine tearing the gasket. Fortunately I had some gasket paper in pretty much the same thickness as the original and within a few minutes I'd made a new gasket.

I find making my own gaskets very satisfying, I didn't have to wait a week for parts, all I needed was a pencil, scissors, utility knife and a punch. I didn't have a punch big enough for the carb throat but it wasn't so hard to cut that out with the knife and get a pretty good circle.
Sadly the generator doesn't like to start now, and by now I mean from the time I replaced the petcock. I think the carb has some varnish built up in it and I really should take it all the way apart, give it a good soak and put it back together. I'm reasonably sure thats going to mean some more seals will get ruined but I'd like to have the thing reliable in case Angie needs it while I'm away. Back when I first bought it it started real easy but now it wants a shot of starting fluid into the carb every time it starts. Oh well, I might as well give it a try right?


