Showing posts with label torch. Show all posts
Wednesday, April 6, 2016
The grand torch finale!
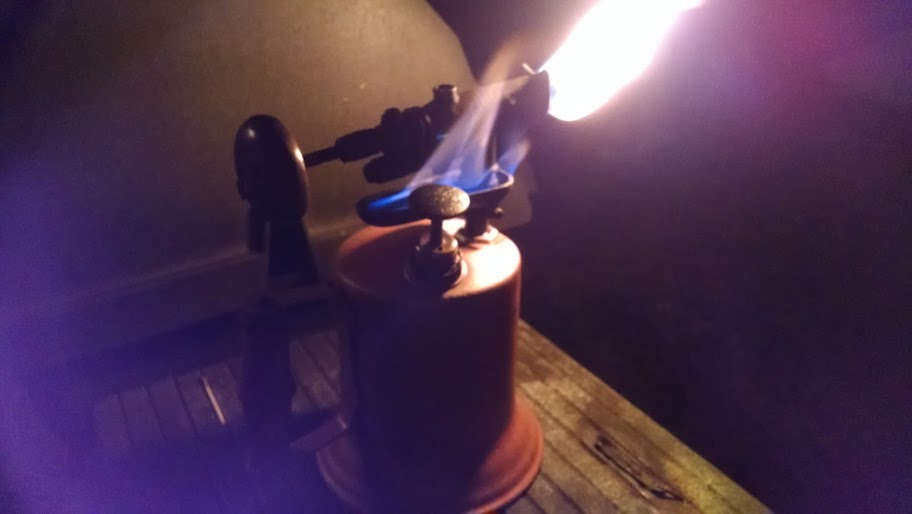
The much anticipated light-up. Torch burns good and holds pressure half an hour or more. Now that I'm able to put full pressure in it really roars! It feels really good to have made a substantial repair and gotten something working. On to the next challenge, and its a doozy.
Monday, April 4, 2016
More torch fun.
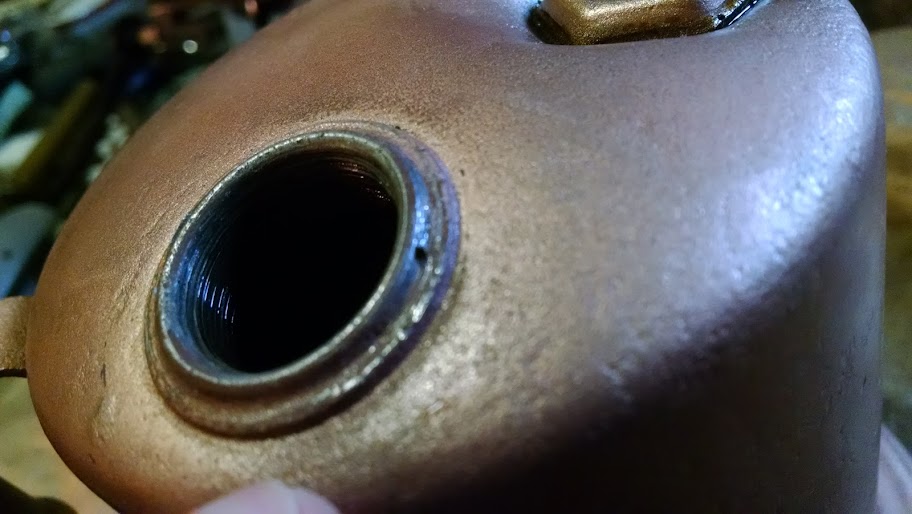
Last I told you about the torch I had it working but I was concerned about the seal at the pump. It turns out the seal was not actually the issue, there was a tiny hole in the bung that the pump screws into.
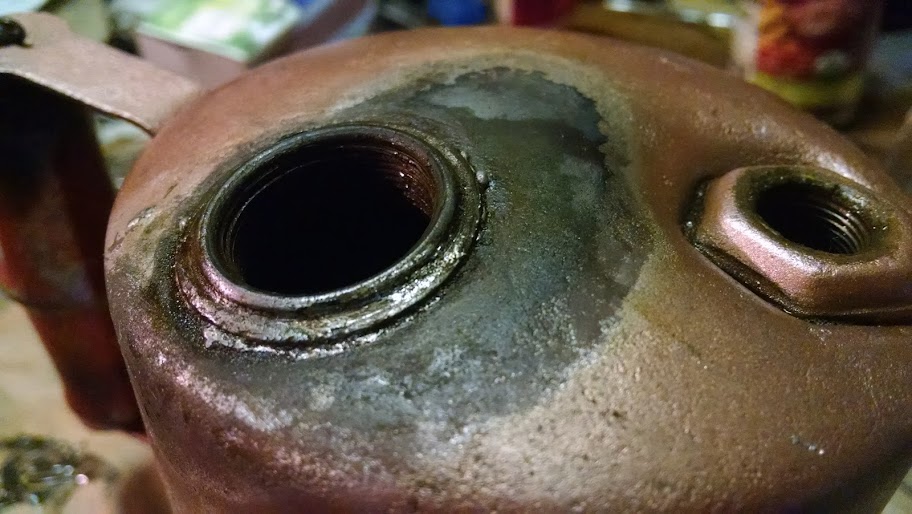
A great deal of time later and I managed to solder the hole closed
I think the hole is supposed to be there, I think its an explosion preventer, the torch gets hot and the lead in the hole melts allowing pressure to release without the torch exploding. There'd be quite a fireball but it wouldn't explode... I think this because I found at least 3 more little holes around that rim, it seems unlikely that many rust holes developed. Now with that fixed I still had a leak but I already knew about this one.
It was easy to fix too, a dab of lock-tite sealed it up tight. I pumped it up Tuesday and left home on a work trip, Friday when I got home it still held pressure.
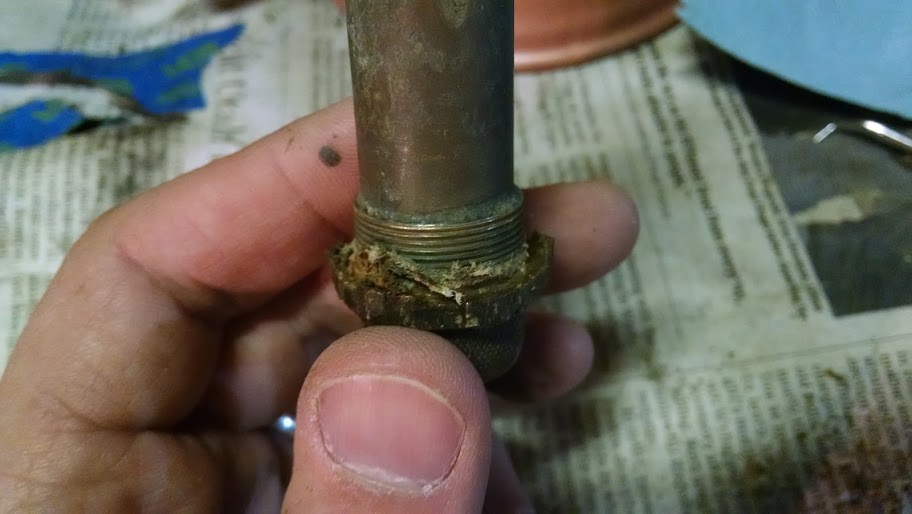
The other odd thing I encountered was a tendency for the packing nut to back off. Thats the nut around the valve shaft. Its got a graphite seal inside and when I first got the torch it was stuck. I heated it with a torch and got it loose but it would tend to unthread when I opened the valve. Another very small drop of locktite fixed that too.
Now if only the weather would cooperate I'd give it a test firing...
A great deal of time later and I managed to solder the hole closed
I think the hole is supposed to be there, I think its an explosion preventer, the torch gets hot and the lead in the hole melts allowing pressure to release without the torch exploding. There'd be quite a fireball but it wouldn't explode... I think this because I found at least 3 more little holes around that rim, it seems unlikely that many rust holes developed. Now with that fixed I still had a leak but I already knew about this one.
It was easy to fix too, a dab of lock-tite sealed it up tight. I pumped it up Tuesday and left home on a work trip, Friday when I got home it still held pressure.
The other odd thing I encountered was a tendency for the packing nut to back off. Thats the nut around the valve shaft. Its got a graphite seal inside and when I first got the torch it was stuck. I heated it with a torch and got it loose but it would tend to unthread when I opened the valve. Another very small drop of locktite fixed that too.
Now if only the weather would cooperate I'd give it a test firing...
Wednesday, March 23, 2016
It works!
Sorry this blog has been slow in coming, life and all...
Anyway, I finally found time to get the Turner Torch back together. The new paint came out pretty good if not outstanding, as the torch gets banged around it'll look more original. I assembled it and found a little leak around the torch head where it goes into the fount. A drop of blue Locktite cured that. I couldn't get the pump shaft to seal so I dug out the old to replace with an o-ring, in doing so I realized the old seal was leather.
If I'd realized that earlier I would have just treated it with neats-foot oil but since I already had it half dug out I figured I'd just finish the job. The o-ring seals okay but could be better. I think if I sand it down so its got a square edge against the found it'll seal better.
Finally a dose of alcohol into the tray, wait while it heats and crack the valve. Actually for the first attempt I double dosed the tray to make sure everything was plenty hot. This picture is from my second light up and you can see its not really hot enough yet.
After a couple minutes it settled down and burned nicely but suffered from the twin issues of needing to be pumped up often and having a poorly working pump. The pump is improving with use, it gets a lot of exercise trying to keep the torch going. I'll need to work on the cap seal more before going much further...
Anyway, I finally found time to get the Turner Torch back together. The new paint came out pretty good if not outstanding, as the torch gets banged around it'll look more original. I assembled it and found a little leak around the torch head where it goes into the fount. A drop of blue Locktite cured that. I couldn't get the pump shaft to seal so I dug out the old to replace with an o-ring, in doing so I realized the old seal was leather.
If I'd realized that earlier I would have just treated it with neats-foot oil but since I already had it half dug out I figured I'd just finish the job. The o-ring seals okay but could be better. I think if I sand it down so its got a square edge against the found it'll seal better.
Finally a dose of alcohol into the tray, wait while it heats and crack the valve. Actually for the first attempt I double dosed the tray to make sure everything was plenty hot. This picture is from my second light up and you can see its not really hot enough yet.
After a couple minutes it settled down and burned nicely but suffered from the twin issues of needing to be pumped up often and having a poorly working pump. The pump is improving with use, it gets a lot of exercise trying to keep the torch going. I'll need to work on the cap seal more before going much further...
Tuesday, February 16, 2016
More on the torch
Weird weather here in north central MA, Saturday night it was -19F, today (Tuesday) it got overy 50F.
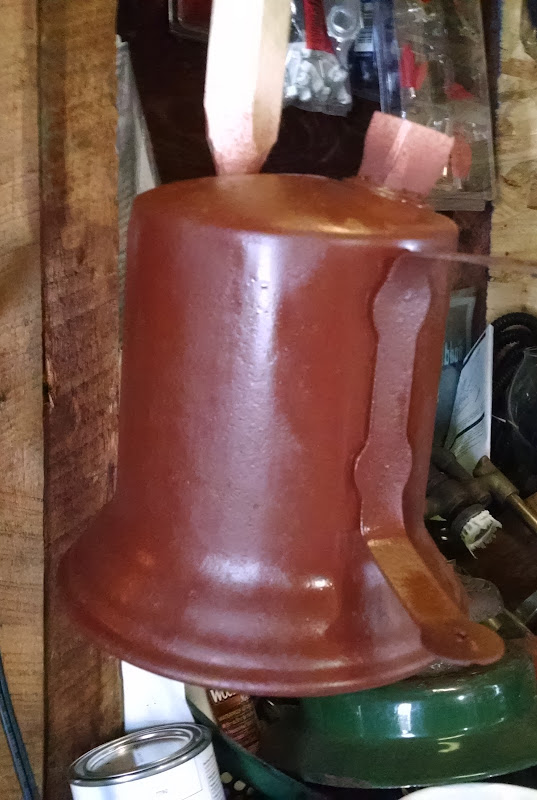
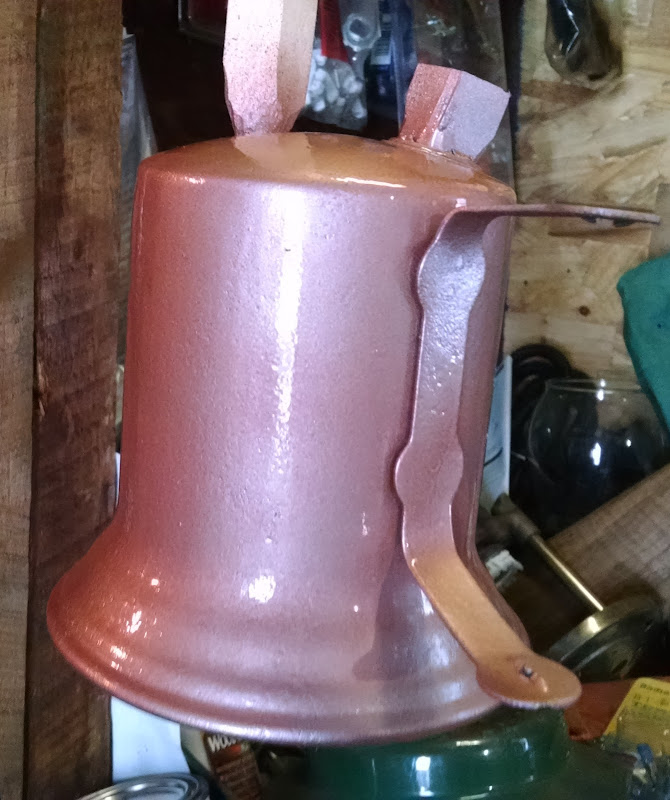
Anyway to capitalize on the warm weather I figured I'd paint the torch. The plan was to shoot one coat of etching primer to get a good base, then a coat of high build to fill the pits and finally a couple color coats. In the end I shot one coat of etching primer and one of color.
Thats the primer, heres the color coat:
I'm pleased with the color, there are a lot of imperfections in the surface of the torch but I'm going to weather the color coat down substantially anyway so I don't think it'll really matter. I'm weathering it because theres no good way to keep the torch head clean on a user torch. Since its going to get used I want to make it look like a user.
So once the paint is fully dry in a couple days I'll take a piece of wood and work over my new beautiful paint until it looks like its been in use for 50 years. Finally in a couple weeks when the paint is fully cured (and we get another warm day) I'll hit it with some clear coat to lock everything in place and prevent future rust.
Also I got in the mail today a piece of a mop which will replace the piece of wick I had to ruin to get the torch head out of the body. Sent to me gratis which I thought was pretty nice.
Anyway to capitalize on the warm weather I figured I'd paint the torch. The plan was to shoot one coat of etching primer to get a good base, then a coat of high build to fill the pits and finally a couple color coats. In the end I shot one coat of etching primer and one of color.
Thats the primer, heres the color coat:
I'm pleased with the color, there are a lot of imperfections in the surface of the torch but I'm going to weather the color coat down substantially anyway so I don't think it'll really matter. I'm weathering it because theres no good way to keep the torch head clean on a user torch. Since its going to get used I want to make it look like a user.
So once the paint is fully dry in a couple days I'll take a piece of wood and work over my new beautiful paint until it looks like its been in use for 50 years. Finally in a couple weeks when the paint is fully cured (and we get another warm day) I'll hit it with some clear coat to lock everything in place and prevent future rust.
Also I got in the mail today a piece of a mop which will replace the piece of wick I had to ruin to get the torch head out of the body. Sent to me gratis which I thought was pretty nice.
Tuesday, February 9, 2016
Something different
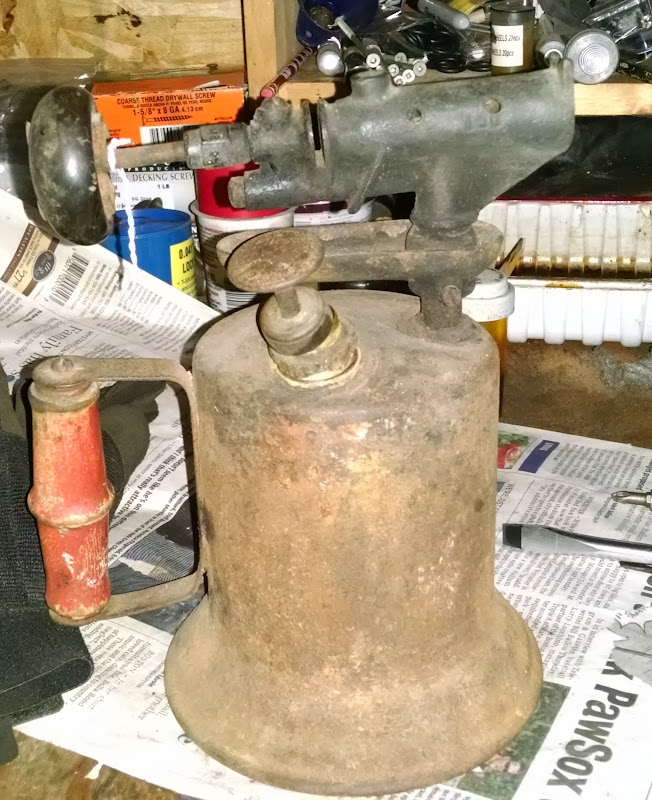
My folks came for a visit right after Christmas. We took a ride around and it turns out the antique shops of Fitzwilliam were having a thing. We hit a couple places and I snagged this:
I didn't pay much, less than $20 certainly though I don't remember the exact price.
The valve was stuck and the pump leather dried. I had some fun messing with the old ladies in the shop when they asked "Do you think it could run again?" I replied "It WILL run again." which they really didn't understand.
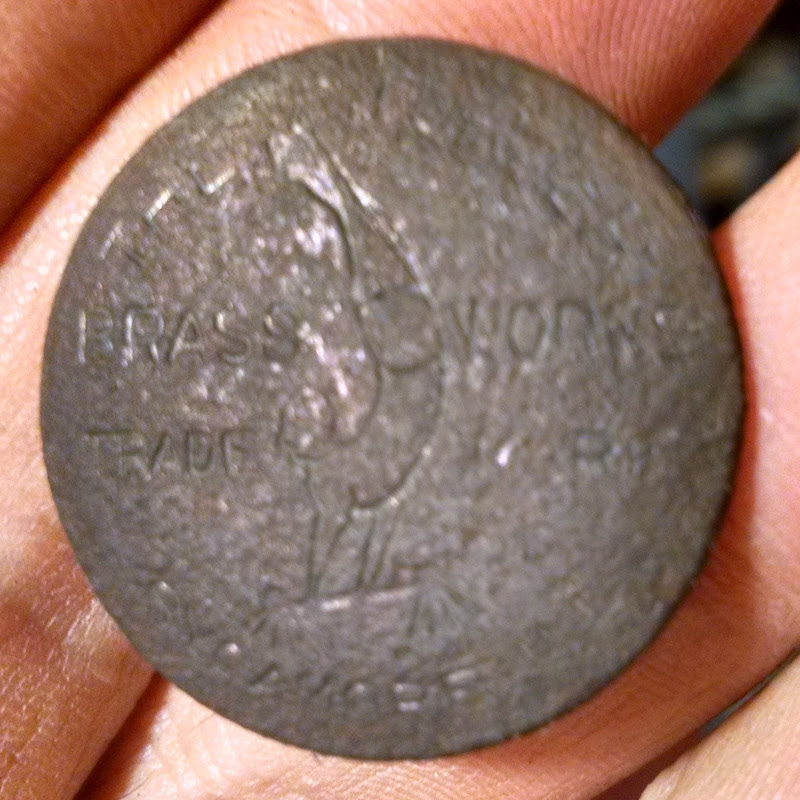
Theres no makers mark anywhere on the torch itself but after I soaked the pump handle in citric acid and scrubbed on it with a wire brush a little some markings started to appear.
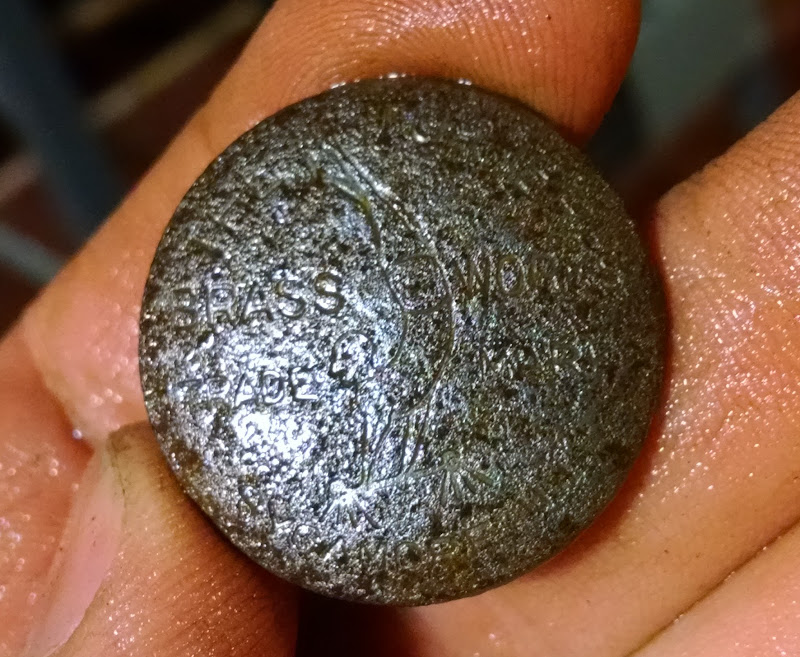
Its difficult to see in the picture but frankly it was difficult to see in person too. I soaked it some more and scrubbed some more until finally.
I had trouble getting the camera to focus this close in, it says:
I didn't pay much, less than $20 certainly though I don't remember the exact price.
The valve was stuck and the pump leather dried. I had some fun messing with the old ladies in the shop when they asked "Do you think it could run again?" I replied "It WILL run again." which they really didn't understand.
Theres no makers mark anywhere on the torch itself but after I soaked the pump handle in citric acid and scrubbed on it with a wire brush a little some markings started to appear.
Its difficult to see in the picture but frankly it was difficult to see in person too. I soaked it some more and scrubbed some more until finally.
I had trouble getting the camera to focus this close in, it says:
The Turner
Brass Works
Trade Mark
Sycamore, Ill
The thing in the middle is a gymnast on his hands with his feet over his head.
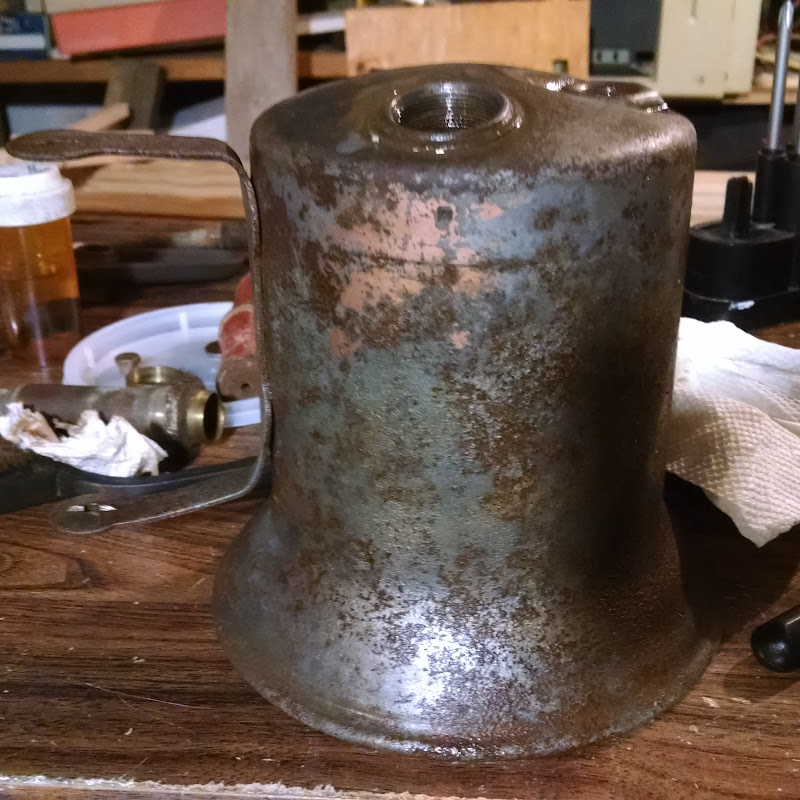
After more searching I found "150" on the burner. So I think this is a Turner 150 torch. I think is a fairly late model, the tank is steel which had been painted a copper color, you can see just a trace of the copper remaining
The handle mounting is pretty primitive as is the handle itself. The "screws" that hold the handle are actually fluted nails. The burner is fairly substantial and a design Turner used on many torches.
My plan right now is to de-rust the tank and spray some high build primer on it to fill the pits. Then I'll hit it with copper paint and weather that back to match the condition of the handle which I don't intend to paint. Finally I'll clear coat the whole thing to prevent future rusting.
I've debated back and forth about restoring the whole thing but the pump assembly been chewed pretty badly where somebody used pliers instead of a wrench to remove it. I could never clean that up enough to make it look new so instead I'll clean and get rid of the rust and take it back to "used" condition.
Subscribe to:
Posts (Atom)