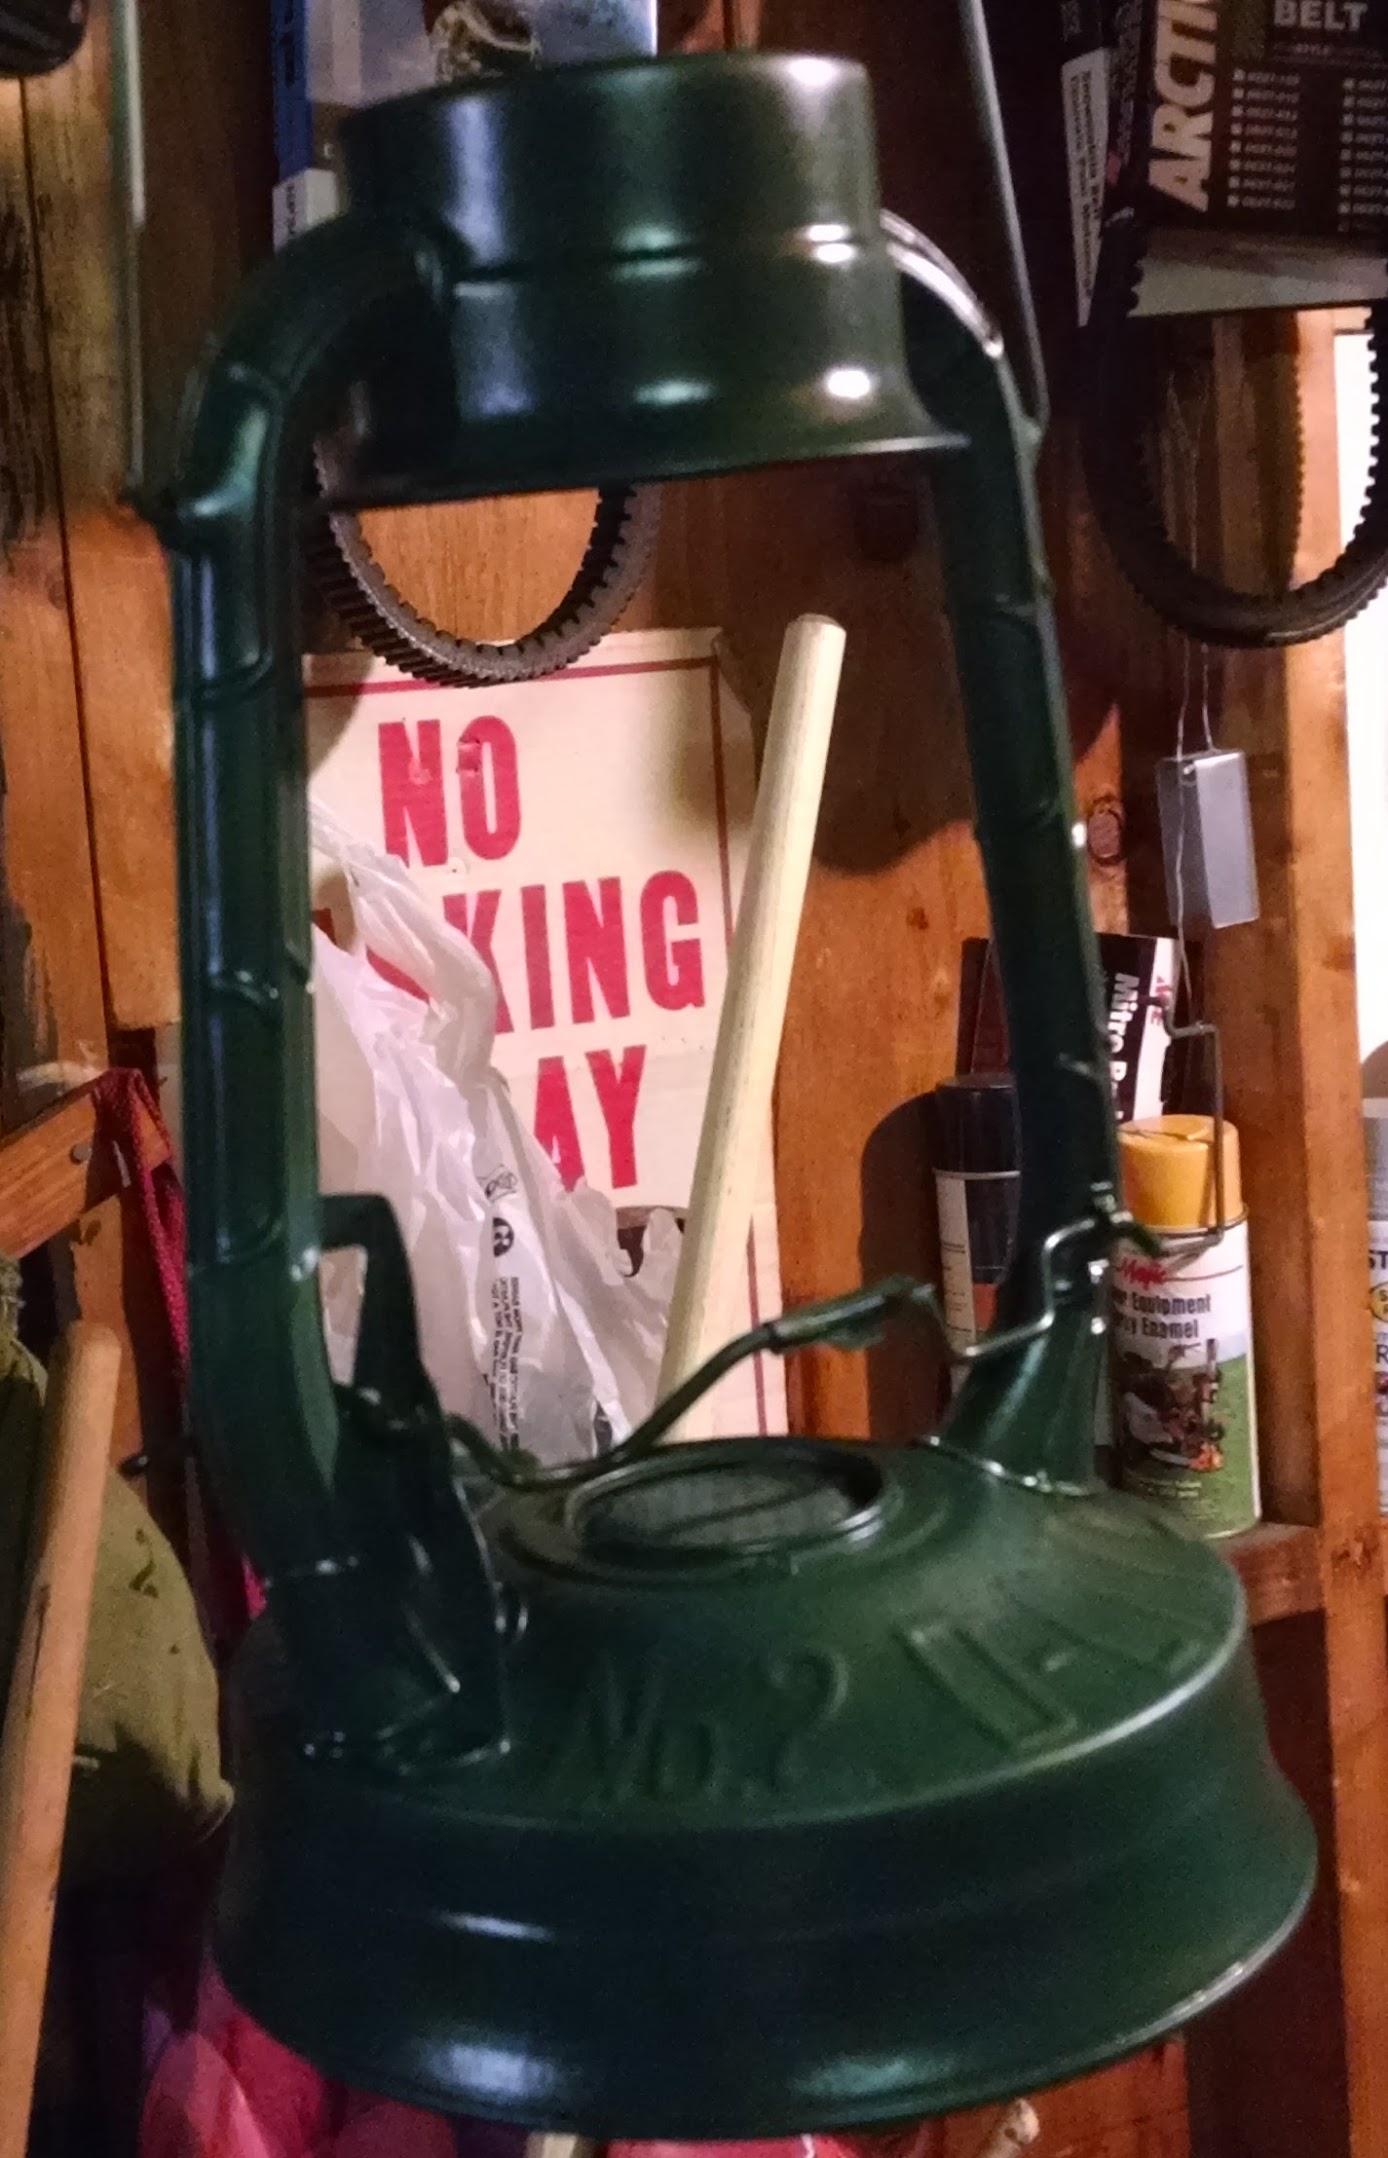
Showing posts with label paint. Show all posts

Wednesday, July 21, 2021

A secret revealed

 I've been hiding something from you, something that has eaten up a significant amount of my time and energy. Actually, some of you probably already know about this but for the rest of you.


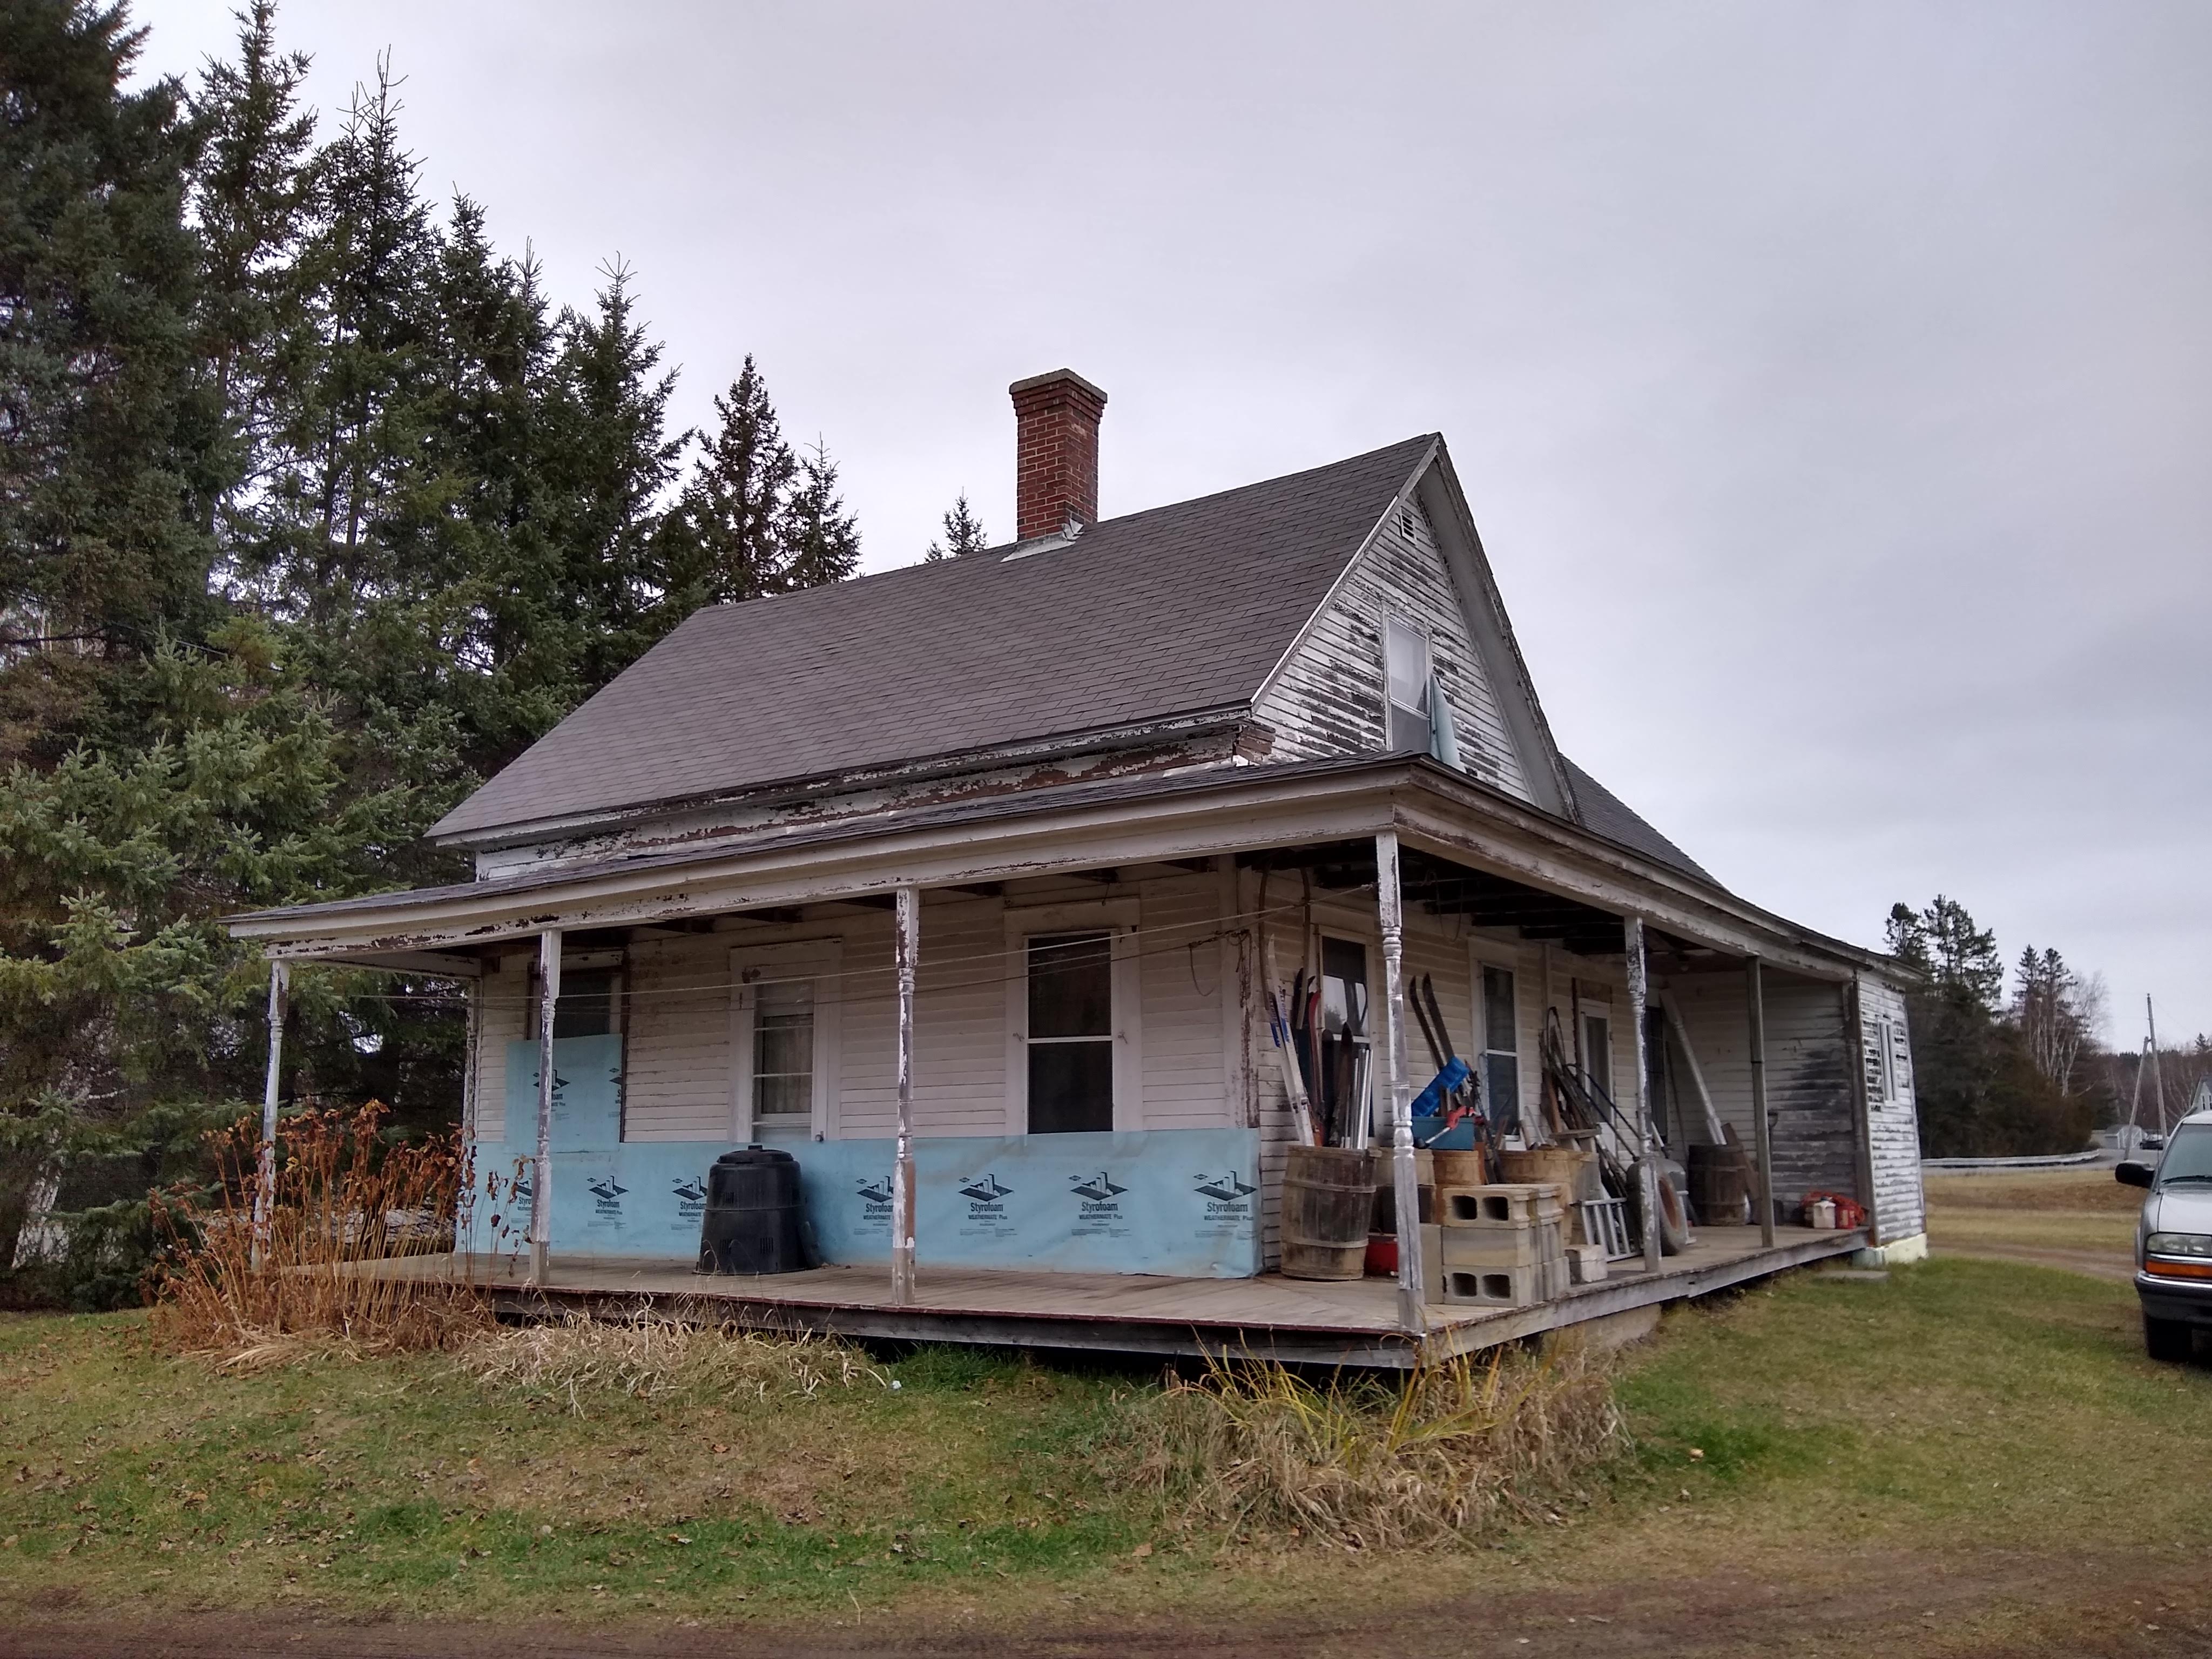
This is the Cushman house, the parcel of land it sits on wraps around the southern end of our property. Last fall we got word that it was for sale at quite an attractive price. Dad asked me what I thought and I replied "If you don't buy it I will."


The house is originally from about 1888 but was added on to before 1920. We know that because the last owner's grandparents moved there in 1920 and the addition was already there. In this shot we're facing south west, this is what I call "the new house" because its the addition.


Facing north west, this is the original house. I haven't gotten pictures yet but from the basement it's easy to see the separation, the original house sits on hand hewn beams that are basically trees made flat on one side. The addition is sawn lumber. The house is kind of sad, not much has been done to it for the last 30 years.


The barn is a completely different story, it was build around 2007. We actually watched it's construction over several years.

The south face of the barn still doesn't have doors, that black stuff is fabric. The previous owner joked that he never did anything with the doors because "the town might jack up the taxes if it was actually finished."

The first time dad I went into the house we expected it to be musty and moldy. It's an old house and the last occupant was an elderly widower. We were surprised to find it dry and not smelly, the floors don't squeak or bounce and although nothing in the house is square there isn't anything structurally wrong with it.

Knowing that the house was sound I spent the whole winter pondering. Our first notions were to knock the place down or to sell it. In the end neither really suited, its too good a house to knock down but not really valuable enough to sell and in selling it we lose the barn, you couldn't really sell the house without the barn...

So this spring, like an idiot, I decided it needed painting.


We spent a whole day power washing and scraping paint. Remember dad's power washer? This is why I took the time to get it going.

Another day was spent masking windows. I planned to spray the paint on and I'm really glad we did.


An airless paint sprayer is basically a hydraulic paint gun. The pump pressurizes paint in the hose and it atomizes when you pull the trigger on the sprayer. This allows the pump to draw paint directly from a bucket which simplifies reloads.


With the sprayer we were able to paint the whole house in a day.


This is the north face of the house and one I really wanted to get right as its the most visible from the road. You can see the huge difference the new paint makes. I left the insulation on the window at the bottom right since that window is in the bathroom, right next to the toilet. Eventually that window will be replaced with a small window, high in the wall. It'll give some light into the bathroom but will be more private.

The whole house takes about 6 gallons of paint. With 10 gallons we painted almost everything twice but ran out of paint before we could make a second coat on the high up areas. The spraying took 2 days but the first day we only painted up about 8 feet. The explanation of that is a story in itself...

Anyway, whats next? Well I've already bought a new water heater. The one in the house was turned off 30 years ago because "it cost too much to use" and sat full for all that time. The state of Maine had a great rebate on a hybrid water heater so one is now there waiting to be installed. After that the house needs "a new everything" starting with the kitchen and bathroom. I don't have good pictures but the kitchen was torn apart 30 years ago and never put back together. The bathroom is basically functional but really ugly.

After that it'll be a long term project reworking each room, replacing windows and adding insulation. Hopefully improving the livability and maintainability of the whole place. The thinking is that we really can't make the house any less valuable than it is right now so why not give it a shot...

Wednesday, September 7, 2016

New Years resolutions down the tube

This year's resolution was to write every day. If you go back to my last couple blog posts you can see I was doing a pretty good job. I wrote a lot of stuff I didn't post too. Then March hit and everything ground to a halt. Its hard to explain why but a really crappy winter with no snow didn't help. Whats surprising is that when I'm busier I actually find time to get more done, when times are slow I get lazy...
In April we had a layoff at work and a couple close coworkers got the axe. That effected me more than I like to admit and made me even lazier.

So anyway its been mostly a summer off, here's something to get us back into the swing:

Angie's 2005 Volkswagen Golf has ugly front fenders, the driver's side especially. It looks like somebody backed into it just forward of the driver's door which caused the lip above the wheel to pooch out. I bought a pair of used fenders from a junkyard that were supposed to be A0 condition. A means good and 0 is supposed to mean zero defects. When I got them I found this:


Of course its the driver's side thats in worse shape.
First I removed the rust:


The bucket is full of citric acid, this is a trick I learned from lanterns and is the same system I used last year on the Dietz wick lantern. It took a couple days before they were completely rust free. Fortunately there was only rust in that corner, it'd have been annoying to build a tub to soak the whole fender.

I welded a patch over the hole which is hidden by the firewall anyway, then I fiberglassed over the whole thing. The fiberglass smooths everything out and covers the weld which is likely to rust otherwise.

Two cans of color match paint came from Paintscratch.com, I like their spray nozzles but one of the two cans was considerably better than the other. Unfortunately I used that can first. I had to paint the welded section a couple times because I didn't do a good enough job getting the patch perfectly smooth first. I should have scrapped the paint down on the whole fender, then primed and painted but I was trying to go quick and as usual ended up wasting a bunch of time and paint.

You can see the primer on the effected corner. I've already put color on the whole fender which is why it looks dull.
As of today I've got color and clear coat on the whole thing. The clear coat is terrible, it orange peeled like crazy, was very hard to get a solid coat down, like the paint was too thick in the can. I need another can of color but I'm going to try my local Fischer Autoparts and see if they can do better...

Tuesday, February 16, 2016

More on the torch

Weird weather here in north central MA, Saturday night it was -19F, today (Tuesday) it got overy 50F.

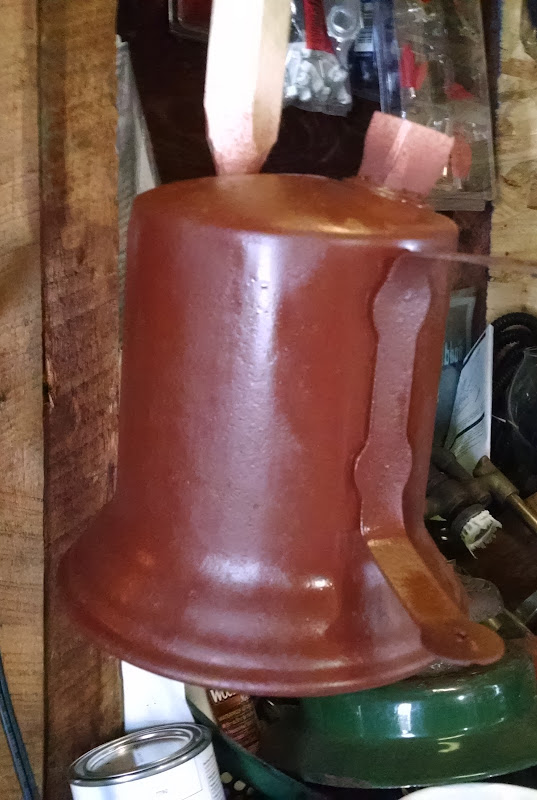
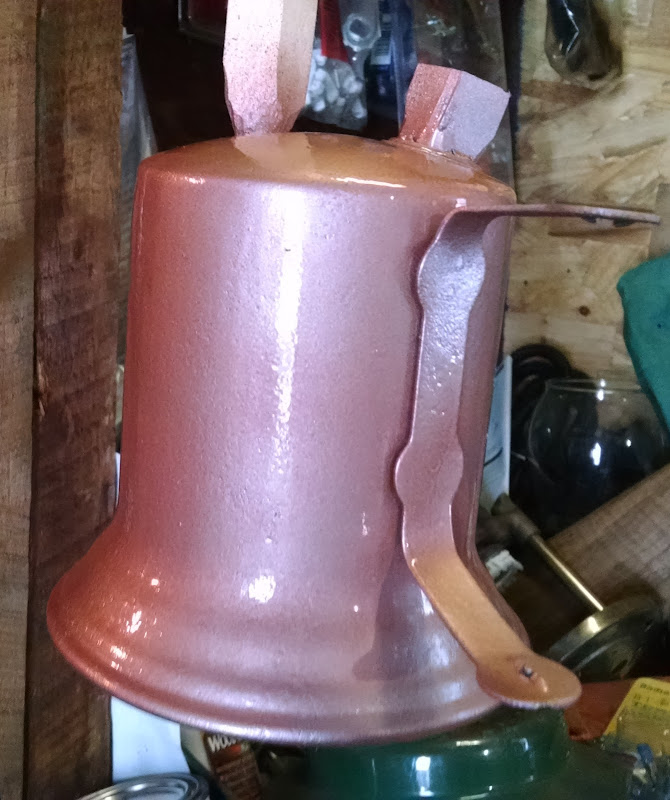
Anyway to capitalize on the warm weather I figured I'd paint the torch. The plan was to shoot one coat of etching primer to get a good base, then a coat of high build to fill the pits and finally a couple color coats. In the end I shot one coat of etching primer and one of color.

Thats the primer, heres the color coat:


I'm pleased with the color, there are a lot of imperfections in the surface of the torch but I'm going to weather the color coat down substantially anyway so I don't think it'll really matter. I'm weathering it because theres no good way to keep the torch head clean on a user torch. Since its going to get used I want to make it look like a user.
So once the paint is fully dry in a couple days I'll take a piece of wood and work over my new beautiful paint until it looks like its been in use for 50 years. Finally in a couple weeks when the paint is fully cured (and we get another warm day) I'll hit it with some clear coat to lock everything in place and prevent future rust.

Also I got in the mail today a piece of a mop which will replace the piece of wick I had to ruin to get the torch head out of the body. Sent to me gratis which I thought was pretty nice.

Monday, August 17, 2015

Wickie time!

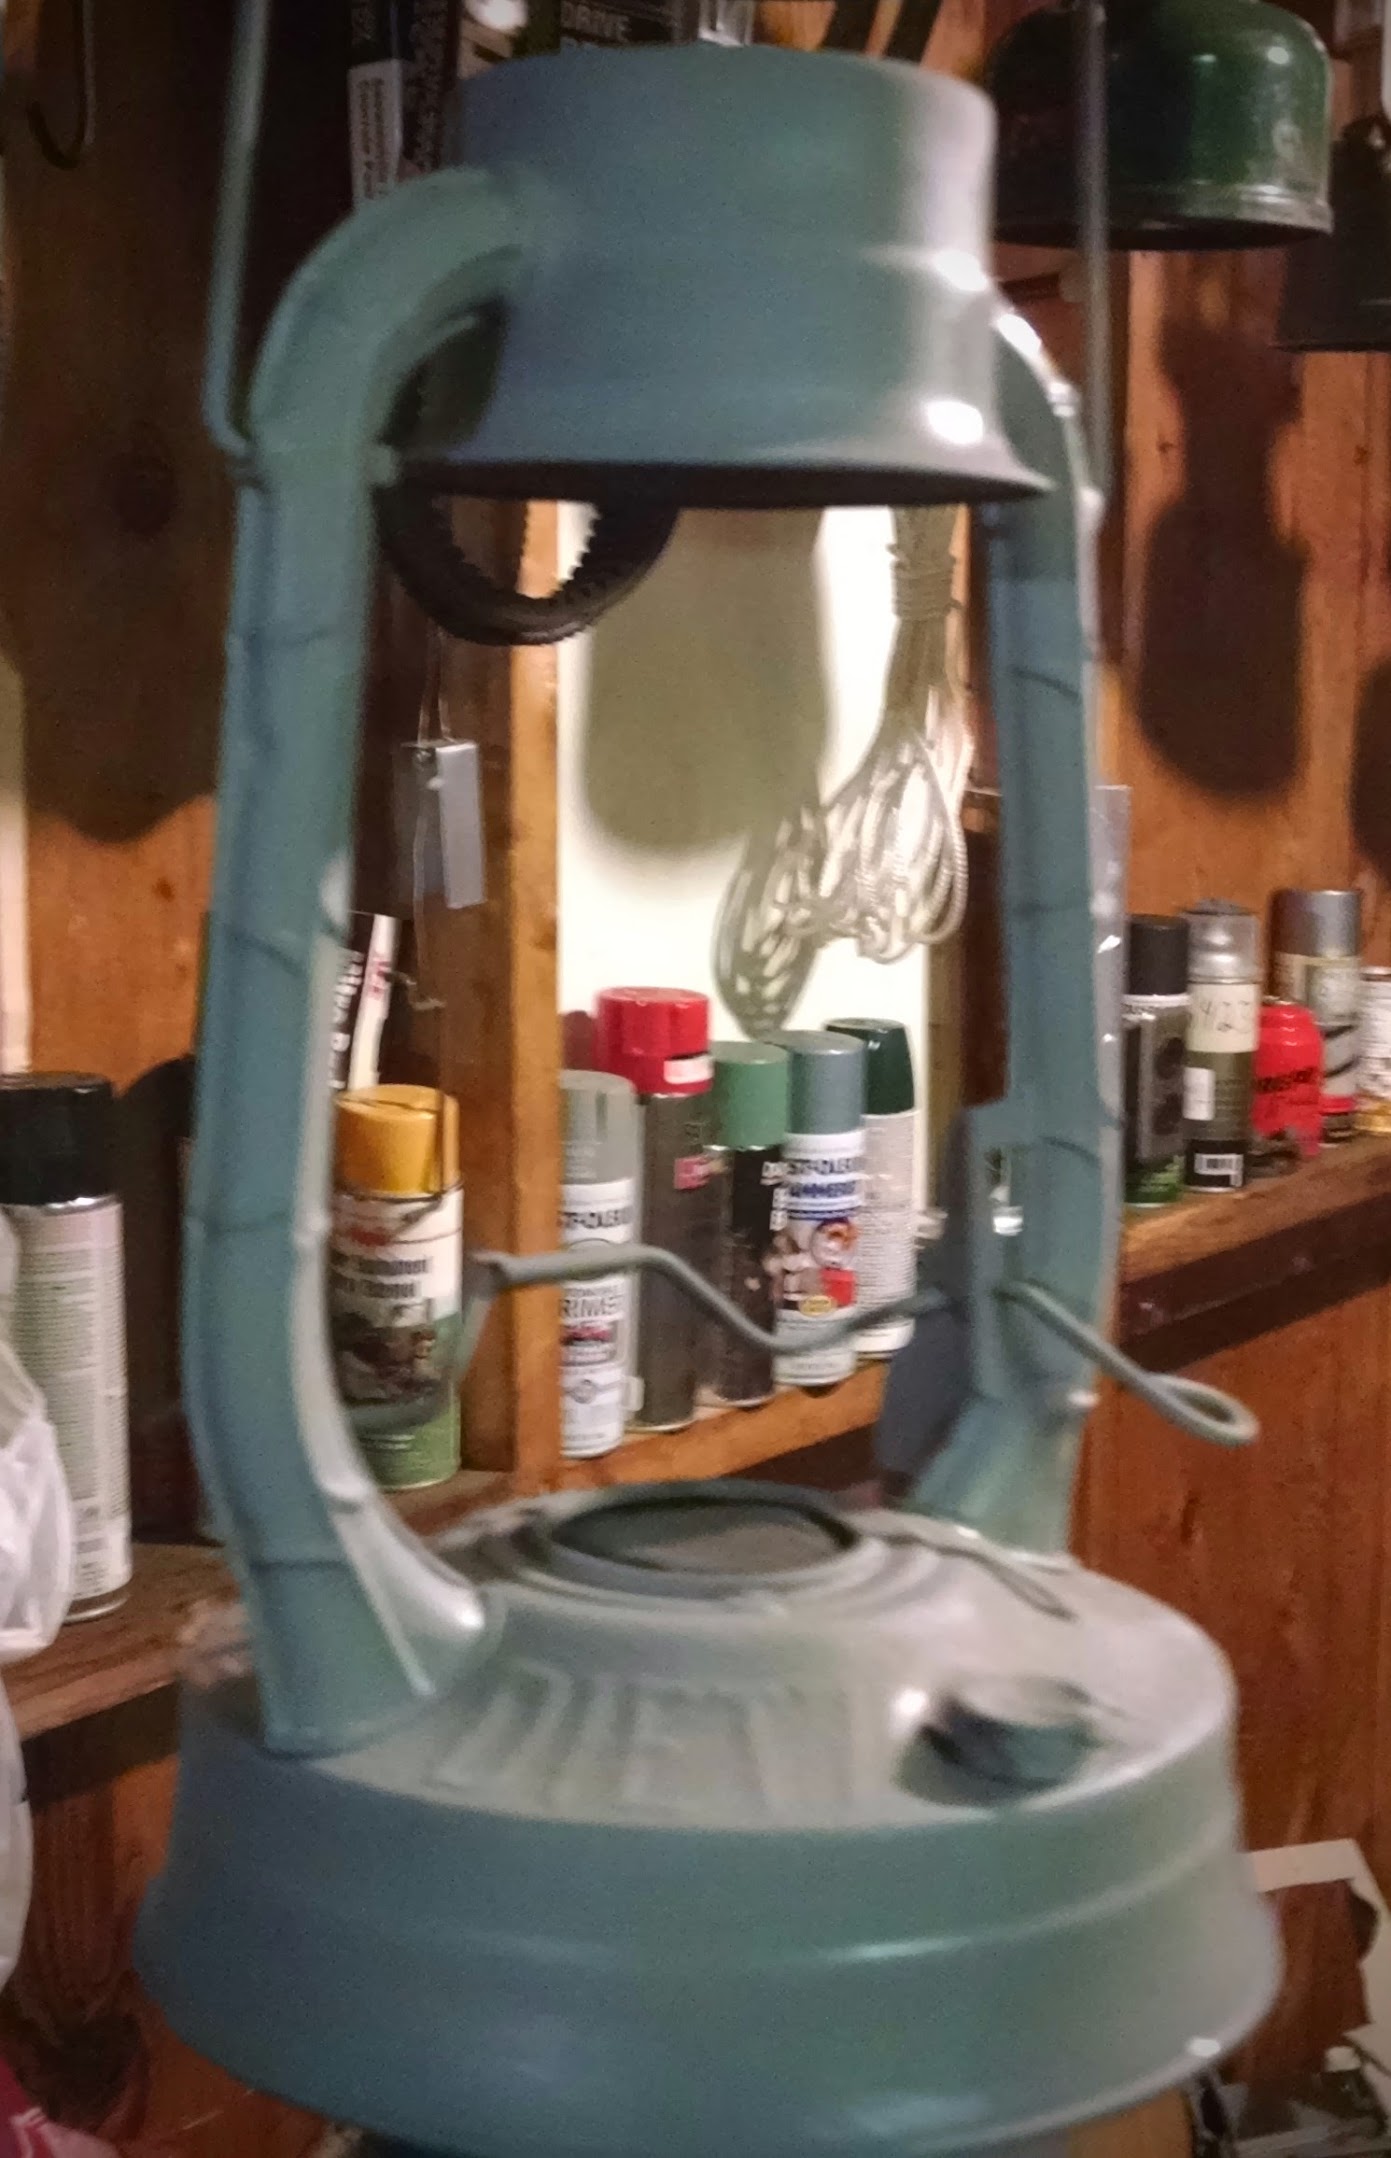
 So in the interminable delay between posts I've kept working on the wickie. It took maybe 4 days in the citric acid before all the rust came off the main part of the lantern although the smaller assemblies were done in a day or two. I think I was right in my estimation that this sat somewhere that it got dripped on, the horizontal (or nearly horizontal) surfaces on it were the worst. In the end I could just scrub the rust off with a steel brush.

Since the rust was pretty gross I bought some "Rustoleum Rusty Metal Primer" which is supposed to give a really good adhesion and rust prevention. I found that it was dammed hard to get a good coating of the stuff on the vertical surfaces without it running. I sanded off runs 3 or 4 times. Worse the runs would take forever to dry although sunlight really seemed to help in that regard. I did finally get it on good after spraying a couple super thin coats that I then had to blend carefully together. I finished it with a coat of filler primer to fill in any sanding scratches I might have not seen.


For paint I went with Krylon Hunter Green which is the same color I used for my Coleman 237. I feel like it matches the older Coleman green nicely. Its also very nice paint to work with, it comes out in a much thinner spray than Rustoleum.


Sadly after getting the lantern covered I ran out of Krylon and was completely unable to find any locally. It appears that Rustoleum has absolutely cornered the market for spray bombs. Other than a couple cheap no-name paints and some specialized tractor paints thats all I could find anywhere. Fortunately Amazon saves the day. They had the right stuff which should arrive at the end of the week.

On a side note I'm DONE with Photobucket. Their app is slow, and the webpage is pitifully/painfully slow. Today I wanted to crop the images above and even after hitting reload 4 times the image editor just wouldn't open my image. In the time it took for Photobucket to not work I uploaded 9 images to Google Images, cropped those two and figured out how to post them. Its not perfect but it'll do...

Friday, September 19, 2014

Tractor wiring finale

To finish up my Cub Cadet wiring adventure, it turns out that when the previous owner ran a line to the batt terminal of the regulator all he actually had to do was to move the grey wire from the hot side of the starter to one side of the ammeter. I actually spliced the grey wire to a little of the previous owner's very long wire since the grey wire had quite a large ring terminal on it. Viola it works, that easy. One downside is that it doesn't measure when cranking since that comes off the switched side of the starter switch but everything else is measured including the
headlights.

With the ammeter sorted I took a look at the bracket which at one point must have been chromed but is now just rust. I let it soak for a few hours in a bath of evapo-rust, then cleaned it, dried it and hit it with some primer and yellow paint.

I let it dry overnight and then sprayed the backside. When that was mostly dry I baked it in my toaster oven but had the heat too high and bubbled the paint. That subsided into an interesting crackle look which goes with the mostly rotten paint on the rest of the tractor.

Here with the engine off, headlights on we've got discharge.

With the engine running it charges:

When I turn on the headlights the charge rate dips for a second before it goes back to the same spot. I was pleased to see that the starter/generator charges even at very low engine speed. My other Cub Cadet seems to want more engine speed before it charges, I guess I should order a starter/generator rebuild kit for that one as well.

After all that fun I took a few minutes to add slime to the left front tire which was low and put some grease in all the zerks.

Most importantly I was able to start the tractor cold without starting fluid for the first time in about a year. I was so happy with it I went out and bought a padded seat cover. The machine had one when I first bought it but it got torn off last spring so I'd spent a year sitting with a dirty old towel on the metal seat. I'm ready to plow snow in luxury.

Friday, September 5, 2008

More on the hood

8 coats of paint down, 1 disaster passed, 3 different types of roller used and the end is in sight.

Okay lesson #1 it really does need to be thinned 50%.
#2 you NEED a HIGH DENSITY foam roller. Not the thing that looks like a mattress pad. The proper roller is tapered at one end. Spend some time squeezing rollers and pick out the stiffest one. Do NOT use a fabric roller, it'll leave brick like patterns.
#3 if it doesn't feel right wipe it all off and start over. I almost left a bad coat on to sand off later figuring it would cost me 2 coats to do so. Thats dumb, if its going to be WORSE I should just clean and repaint, which is what I did.
#4 more prep work (ie better sanding) at each step will make for a better job. I was too slow to get into 400 grit and didn't spend enough time there. Thats okay, this is a 50 foot car. If your car wants to look better don't worry as much about painting, spend more time on prep.

-Curt

Thursday, August 28, 2008

Hoodwork continues

I have my doubts that anybody reads this but what the hell, I might as well continue in my own private Idaho. I'd always wondered what that phrase "private Idaho" ment. Hail mother internet, click on the link for the Urban Dictionary definition.

Anyway I worked from home yesterday, before work I put some POR-15 body filler on the dings and dents on the 240D's new hood. The stuff is basically fiberglass resin jelly with some fiber material in it. Its not bad but hard to get really smooth, should be strong though and its supposed to stick really well to POR-15.
At lunch I sanded down the filler (my $10 Harbor Freight sander worked well) and used some actual bondo brand filler to skim the low spots. Its important to not use a lot of bondo as its not flexible and will crack and fall off if used in big globs.
After work I sanded the bondo down and hit all those spots with POR-15 again. This time I painted out farther onto the exisiting body work. I also tried to flow a little extra into any little imperfections I found. I'm using POR-15 gas tank filler which is I think just thin POR-15 and it seems to work well for this.

Anyway hopefully today or tomorrow I can sand one more time (need to buy more sandpaper) and start rolling on the color coats.

-Curt