Friday, September 9, 2016

More lanterns making electricity

Experiment 3 started with me cutting out a plate the same size as the top of a 228E vent. I attached the peltier and heat sink to it and fired the lantern up.

Early results were very good, 1.7v soon after light up. I think the thin steel plate heated up faster, I also got a better coating of heat sink compound on the peltier and on the heat sink.


Unfortunately as the rig got thoroughly heated up voltage dropped to .5, my little heat sink can't shed heat fast enough to keep up with the lantern.


I tried stacking a heat sink on top of the existing heat sink which seemed like it was working at first but in the end just added thermal mass, once the add on heat sink was heat soaked it dropped back to the same .5v I was seeing with just one heat sink.

So I've managed to get the hot side plenty hot, I've got a USB booster that will take anything over .9v and boost it to charge a USB device, the 1.7v I had when I first lit the lantern is plenty, I'll probably need more current but I can get that with a couple peltiers in parallel. What I need now is to keep the cold side temp such that the voltage stays up.

More experiments to come!

Thursday, September 8, 2016

New project

Back in the saddle again...

As if I needed any more projects I've started work on something new. I saw some videos on YouTube of people using peltier devices to charge cell phones. This got me thinking that a Coleman lantern makes a ton of extra heat so why not put that heat to good use.


This is a peltier device, if you put electricity across the two wires it'll make a cold side and a hot side, so it transfers heat from one side to the other. If you work it the other way around, that is apply heat to one side and cool the other it will produce electricity.

Which leads us to:

A Coleman 228E with a peltier strapped to the vent. The outer vent edge shown gets to about 150F. In testing the outside of the heatsink was getting to around 100F. With that temperature difference (delta) the peltier was making around 1/4 volt. Thats proof of concept but not really enough power to do anything...


Experiment two got us more heat, the top of the vent is more like 250F, the ends of the heatsink were now reading more like 120F and you can see in the picture we got around .85v. This is a semi-useful result, I could run several peltiers in series to get a useful voltage but its still disappointingly low. I sprinkled some water on the heatsink and got 1.9v which is a very good result.

This tells me the issue is insufficient temperature delta, the hot side is plenty hot but the cold side isn't cold enough. The heatsink I was using is really small, I've got another much larger one from an old computer case to try next but before I go there I need to make a better system for mounting the peltier and heatsink. Lantern vents are rounded at the top, I really need a flat surface 40mm wide to mount on. I'll work on that next...

Wednesday, September 7, 2016

New Years resolutions down the tube

This year's resolution was to write every day. If you go back to my last couple blog posts you can see I was doing a pretty good job. I wrote a lot of stuff I didn't post too. Then March hit and everything ground to a halt. Its hard to explain why but a really crappy winter with no snow didn't help. Whats surprising is that when I'm busier I actually find time to get more done, when times are slow I get lazy...
In April we had a layoff at work and a couple close coworkers got the axe. That effected me more than I like to admit and made me even lazier.

So anyway its been mostly a summer off, here's something to get us back into the swing:

Angie's 2005 Volkswagen Golf has ugly front fenders, the driver's side especially. It looks like somebody backed into it just forward of the driver's door which caused the lip above the wheel to pooch out. I bought a pair of used fenders from a junkyard that were supposed to be A0 condition. A means good and 0 is supposed to mean zero defects. When I got them I found this:


Of course its the driver's side thats in worse shape.
First I removed the rust:


The bucket is full of citric acid, this is a trick I learned from lanterns and is the same system I used last year on the Dietz wick lantern. It took a couple days before they were completely rust free. Fortunately there was only rust in that corner, it'd have been annoying to build a tub to soak the whole fender.

I welded a patch over the hole which is hidden by the firewall anyway, then I fiberglassed over the whole thing. The fiberglass smooths everything out and covers the weld which is likely to rust otherwise.

Two cans of color match paint came from Paintscratch.com, I like their spray nozzles but one of the two cans was considerably better than the other. Unfortunately I used that can first. I had to paint the welded section a couple times because I didn't do a good enough job getting the patch perfectly smooth first. I should have scrapped the paint down on the whole fender, then primed and painted but I was trying to go quick and as usual ended up wasting a bunch of time and paint.

You can see the primer on the effected corner. I've already put color on the whole fender which is why it looks dull.
As of today I've got color and clear coat on the whole thing. The clear coat is terrible, it orange peeled like crazy, was very hard to get a solid coat down, like the paint was too thick in the can. I need another can of color but I'm going to try my local Fischer Autoparts and see if they can do better...

Wednesday, April 6, 2016

The grand torch finale!


The much anticipated light-up. Torch burns good and holds pressure half an hour or more. Now that I'm able to put full pressure in it really roars! It feels really good to have made a substantial repair and gotten something working. On to the next challenge, and its a doozy.

Monday, April 4, 2016

More torch fun.

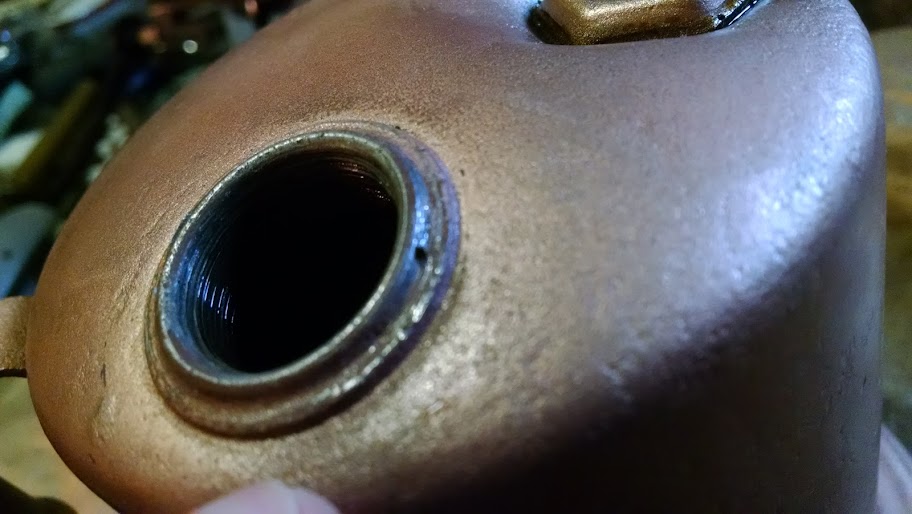
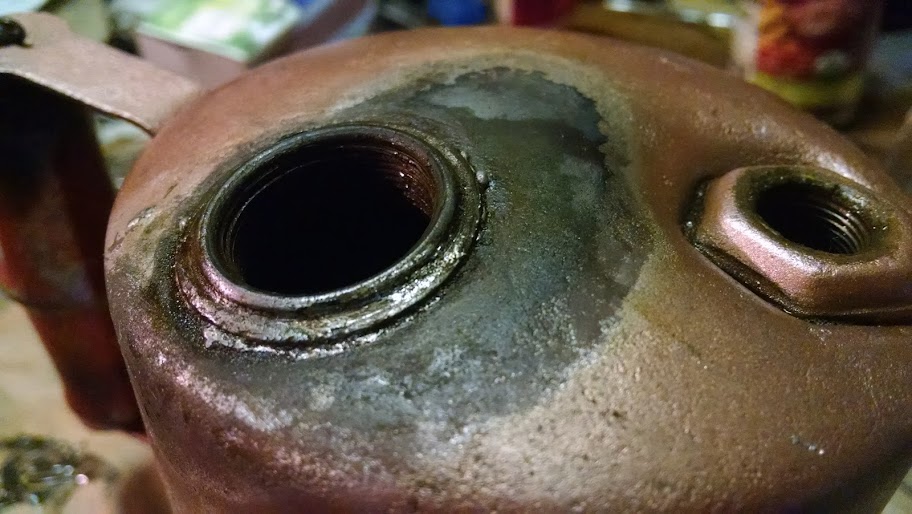
Last I told you about the torch I had it working but I was concerned about the seal at the pump. It turns out the seal was not actually the issue, there was a tiny hole in the bung that the pump screws into.

A great deal of time later and I managed to solder the hole closed


I think the hole is supposed to be there, I think its an explosion preventer, the torch gets hot and the lead in the hole melts allowing pressure to release without the torch exploding. There'd be quite a fireball but it wouldn't explode... I think this because I found at least 3 more little holes around that rim, it seems unlikely that many rust holes developed. Now with that fixed I still had a leak but I already knew about this one.


It was easy to fix too, a dab of lock-tite sealed it up tight. I pumped it up Tuesday and left home on a work trip, Friday when I got home it still held pressure.

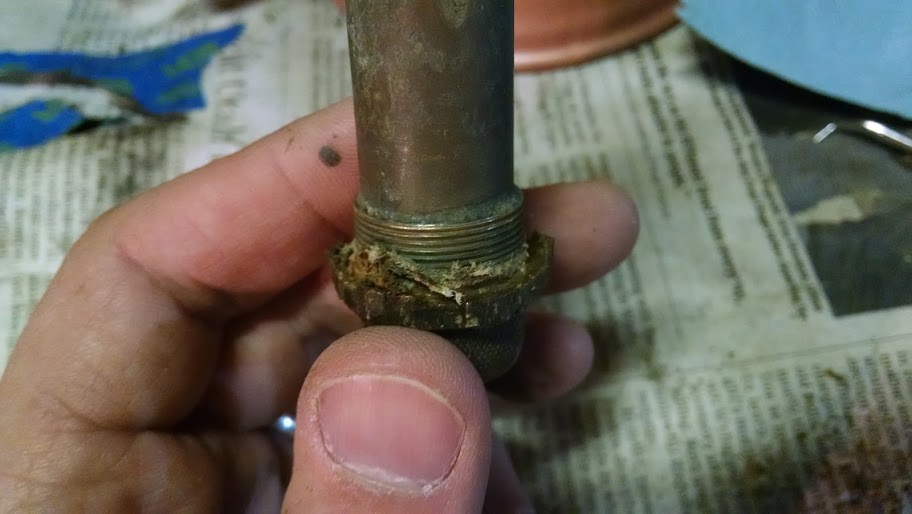
The other odd thing I encountered was a tendency for the packing nut to back off. Thats the nut around the valve shaft. Its got a graphite seal inside and when I first got the torch it was stuck. I heated it with a torch and got it loose but it would tend to unthread when I opened the valve. Another very small drop of locktite fixed that too.

Now if only the weather would cooperate I'd give it a test firing...

Friday, March 25, 2016

We won!

Remember this? 


It was an entry into the ID Parts Cold Start contest and it won! We got the award for "Most Creative Video" which is what I was going for. Its certainly not a Spielberg movie but I'm pretty happy with it. Of course watching it now I can see all kinds of things we could do to improve it, the first scene could use some help and Angie needed a little more coaching for her start but we did okay for basically no preparation and maybe 3 hours total of production.

So heres something else I made, this was just over a month ago:


Generally speaking I don't like vlog videos so I've tried to keep this one short and optimistic...

Wednesday, March 23, 2016

It works!

Sorry this blog has been slow in coming, life and all...

Anyway, I finally found time to get the Turner Torch back together. The new paint came out pretty good if not outstanding, as the torch gets banged around it'll look more original. I assembled it and found a little leak around the torch head where it goes into the fount. A drop of blue Locktite cured that. I couldn't get the pump shaft to seal so I dug out the old to replace with an o-ring, in doing so I realized the old seal was leather.


If I'd realized that earlier I would have just treated it with neats-foot oil but since I already had it half dug out I figured I'd just finish the job. The o-ring seals okay but could be better. I think if I sand it down so its got a square edge against the found it'll seal better.

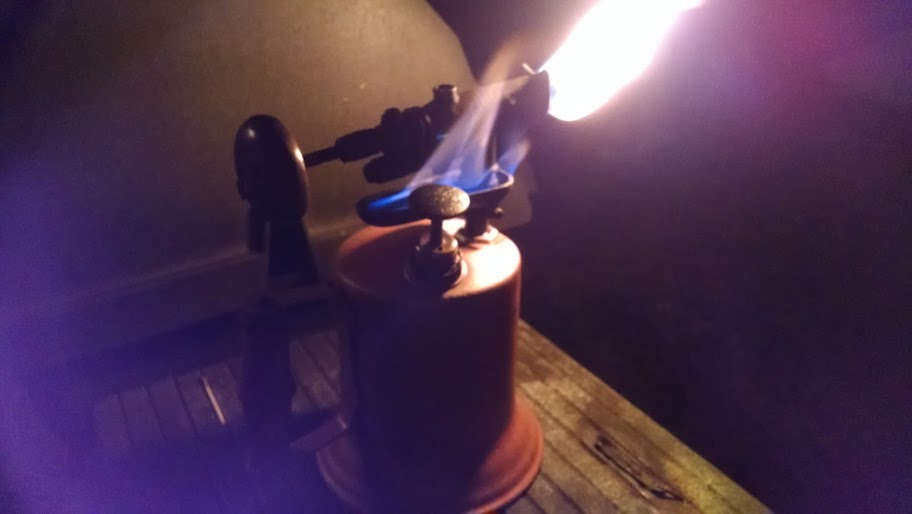
Finally a dose of alcohol into the tray, wait while it heats and crack the valve. Actually for the first attempt I double dosed the tray to make sure everything was plenty hot. This picture is from my second light up and you can see its not really hot enough yet.


After a couple minutes it settled down and burned nicely but suffered from the twin issues of needing to be pumped up often and having a poorly working pump. The pump is improving with use, it gets a lot of exercise trying to keep the torch going. I'll need to work on the cap seal more before going much further...