Tuesday, September 29, 2015

Pics from the Gathering

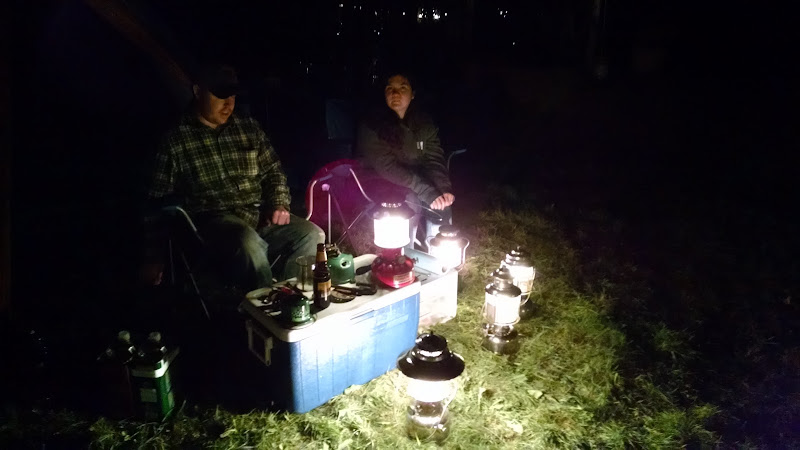
I realized today that I'd posted about the gathering without actually showing the gathering. I didn't take a lot of pics. Back in 2010 I spent a bunch of time taking pics but I realized later that I can be taking pics or making memories. These days I like to work on the later. Anyway, here's what I've got.


Tim kindly let us use his dome tent for the weekend. He was trying to sell it and we thought it might sell better if it had that lived in look. I'm a bit surprised Angie didn't buy it, Tim offered her a very good price.


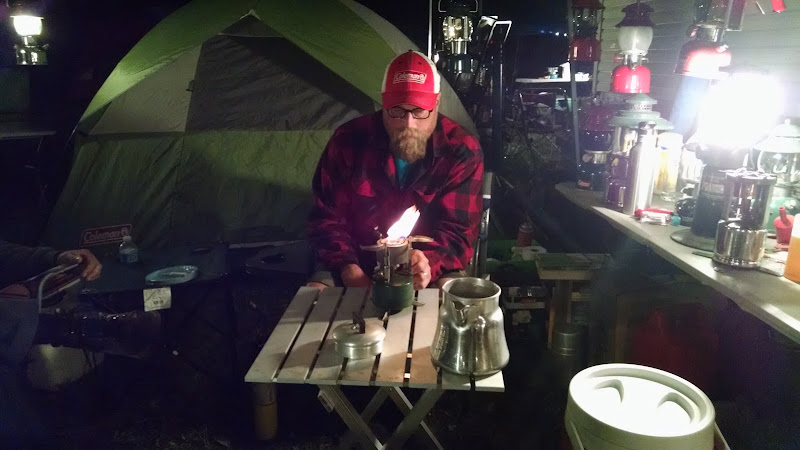
Somebody else got a better picture of Keith lighting this stove where the flame is much higher and looks like its wrapping around his head.


There was loads more stuff going on, I didn't get any pictures of the bands playing or the 5am drum line. In fact I didn't even go see the 5am drum line although I did hear it when I got up to use the bathroom. Fortunately we've camped in loud places before and had ear plugs. I guess our host was less than pleased about that part...

Sunday, September 27, 2015

Another great gathering!

Sitting outside to write this post, just back from another fantastic True North gathering. The True North group developed after Steve had a bunch of us to his place in upstate New York. The first gathering in 2010 was fairly small, maybe 18 people but has grown to crazy proportions. I'd say we had over 60 people this weekend, lots of lanterns, laughs, music and fellowship.


For companionship while I write I've got my SMP mil-spec which I billed all weekend as "the worlds worst mil-spec" because the paint is just shredded. That said it lights easy and runs like a champ. It burned for hours both Friday and Saturday night with no issue and is very frugal on fuel. We make fun of mil-specs, they're hard to light, noisy, have a dumb generator thats hard to clean and pop when they shut down, but I've begun to grudgingly admire mine.


Sure the paint is bad and the vent is rusting because the paint is porous but its a tried and true friend to me now. I'd like to think its a little like me, I might not be a looker but I'm always there for a friend. I gave out a lot this weekend, we held a Tilley clinic where we got two old lanterns going, I gave out cap gaskets and we made pips for the shutoff and pumps, then preheated and lit 'em up. One burned all night which was very satisfying. I cut off chunks of Buna-N rubber for people to take home to make pump pips out of. I gave one guy a couple gas cap gaskets and I think he was a little put out I wouldn't let him pay but the tiny amount that gasket had cost me was nothing compared to the satisfaction of having a part for a new friend.

When I got home I realized somebody had snuck something into my car...


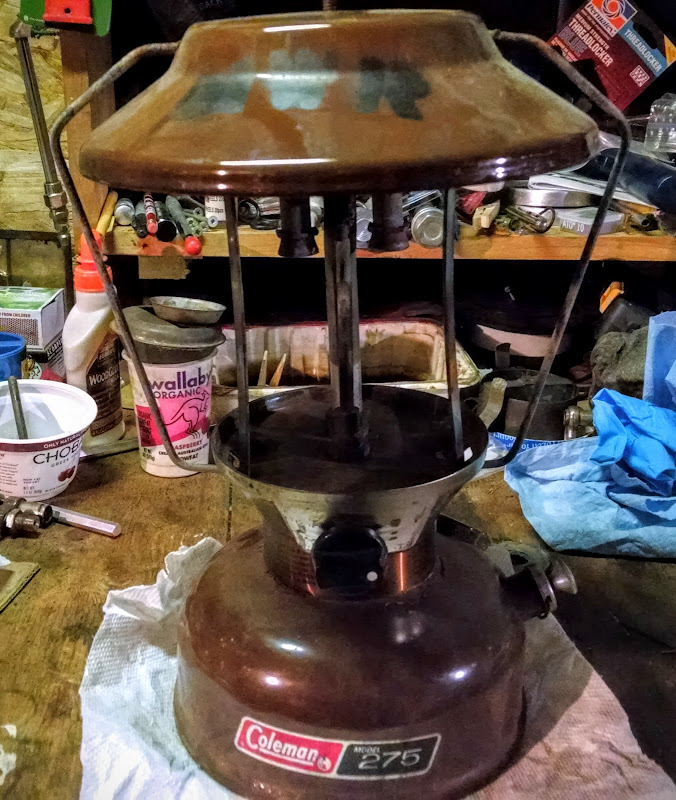
The model 275 is often called "the turd" due to its color and unfortunate tendency to burst into flame so its is a real boobie prize. At first I thought this was revenge for my stashing a really terrible Thermos stove in Joe B's truck last year but then I realized it was wrapped in a local news paper, that points at Tim. He's at work now but we'll see if he comes clean. In the meantime I need to decide what to do with it...

Okay I can't let this end without showing a typical mil-spec light up. You always tease your friends right?


Thursday, September 10, 2015

Tire rotation

I'm terrible about remembering to rotate tires. Recently I'd noticed that the rear tires on the Ram were getting kind of worn down. We've put nearly 20,000 miles on the truck in a year so thats not unexpected. Knowing that if I don't rotate them it'll seriously impact their lifespan I knew this needed doing and yet somehow I kept putting it off. So at this point its a bit like closing the gate after the horse is out but I still dragged out the jacks and did the deed.

Having an air compressor and impact wrench makes this job way easier than it would be otherwise as does having a couple jacks. I lifted up the rear end with my floor jack and used the 12 ton bottle jack to do the front one side at a time.

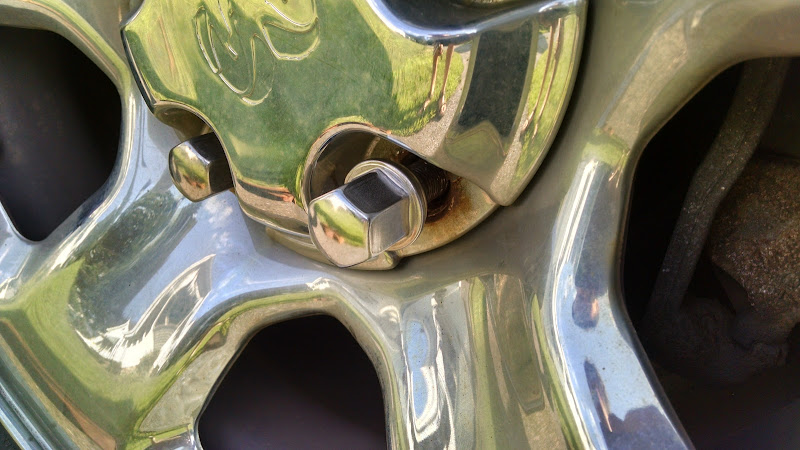
Then tragedy struck, I cross threaded a lug nut and couldn't get it straightened out. The nuts are soft so they don't bugger the studs which are much harder to replace. So off to Autozone where I bought their ONLY Dodge lug nut, lucky day for me.

One annoying thing about tire shops and mechanics in general is that they put the wheels back on using the impact gun. Oh they'll tell you "I just barely seat it with the gun" but when you go to remove you find there is no frickin way. I'm lucky to have a four foot cheater bar that will take just about anything apart (200# guy on a 4 foot bar gives you 1000 lb/ft) but on the side of the road with only a lug wrench this would be a big deal.

When I put wheels back on I snug them up with the gun and finish with a torque wrench

Sure the tire monkeys finish with a torque wrench too but they don't turn the nut with the torque wrench, they just confirm the nut is at LEAST as tight as the wrench is set to. If the nut doesn't turn before the wrench clicks its too tight already. I've never made them back one off but I should, I usually just bring the car home, bust 'em all loose and do it the right way.


With the lugs all set by torque wrench I can bust 'em loose easy with the lug wrench and they won't accidentally come loose while driving...

Friday, September 4, 2015

A trip to the Senior Center

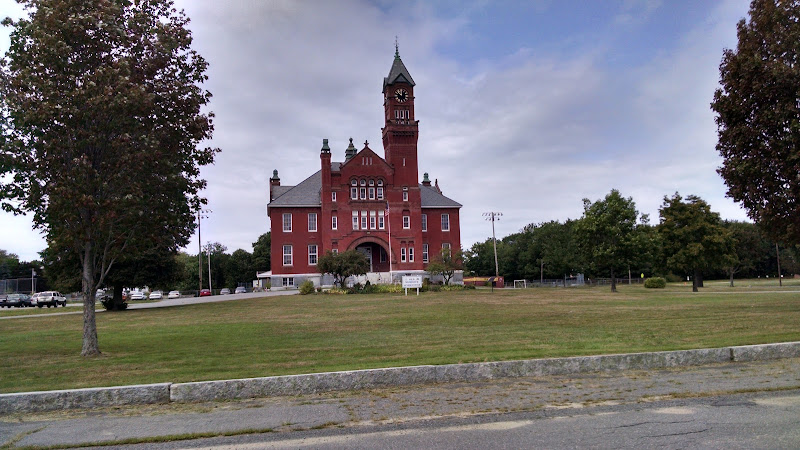
For the last 9 years the bells of the senior center here in Winchendon have been an hourly reminder of what a cool old town we live in. Today in preparation for the 2017 Coleman Collectors convention Angie and I visited the place.


Quite the place huh? Built in 1895 as a school its a big building, the footprint is close to 6,000 square feet with rooms on 3 stories its got lots of space and the big windows mean lots of natural light.

They've got a lovely big old auditorium:


Its about 3,500 square feet which is larger than the place we had for our convention this year. Notice that there are no electric lights on in the picture, thats all natural light.

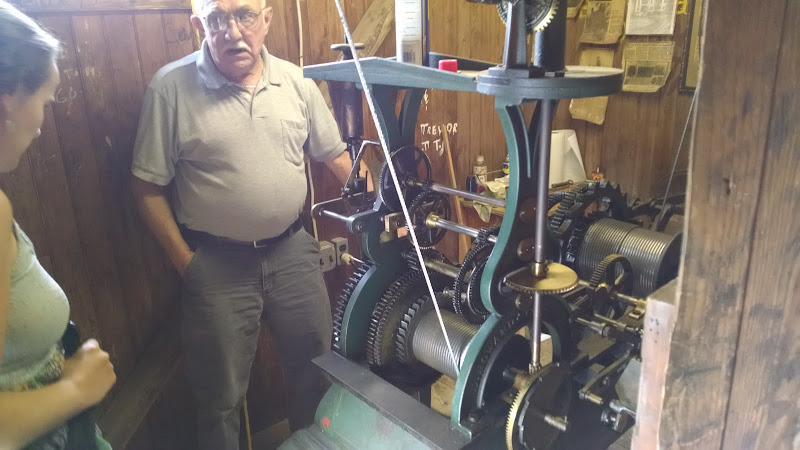
The highlight of our trip was the climb into the bell tower:


This is the actual operating mechanism of the clock in the tower. Art maintains it, he says its an eight day mechanism but in practice he gets more like seven and a half days per winding. He says that the clock hands drift a bit here and there but the bells are generally within about thirty seconds a week. Considering the clock is the same age as the building I'd say thats pretty impressive.

As I write this I can hear the bells chiming, by the clock on my computer its exactly 5pm, good job Art!

Art says we should go back in the fall and he'll take us all the way up in the tower, with the leaves off the trees he says theres an excellent view of Mount Monadnock. I'll borrow a good camera for that and get some nice pics.

Anyway right now it looks like this is our convention location. Crossing my fingers, picking a convention location was harder than I expected and I'm glad to have that part settled.

Wednesday, September 2, 2015

The continuing saga of the Golf

Apparently my mother reads my blog, she reminded me yesterday that I hadn't written anything for awhile.

Before I get started some good news, I'd been using Photobucket to host pictures but I've long been frustrated with the extremely slow Photobucket interface it took forever to access my pictures once I'd uploaded them. So recently I've been experimenting with Google Photos and I'm actually quite pleased with it. As with anything there was a ramp up period but I think I've got it worked out. I'll let you know if anything changes...

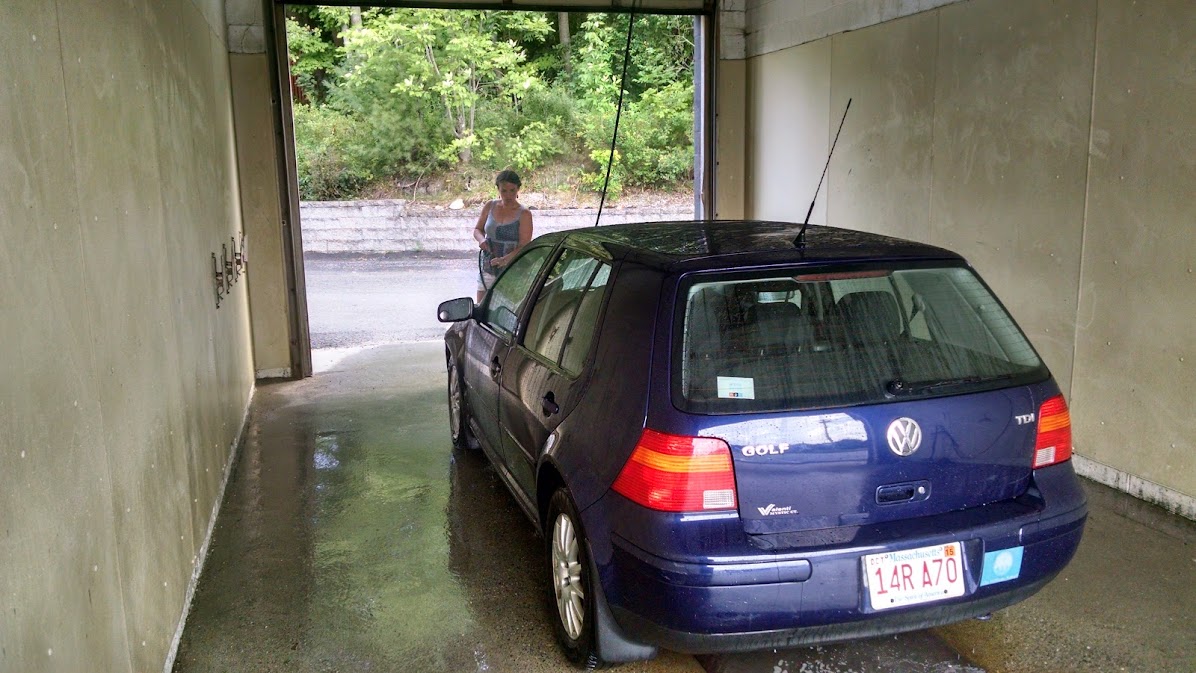
Oh geez, I realize I never told you... I bought a 2005 Volkswagen Golf TDI:


If I had told you about it I'd have mentioned that its transmission was decidedly not happy so it was off to the mechanic. I'd bought the car for a cheap enough price that even if I ended up parting it out I could still make some money. In the end we decided it was too nice to part so it got a new transmission. On the way home from the shop I noticed that the speedometer didn't work. That was a relatively easy fix in replacing the VSS or vehicle speed sensor which lives on top of the transmission. It also got a new windshield, I can without reservation recommend the Safelite office in Keene for that job, the guy was great. It was quick, he vacuumed the car, cleaned the windows and found that the goop on the paint (from a leaky roof at the place I bought it) can be cleaned off with polishing compound.

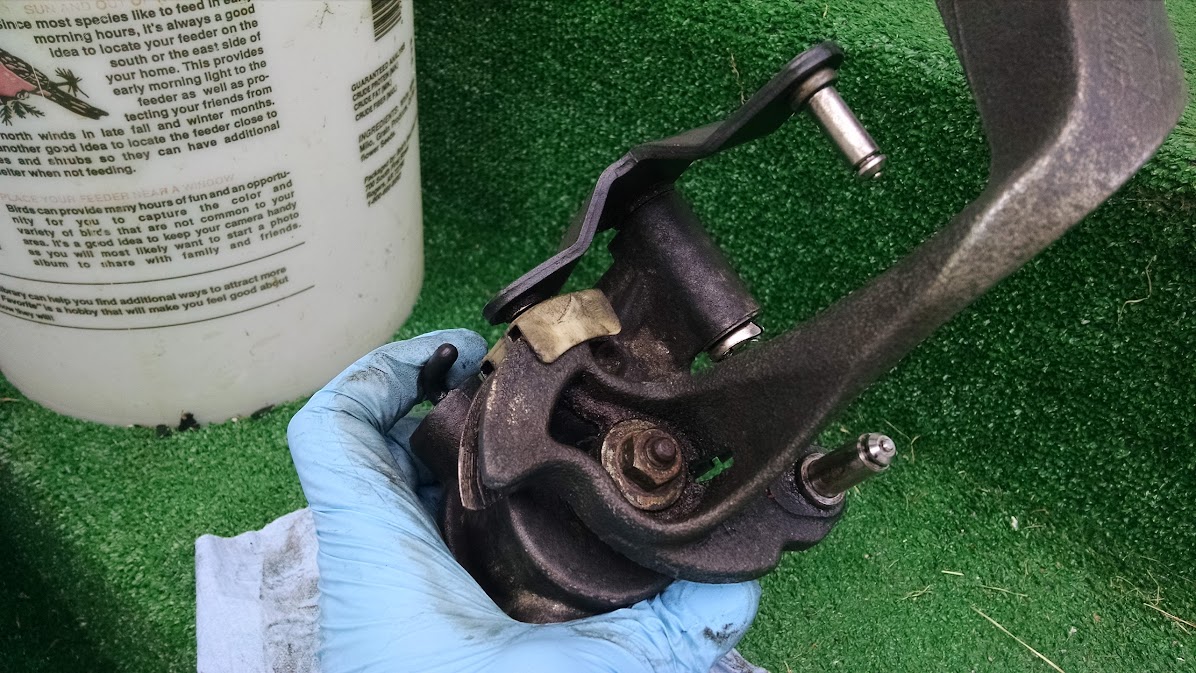
Anyway the last step was to get it inspected. Thats when I realized the reverse lights didn't work, which is a fail on inspection. A little testing proved that the lights actually work but weren't being turned on due to a failed reverse light switch which also lives on the transmission. I got a new switch and put it in but the lights STILL didn't work. A whole day of investigating revealed the problem to probably be the shift actuator:
  

Its the bit that translates the shifter movement into the bits inside the transmission. I had it in and out of the car repeatedly and can't see how it could possibly work. So back to the mechanic and I'm waiting to hear his verdict. This is fix work for him, both the VSS and reverse lights should have been working when he delivered the car to me...

So anyway, as I'd mentioned its a 2005 Golf TDI. Its got about 150,000 miles which is not that much, in fact its 110,000 less than my '98 Jetta. Its got very little rust and that which it does have will be gone once I replace the left front fender that had been hit at some point. The interior is perfect and it even has working AC which is a rarity on my cars. It came from NEAT which New England Adolescent Treatment, basically a program for troubled kids. A friend of mine is the executive director there. They take donation cars and sell them to help fund the program. This is where I got the Jetta too. Both cars were a good price and its nice to help the program.

To keep my spirits up I've puttered around a couple other minor things,

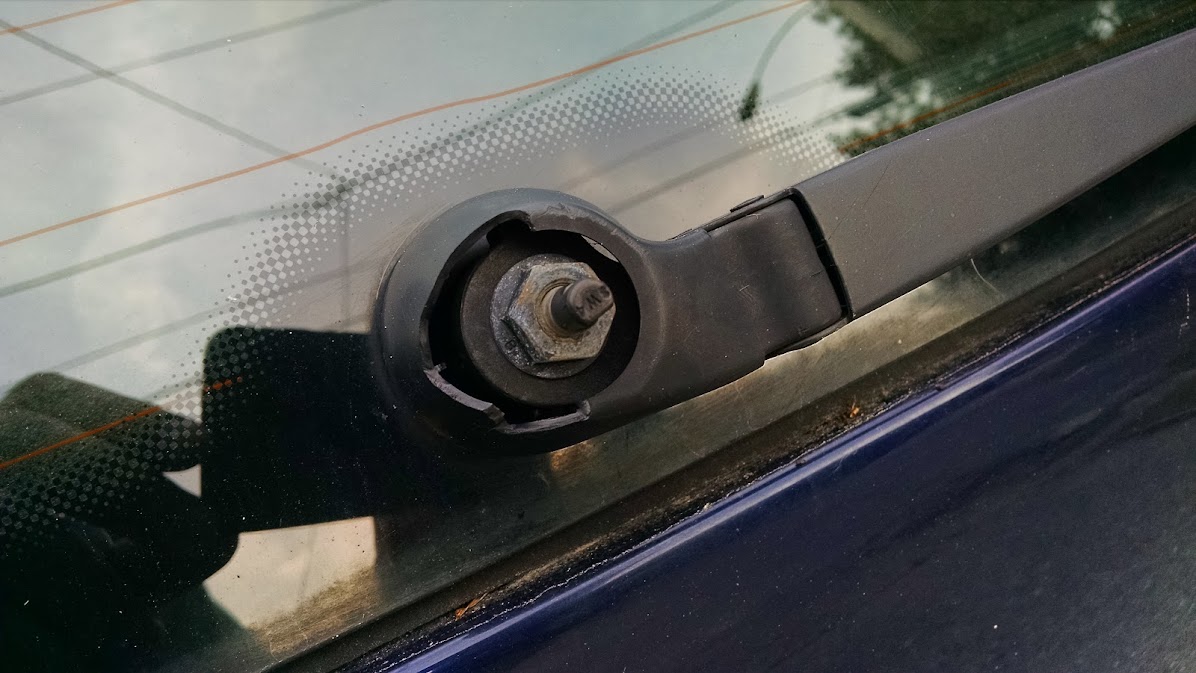
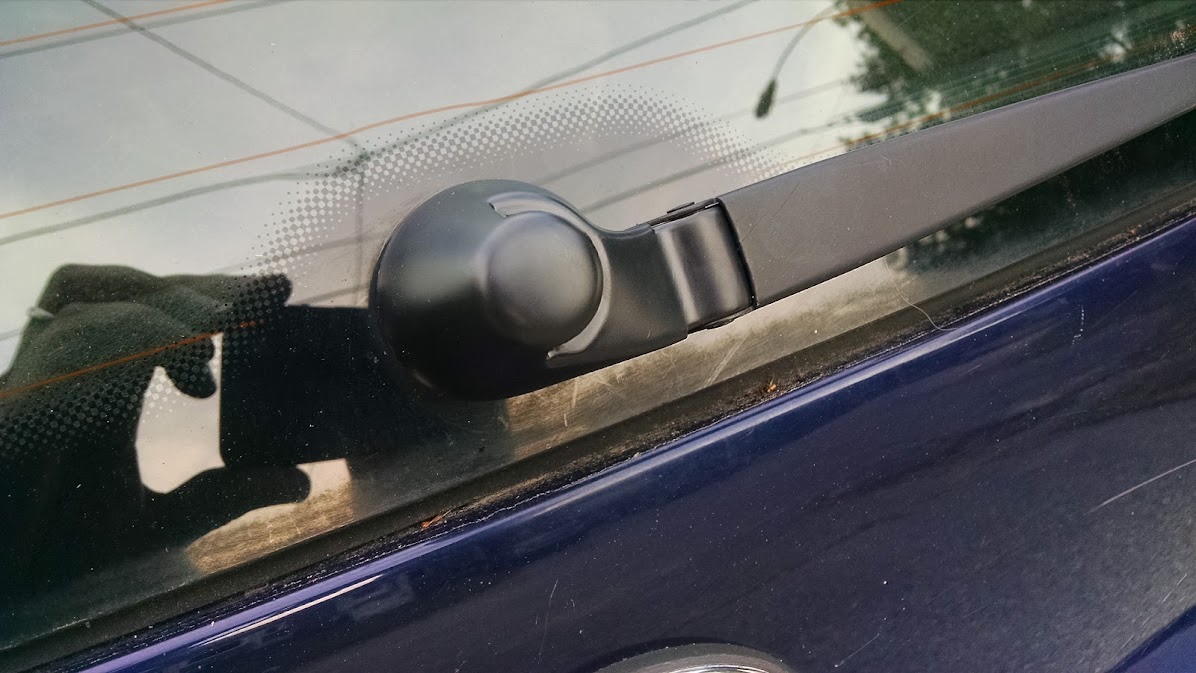
I was surprised to find the wiper cap was available, I also replaced all the wipers. I still need to clean the back seat but other than that and replacing the left front fender the car is basically ready to go. Theres a place in Tewksbury that claims to have a correct color fender for only $100, I need to call them and see if its for real. I like the idea of using an OEM fender but I'll go aftermarket if I have to...

Monday, August 17, 2015

Wickie time!

 So in the interminable delay between posts I've kept working on the wickie. It took maybe 4 days in the citric acid before all the rust came off the main part of the lantern although the smaller assemblies were done in a day or two. I think I was right in my estimation that this sat somewhere that it got dripped on, the horizontal (or nearly horizontal) surfaces on it were the worst. In the end I could just scrub the rust off with a steel brush.

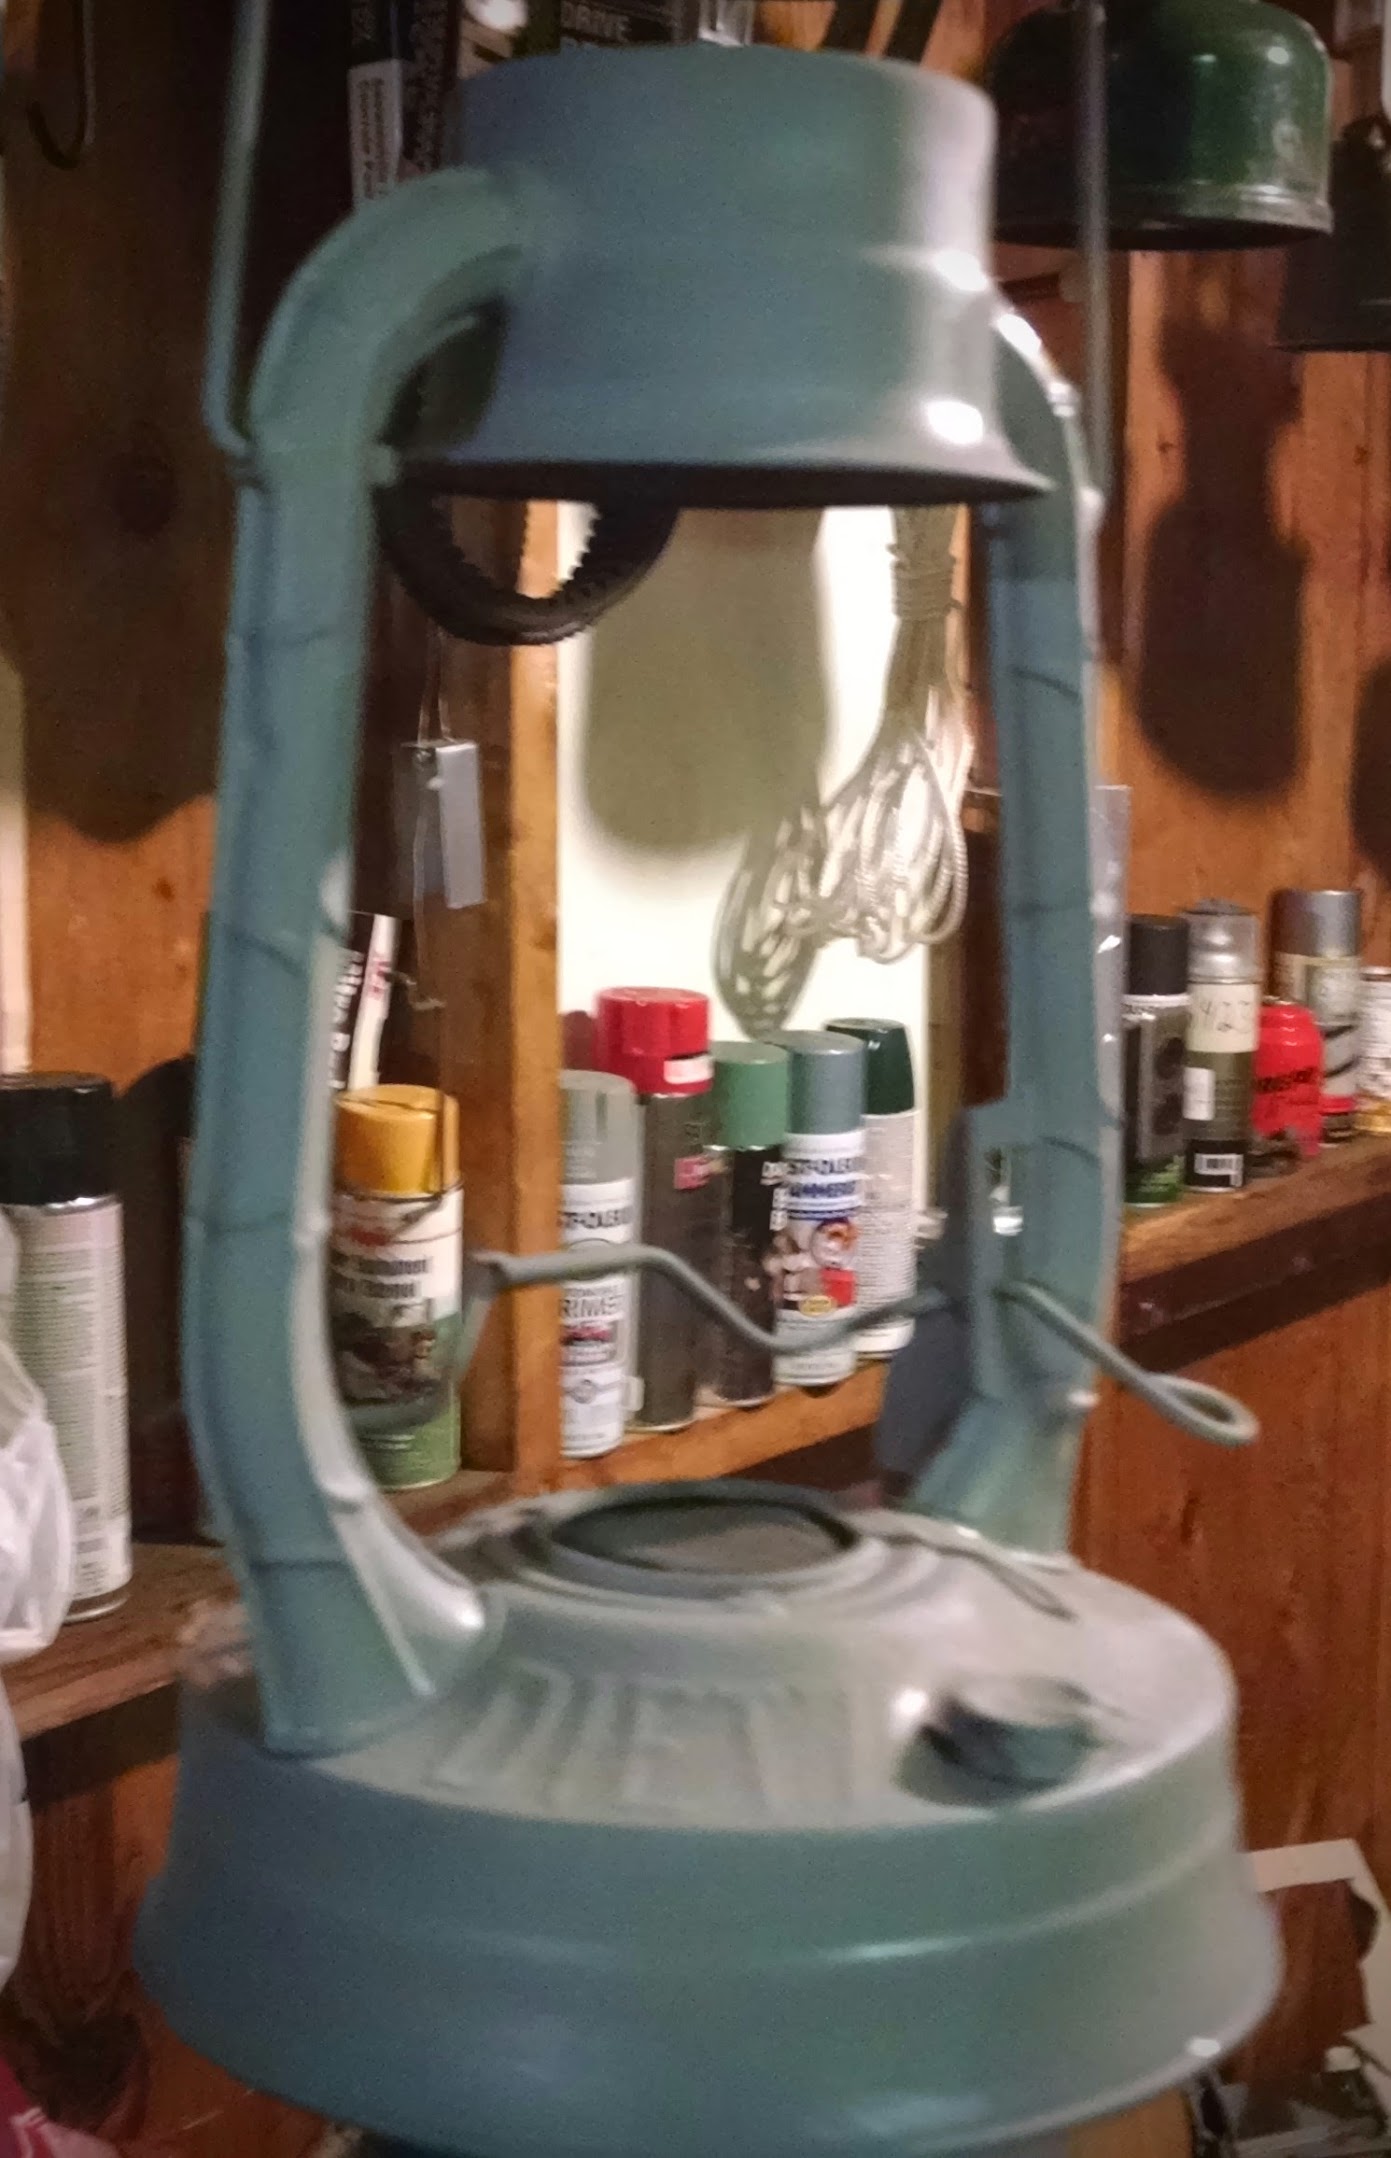
Since the rust was pretty gross I bought some "Rustoleum Rusty Metal Primer" which is supposed to give a really good adhesion and rust prevention. I found that it was dammed hard to get a good coating of the stuff on the vertical surfaces without it running. I sanded off runs 3 or 4 times. Worse the runs would take forever to dry although sunlight really seemed to help in that regard. I did finally get it on good after spraying a couple super thin coats that I then had to blend carefully together. I finished it with a coat of filler primer to fill in any sanding scratches I might have not seen.


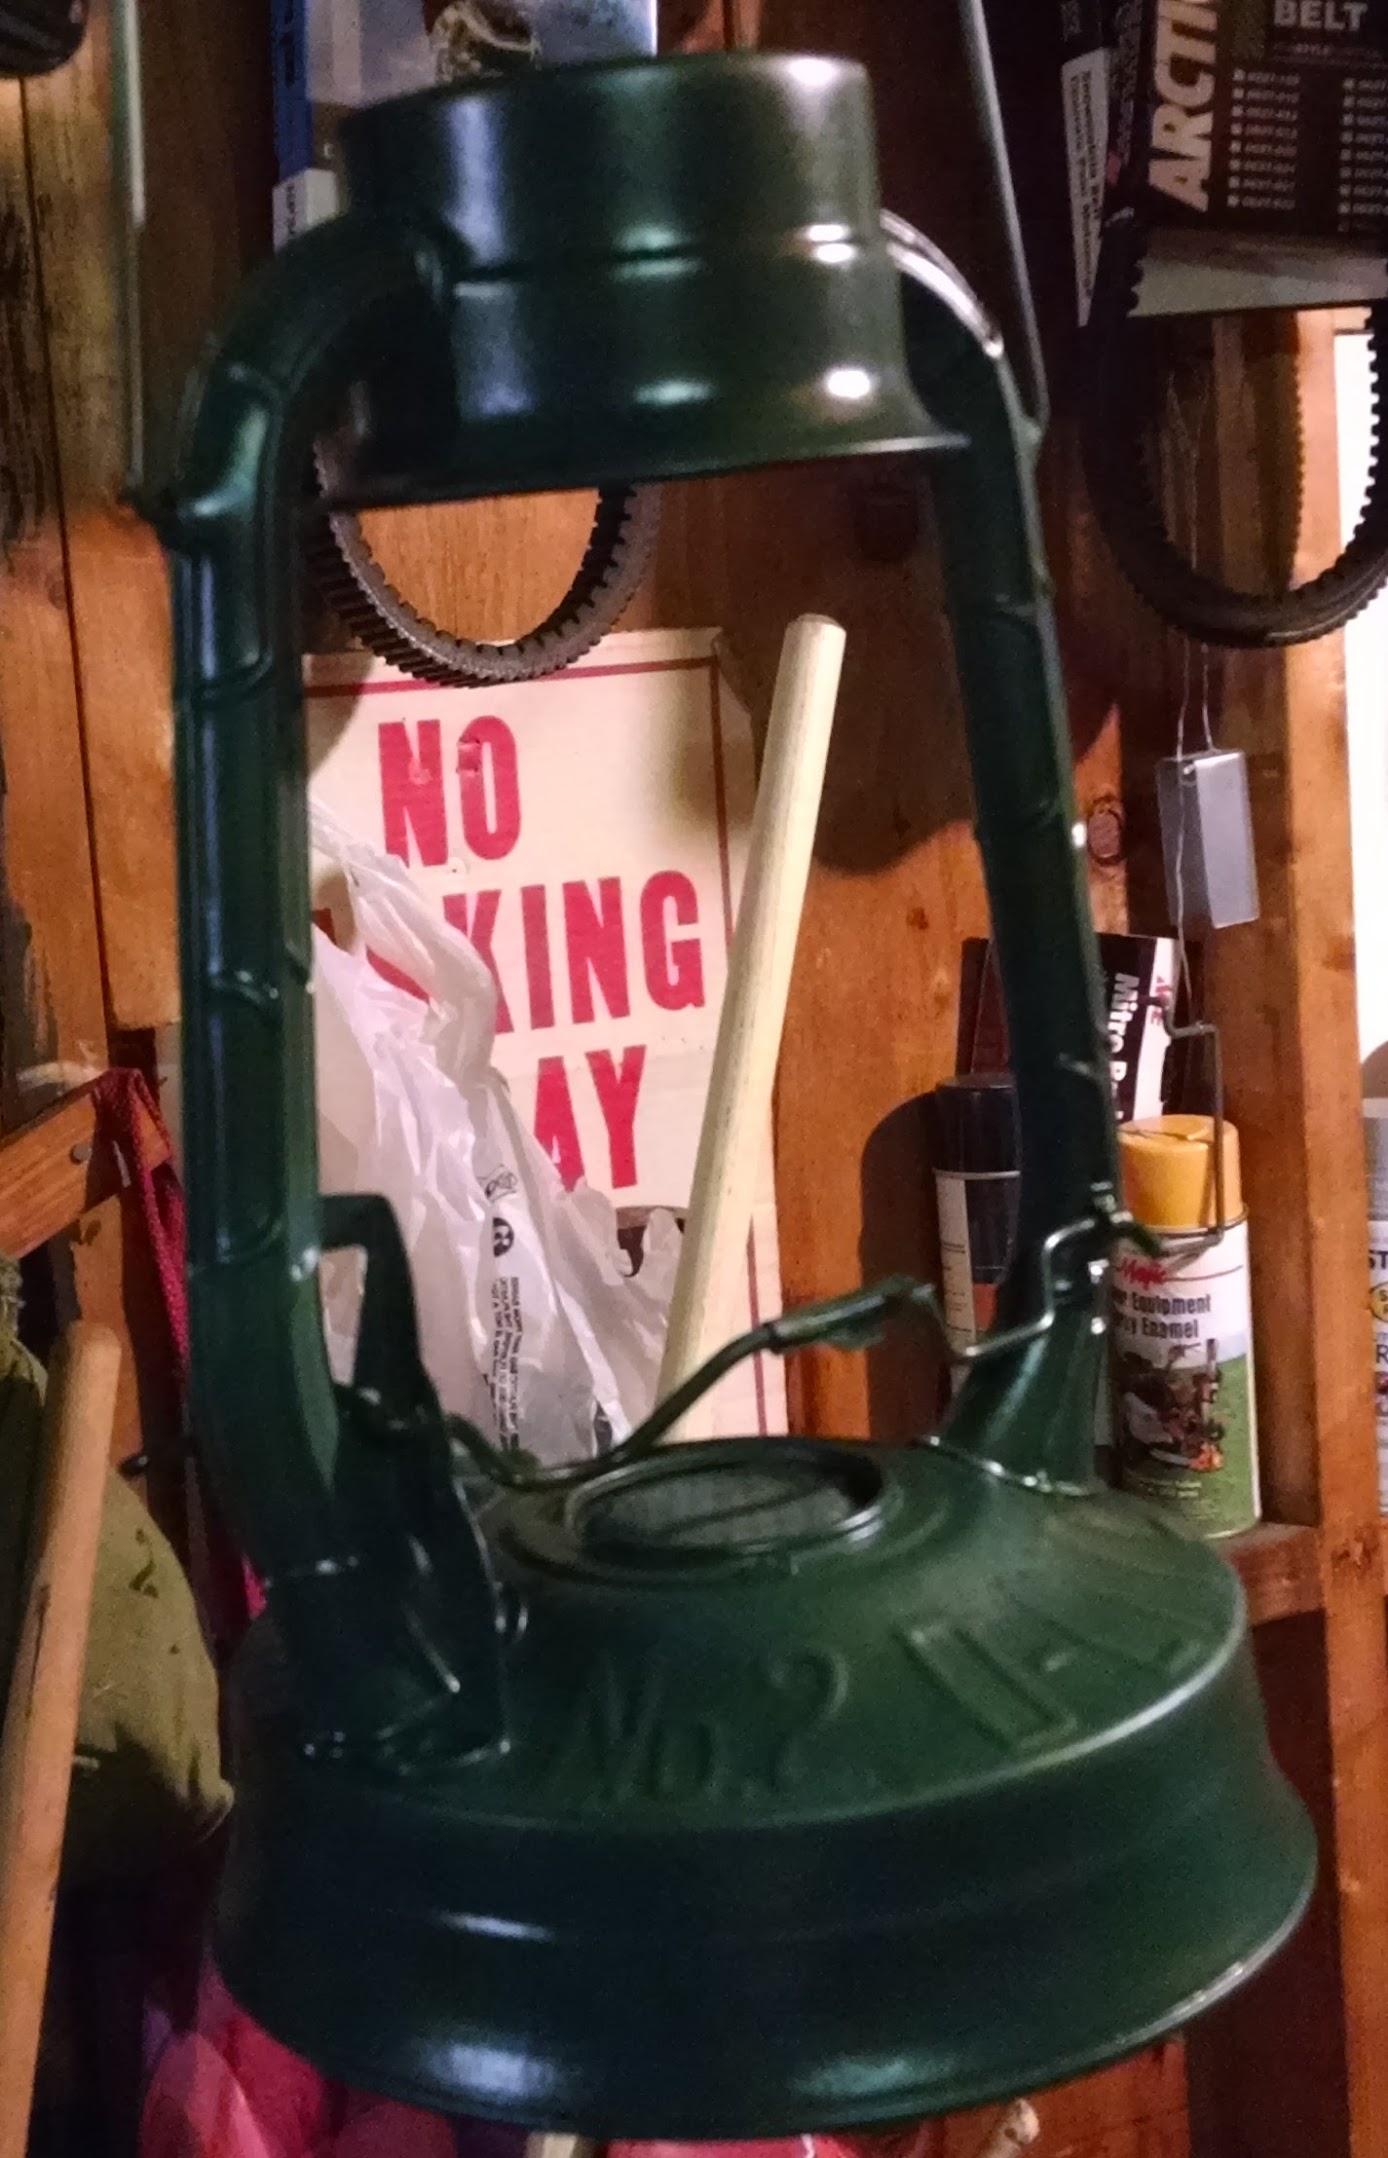
For paint I went with Krylon Hunter Green which is the same color I used for my Coleman 237. I feel like it matches the older Coleman green nicely. Its also very nice paint to work with, it comes out in a much thinner spray than Rustoleum.


Sadly after getting the lantern covered I ran out of Krylon and was completely unable to find any locally. It appears that Rustoleum has absolutely cornered the market for spray bombs. Other than a couple cheap no-name paints and some specialized tractor paints thats all I could find anywhere. Fortunately Amazon saves the day. They had the right stuff which should arrive at the end of the week.

On a side note I'm DONE with Photobucket. Their app is slow, and the webpage is pitifully/painfully slow. Today I wanted to crop the images above and even after hitting reload 4 times the image editor just wouldn't open my image. In the time it took for Photobucket to not work I uploaded 9 images to Google Images, cropped those two and figured out how to post them. Its not perfect but it'll do...

Thursday, August 6, 2015

A what now?

I'd said for a long time that I had no real interest in wick lanterns. Well at camp we've got an old hot blast lantern that came with the place and last fall I spent a bunch of time playing with it. While it doesn't throw much light it doesn't use a whole bunch of fuel and doesn't make any noise. We used it for a nightlight for which it worked out perfect.

A hot blast lantern uses the hot exhaust gases to feed back into the burner where any left over fuel in the hot gasses gets burned. This process costs a little brightness but reduces fuel use. The alternative is a cold blast lantern which uses the heat of the hot combustion gasses to draw cold air into the lantern. The cold air being drawn in has more oxygen in it and is more dense since its colder which allows for a brighter flame although it'll cost some more fuel. Both hot blast and cold blast lanterns fall into the "tubular lantern" category. This confused me at first because I'd seen things like Aladdin lamps which have round wicks in a tube shape. So don't be confused by tubular lanterns which carry the air into the burner in tubes and round wick lanterns which have a round (or tube shaped) wick.

Anyway since I'd had some experience playing with the hot blast at camp got me interested in cold blast lanterns. Before I'd started looking for them I was seeing wick lanterns all over the place, now of course I'm hardly seeing any and the ones I am seeing are really expensive. So I was really happy to see this at a yardsale:


Its a Dietz D-Lite No. 2 made from 1919 to 1947, its got a great big 7/8" wick rated for around 7 candle power (cp). The D-Lite is a short globe lantern which is easier to clean than the tall globe models but it costs some light. The tall globes would get closer to 12cp. For comparison a Coleman 200A is more like 300cp. It had no price tag, I offered $3 and he accepted.

As you can see my lantern is all rusty, it looks like it was sitting under a hole in the barn roof for years and years. Originally the lantern was galvanized and the underside is perfect looking but every inch of the rest of the lantern is covered in rust.


The rust is worst at the top, it gets better toward the bottom of the air tubes and bad again at the flared part on top of the fuel tank. Also the top is dented and the whole top end of the lantern is twisted and leaning slightly.

I put some kero into the tank, trimmed the wick a little and it lit right up. Thats the great thing about these lanterns, theres only a moving parts, wick lifter, the globe lifter and the ring on top so theres really not much that can fail.

So what to do, what to do? I could leave it rusty, after all it works. I could clean the rust off, oil the metal and keep it that way hoping I always keep enough oil on it to prevent rust, or I could clean the rust off and paint it. While this one wasn't originally painted they were sometimes and many other models were and since I paid $3 for the lantern I'm not particularly worried about originality.

In the end I decided to clean and repaint. How to clean off the rust? I'm going the easy way:


The bucket is full of citric acid, the plastic wrapped brick on top holds the lantern down, I plugged the fuel tank, it was perfectly clean so I didn't want to worry about having citric acid in it. It took 4 days of soaking to get all the rust off but it finally came clean. As of yesterday I got the lantern out of the acid bath, rinsed off, dried and primed. The burner cover and top end pieces I've already painted Coleman green (Krylon Hunter Green). I went a little overboard with the primer on the main lantern body so I'll have to go back and sand off some runs before I can paint. It takes a couple days for the thick primer to harden enough to really do that well.

So green is the color except for the wires that hold the globe in place, I'm going to paint those grey. I'm not going to paint the bail at all, any paint on that would just wear off anyway...