Tuesday, December 22, 2015

BACON!

Some of our friends invite us to a cookie party every year around Christmas. The idea is you bring a dozen or more cookies and go home with a mixed bag of cookies that everybody else made. Its pretty fun and we really like going.

The first year we went I tried to make bacon cookies. The plan was flawed from the start I didn't really have enough time so I tried taking pre-made sugar cookie dough and stuffing bits of cooked bacon in it. In the end I had really thing crunchy cookies with overcooked bacon inside. Since I had some extra bacon I coated it with maple syrup calling it "candied bacon". The cookies were blah but the candied bacon was a big hit. The following year I refined the technique and today I've got it down to a science, so to spice up your parties heres my magical candied bacon.

This year I used 3 1/2 pounds of bacon but more is of course better. Cook the bacon halfway. I do it on baking sheets in the oven, this step takes around 15 minutes, I use two pans and rotate them between the two racks halfway through. For easier cleanup line the pans with aluminum foil.
While the bacon is cooking put 2 cups of maple syrup in a pan, add 2/3 cup dark brown sugar, warm the mix until the sugar dissolves.

When the bacon is all half cooked cut it into 2-3 inch strips, put in a bowl with the maple syrup, stir and let it cool some.

Pour the bacon grease out of your pans (keep the same aluminum foil), put bacon on a single layer in the pan and cook for another 10 minutes or until the bacon is completely cooked. Let the bacon cool in a container before you transfer it to another container for eating. This step is important as the bacon will tend to stick together while it cools.


Friday, December 18, 2015

Something NEW

Well its been a whole day and my pics still show up Picasa may have saved the day...

So lets get something new on here, first an update.


You might remember when I built the mk2 mod2 wood rack for camp that I cut enough wood to make two of 'em. This is the other one installed at the house. The mk1 it replaced is actually in pretty good shape, I'm going to push it over to the side of the yard where the big woodpiles are and use it there. I've had terrible luck building woodpiles this year which is to say my wood piles have had a tendency to fall over this year so I'll use that once its full of wood as a brace for the other piles. We've had a heckuva lot of rain lately and I'm sure glad I built this new rack.

This here:


is a Chinese made ETQ 1200w 2 stroke generator. I picked it up in 2008 when we had the big ice storm. I ran it a couple times just to make sure it ran but never really used it as such. I'd planned to take it to camp a couple times but kept forgetting. In November I finally took it to camp. We've got a little solar electricity system at work (more on that in another post) that isn't really big enough for our needs in the fall when the sun is low in the sky so I hauled the generator up so we could use it top off our batteries. The battery charger only provides 6a at 12v which is only 72w. The generator is rated for 8 hours of run time on 1 gallon of gas at 50% load. I figured it'd run a good long time with this teeny load on it.

So I got it up to camp and went to fire up when the fuel petcock broke right off.
 Fortunately our local CarQuest (now Advance Auto, *sigh*) had a replacement:

The only problem was that the replacement drains from the side and the original went out the bottom so the gas line was a little short. It worked well enough that I didn't worry about it at the time, once I got it home I replaced the line with one slightly longer. To do that the airbox has to come off. Two of the airbox screws also hold on the carb in place and just as I started to reassemble things I managed to break the seal between the carb and the engine tearing the gasket. Fortunately I had some gasket paper in pretty much the same thickness as the original and within a few minutes I'd made a new gasket.


I find making my own gaskets very satisfying, I didn't have to wait a week for parts, all I needed was a pencil, scissors, utility knife and a punch. I didn't have a punch big enough for the carb throat but it wasn't so hard to cut that out with the knife and get a pretty good circle.

Sadly the generator doesn't like to start now, and by now I mean from the time I replaced the petcock. I think the carb has some varnish built up in it and I really should take it all the way apart, give it a good soak and put it back together. I'm reasonably sure thats going to mean some more seals will get ruined but I'd like to have the thing reliable in case Angie needs it while I'm away. Back when I first bought it it started real easy but now it wants a shot of starting fluid into the carb every time it starts. Oh well, I might as well give it a try right?

Thursday, December 17, 2015

Oh Google, you're going to make me drink

So the pics clearly are not fixed, or not reliably anyway. Strange that some of my Google Photos show just fine and some don't.

Anyway today I discovered that since Picasa is part of the Google family my Google Photos are available through there. Perhaps I can get Picasa to give me clear links to the photos which Google Photos won't.

Turns out that Picasa will indeed provide a clear link. Heres an example of what I'm talking about. Here's a picture of potatoes harvested from our garden:


Here's the link Picasa provides: https://lh3.googleusercontent.com/-YCXP_OgIDJs/VdH5KfSZ3-I/AAAAAAAAAgc/thAfLdZJvqI/s800-Ic42/IMG_20150817_100726153.jpg

Notice how it ends in "IMG_20150817_100726153.jpg" this is what I refer to as a "clear link", meaning its an actual web path to the actual file residing on some server somewhere.

For the same image Google Photos provides: https://goo.gl/photos/A9nPix8cVc67MDn49
This is not a clear link, it takes you to a web page, not the picture. I got that using the "share" link in the photo, the alternative is what I did with Picasa, right click on the image and choose "Copy image address" which is something it would appear Google doesn't want you to do because sometimes you need to right click two, three or four times before you can get that option. Anyway the link it provides looks like this: https://lh3.googleusercontent.com/NJEes5mtUxLWrPHn0tAbFdGnUw0pdccXbdWnFOnqN8Nx9XhW_sWwAeOEEQOGMqU8DV9IGkld4pmXOlnGZ8w39ZBi0Dn_gfIKUd-wsQd8oPBPYxSPWMRFJKDz7XhQd9hSlHjdMLv815pEMRze7ZgU-imMMZ5uimU4GAeMf-yGtrsRyW4FdRYsuyeMKLvA28alg_gEAucDbhIOM_JkfEzdu8RbMTCux3CqtqT_R5myHkBDq04XQWkHOqL1LvwUKcWF0a-xWJZ49NCwKyGTktf7IiFJTbFGofe23v7-vDSJj6yaeovmv-Q4pf-nQ5m_8qyn7Manx0h52lel7IrQart3uLi52INL6jEfn4XQYUFns-CZE5YoL_1xaGQBcl11CK5p4H9wYGkD3k_LTgJ2d3Ww5QJG12rMZRmq1VlIHafT91f3G5aqT7uqPZ9lyxW2QXCGSdJqfX9sS66CsTl2qc9mvxcmCbd8AE5LmKYGsrppdVu4bvHlI4tzUNANew2ggB_DayxAU532I_Kg3VP6NJB2LA-0zma5Dqf6QMDWjUWP0TDsgzb_7Z-N4silHcjljJyyCm83=w1216-h2158-no

which is sort of a direct link in that it takes you directly to the photo but it isn't a clear link because theres no file name in it. Because theres no file name its useless for posting pictures on webpages and I think this is the reason Blogger has been having a hard time with it. Interestingly my wick lantern post hasn't had half the issues some of the others have and I don't know why...

Anyway hollar at me if you can see the pictures on the first couple posts below, if it doesn't work this time I'll go back to Photobucket. PB has a pretty good system for providing clear links but their web page is soooo sloooow it takes forever to work with. I think they do this so you'll click on the ads, but thats not working for me at all...

Sunday, December 13, 2015

Pics is fixed

Okay gang, looks like I got all the pics worked out. If you find any that don't show up let me know so I can fix them!

Wednesday, December 2, 2015

Stupid Google Photos

Google owns blogger so you'd think it'd be easy to use Google Photos to share my pics with you guys, not so apparently.

Somebody mentioned that they couldn't see my pictures. I took a look from my phone and couldn't see them, rats. So I logged into my computer and COULD see them. Thats odd right? So I logged out of my Google account and now I can't see the pictures.

The odd thing is that I actually have 2 Google accounts and I can see the pictures if I'm logged into either of them but not if I've logged out. So apparently I've got a setting wrong somewhere but I'll be dammed if I can find it. Google is surprisingly no help at all, they apparently don't know that Google Photos exists, they only ever reference Picasa which I think is dead now anyway...

So the search for a good photo host goes on...

Wednesday, October 21, 2015

A practical use for a Coleman lantern


Stacking wood by Coleman light...

Its hard to tell in the picture but the pile the lantern is on is tall, too tall really, over six feet. While we were on vacation last week the rear of the piles fell over. The left most pile is leaned up against a tree. I'm guessing we had some wind which caused everything to let go. Monday I made it into three shorter piles...

Tuesday, October 20, 2015

Wood rack part: many

If you've read back through the archives you'll realized I'm somewhat obsessed with storing firewood. The original mk1 firewood rack at camp had about had it so it was time...


This is actually two mk2 mod2 firewood racks. While the rack at home hadn't rotted out it didn't have a top so my wood would end up wet. Its almost just as easy to cut out two firewood racks at once as it is to cut one. You can see on the right where I started assembling one, thats actually a mistake, the block should go inside the long 2x4s, the way its built in the picture the uprights will be too close together...


The mod2 version features a less steep roof pitch which should result in better wood coverage, its one piece for the uprights and of course the 4x4 blocks underneath. Everything except the roof is pressure treated.

The original mk2 model had a plywood roof with metal roofing over it, this one just has the metal roofing but has twice as many stringers (as in I put them on proper 16" centers this time) to make it strong.


It sits on the same site as the original mk1 and while it doesn't hold quite as much wood it will keep the wood it has much drier and cleaner.


Since cold weather has arrived in central MA I've been using up the wood in the mk1 wood rack at my house in preparation for installing the second mk2 mod2 there, I still need to source the metal roofing. One of the design specs in this one is to make it work with a single sheet of roofing and fortunately I'd thought to bring my angle grinder to camp to cut the roofing. This also ensures we have good overhangs front and back, the roof structure is 27"x48", the metal roofing is 32"x52", that will make sure the wood is covered and the roof structure itself is protected.

The next structure I need to work on at camp is the shower house. When I originally built it I didn't think about roof overhang so the rear wall never really dries out. Thats awful hard on the OSB sheathing. My solution is to put metal roofing over the existing asphalt shingles. That roof is 48"x79" so I want more like 54"x83" for the roof. Metal roofing comes in 36"x96" sheets so I think I can make it with just two sheets. We've got some scraps from the camp roof if I make a mistake...

Monday, October 19, 2015

Wicks away!

Remember that Dietz wick lantern? I finally took a little time and put it back together.


I didn't paint everything on it, I figured the heat would be hard on the paint.

In retrospect I probably should have painted the ring under the fuel cap and the part under the burner but the lack of paint does add some visual interest.


One of the kinda nice things about wick lanterns is that something has to be really wrong before it won't light...


I also took a minute to put a new wick and mantle on my aluminum Aladdin


Aladdin mantles burn off differently than Coleman, where a Coleman mantle kind of smolders the Aladdin flashes off with a woof! Much more exciting than I expected. I'm pleased with this lamp it puts out more light than the other one I have which is no huge surprise as that one has a mantle that was on it when I got it. Aladdin mantle production was stopped for a couple years and only resumed in like 2012, AFAIK they're now made by the same people who make Peerless mantles.

On the whole the wickies are fun but I don't think you need to worry about me switching over to them, the light output is quite low and theres no noise so they don't excite me in the way that pressure lamps do...

Tuesday, September 29, 2015

Pics from the Gathering

I realized today that I'd posted about the gathering without actually showing the gathering. I didn't take a lot of pics. Back in 2010 I spent a bunch of time taking pics but I realized later that I can be taking pics or making memories. These days I like to work on the later. Anyway, here's what I've got.


Tim kindly let us use his dome tent for the weekend. He was trying to sell it and we thought it might sell better if it had that lived in look. I'm a bit surprised Angie didn't buy it, Tim offered her a very good price.


Somebody else got a better picture of Keith lighting this stove where the flame is much higher and looks like its wrapping around his head.


There was loads more stuff going on, I didn't get any pictures of the bands playing or the 5am drum line. In fact I didn't even go see the 5am drum line although I did hear it when I got up to use the bathroom. Fortunately we've camped in loud places before and had ear plugs. I guess our host was less than pleased about that part...

Sunday, September 27, 2015

Another great gathering!

Sitting outside to write this post, just back from another fantastic True North gathering. The True North group developed after Steve had a bunch of us to his place in upstate New York. The first gathering in 2010 was fairly small, maybe 18 people but has grown to crazy proportions. I'd say we had over 60 people this weekend, lots of lanterns, laughs, music and fellowship.


For companionship while I write I've got my SMP mil-spec which I billed all weekend as "the worlds worst mil-spec" because the paint is just shredded. That said it lights easy and runs like a champ. It burned for hours both Friday and Saturday night with no issue and is very frugal on fuel. We make fun of mil-specs, they're hard to light, noisy, have a dumb generator thats hard to clean and pop when they shut down, but I've begun to grudgingly admire mine.


Sure the paint is bad and the vent is rusting because the paint is porous but its a tried and true friend to me now. I'd like to think its a little like me, I might not be a looker but I'm always there for a friend. I gave out a lot this weekend, we held a Tilley clinic where we got two old lanterns going, I gave out cap gaskets and we made pips for the shutoff and pumps, then preheated and lit 'em up. One burned all night which was very satisfying. I cut off chunks of Buna-N rubber for people to take home to make pump pips out of. I gave one guy a couple gas cap gaskets and I think he was a little put out I wouldn't let him pay but the tiny amount that gasket had cost me was nothing compared to the satisfaction of having a part for a new friend.

When I got home I realized somebody had snuck something into my car...


The model 275 is often called "the turd" due to its color and unfortunate tendency to burst into flame so its is a real boobie prize. At first I thought this was revenge for my stashing a really terrible Thermos stove in Joe B's truck last year but then I realized it was wrapped in a local news paper, that points at Tim. He's at work now but we'll see if he comes clean. In the meantime I need to decide what to do with it...

Okay I can't let this end without showing a typical mil-spec light up. You always tease your friends right?


Thursday, September 10, 2015

Tire rotation

I'm terrible about remembering to rotate tires. Recently I'd noticed that the rear tires on the Ram were getting kind of worn down. We've put nearly 20,000 miles on the truck in a year so thats not unexpected. Knowing that if I don't rotate them it'll seriously impact their lifespan I knew this needed doing and yet somehow I kept putting it off. So at this point its a bit like closing the gate after the horse is out but I still dragged out the jacks and did the deed.

Having an air compressor and impact wrench makes this job way easier than it would be otherwise as does having a couple jacks. I lifted up the rear end with my floor jack and used the 12 ton bottle jack to do the front one side at a time.

Then tragedy struck, I cross threaded a lug nut and couldn't get it straightened out. The nuts are soft so they don't bugger the studs which are much harder to replace. So off to Autozone where I bought their ONLY Dodge lug nut, lucky day for me.

One annoying thing about tire shops and mechanics in general is that they put the wheels back on using the impact gun. Oh they'll tell you "I just barely seat it with the gun" but when you go to remove you find there is no frickin way. I'm lucky to have a four foot cheater bar that will take just about anything apart (200# guy on a 4 foot bar gives you 1000 lb/ft) but on the side of the road with only a lug wrench this would be a big deal.

When I put wheels back on I snug them up with the gun and finish with a torque wrench

Sure the tire monkeys finish with a torque wrench too but they don't turn the nut with the torque wrench, they just confirm the nut is at LEAST as tight as the wrench is set to. If the nut doesn't turn before the wrench clicks its too tight already. I've never made them back one off but I should, I usually just bring the car home, bust 'em all loose and do it the right way.


With the lugs all set by torque wrench I can bust 'em loose easy with the lug wrench and they won't accidentally come loose while driving...

Friday, September 4, 2015

A trip to the Senior Center

For the last 9 years the bells of the senior center here in Winchendon have been an hourly reminder of what a cool old town we live in. Today in preparation for the 2017 Coleman Collectors convention Angie and I visited the place.


Quite the place huh? Built in 1895 as a school its a big building, the footprint is close to 6,000 square feet with rooms on 3 stories its got lots of space and the big windows mean lots of natural light.

They've got a lovely big old auditorium:


Its about 3,500 square feet which is larger than the place we had for our convention this year. Notice that there are no electric lights on in the picture, thats all natural light.

The highlight of our trip was the climb into the bell tower:


This is the actual operating mechanism of the clock in the tower. Art maintains it, he says its an eight day mechanism but in practice he gets more like seven and a half days per winding. He says that the clock hands drift a bit here and there but the bells are generally within about thirty seconds a week. Considering the clock is the same age as the building I'd say thats pretty impressive.

As I write this I can hear the bells chiming, by the clock on my computer its exactly 5pm, good job Art!

Art says we should go back in the fall and he'll take us all the way up in the tower, with the leaves off the trees he says theres an excellent view of Mount Monadnock. I'll borrow a good camera for that and get some nice pics.

Anyway right now it looks like this is our convention location. Crossing my fingers, picking a convention location was harder than I expected and I'm glad to have that part settled.

Wednesday, September 2, 2015

The continuing saga of the Golf

Apparently my mother reads my blog, she reminded me yesterday that I hadn't written anything for awhile.

Before I get started some good news, I'd been using Photobucket to host pictures but I've long been frustrated with the extremely slow Photobucket interface it took forever to access my pictures once I'd uploaded them. So recently I've been experimenting with Google Photos and I'm actually quite pleased with it. As with anything there was a ramp up period but I think I've got it worked out. I'll let you know if anything changes...

Oh geez, I realize I never told you... I bought a 2005 Volkswagen Golf TDI:


If I had told you about it I'd have mentioned that its transmission was decidedly not happy so it was off to the mechanic. I'd bought the car for a cheap enough price that even if I ended up parting it out I could still make some money. In the end we decided it was too nice to part so it got a new transmission. On the way home from the shop I noticed that the speedometer didn't work. That was a relatively easy fix in replacing the VSS or vehicle speed sensor which lives on top of the transmission. It also got a new windshield, I can without reservation recommend the Safelite office in Keene for that job, the guy was great. It was quick, he vacuumed the car, cleaned the windows and found that the goop on the paint (from a leaky roof at the place I bought it) can be cleaned off with polishing compound.

Anyway the last step was to get it inspected. Thats when I realized the reverse lights didn't work, which is a fail on inspection. A little testing proved that the lights actually work but weren't being turned on due to a failed reverse light switch which also lives on the transmission. I got a new switch and put it in but the lights STILL didn't work. A whole day of investigating revealed the problem to probably be the shift actuator:
  

Its the bit that translates the shifter movement into the bits inside the transmission. I had it in and out of the car repeatedly and can't see how it could possibly work. So back to the mechanic and I'm waiting to hear his verdict. This is fix work for him, both the VSS and reverse lights should have been working when he delivered the car to me...

So anyway, as I'd mentioned its a 2005 Golf TDI. Its got about 150,000 miles which is not that much, in fact its 110,000 less than my '98 Jetta. Its got very little rust and that which it does have will be gone once I replace the left front fender that had been hit at some point. The interior is perfect and it even has working AC which is a rarity on my cars. It came from NEAT which New England Adolescent Treatment, basically a program for troubled kids. A friend of mine is the executive director there. They take donation cars and sell them to help fund the program. This is where I got the Jetta too. Both cars were a good price and its nice to help the program.

To keep my spirits up I've puttered around a couple other minor things,

I was surprised to find the wiper cap was available, I also replaced all the wipers. I still need to clean the back seat but other than that and replacing the left front fender the car is basically ready to go. Theres a place in Tewksbury that claims to have a correct color fender for only $100, I need to call them and see if its for real. I like the idea of using an OEM fender but I'll go aftermarket if I have to...

Monday, August 17, 2015

Wickie time!

 So in the interminable delay between posts I've kept working on the wickie. It took maybe 4 days in the citric acid before all the rust came off the main part of the lantern although the smaller assemblies were done in a day or two. I think I was right in my estimation that this sat somewhere that it got dripped on, the horizontal (or nearly horizontal) surfaces on it were the worst. In the end I could just scrub the rust off with a steel brush.

Since the rust was pretty gross I bought some "Rustoleum Rusty Metal Primer" which is supposed to give a really good adhesion and rust prevention. I found that it was dammed hard to get a good coating of the stuff on the vertical surfaces without it running. I sanded off runs 3 or 4 times. Worse the runs would take forever to dry although sunlight really seemed to help in that regard. I did finally get it on good after spraying a couple super thin coats that I then had to blend carefully together. I finished it with a coat of filler primer to fill in any sanding scratches I might have not seen.


For paint I went with Krylon Hunter Green which is the same color I used for my Coleman 237. I feel like it matches the older Coleman green nicely. Its also very nice paint to work with, it comes out in a much thinner spray than Rustoleum.


Sadly after getting the lantern covered I ran out of Krylon and was completely unable to find any locally. It appears that Rustoleum has absolutely cornered the market for spray bombs. Other than a couple cheap no-name paints and some specialized tractor paints thats all I could find anywhere. Fortunately Amazon saves the day. They had the right stuff which should arrive at the end of the week.

On a side note I'm DONE with Photobucket. Their app is slow, and the webpage is pitifully/painfully slow. Today I wanted to crop the images above and even after hitting reload 4 times the image editor just wouldn't open my image. In the time it took for Photobucket to not work I uploaded 9 images to Google Images, cropped those two and figured out how to post them. Its not perfect but it'll do...

Thursday, August 6, 2015

A what now?

I'd said for a long time that I had no real interest in wick lanterns. Well at camp we've got an old hot blast lantern that came with the place and last fall I spent a bunch of time playing with it. While it doesn't throw much light it doesn't use a whole bunch of fuel and doesn't make any noise. We used it for a nightlight for which it worked out perfect.

A hot blast lantern uses the hot exhaust gases to feed back into the burner where any left over fuel in the hot gasses gets burned. This process costs a little brightness but reduces fuel use. The alternative is a cold blast lantern which uses the heat of the hot combustion gasses to draw cold air into the lantern. The cold air being drawn in has more oxygen in it and is more dense since its colder which allows for a brighter flame although it'll cost some more fuel. Both hot blast and cold blast lanterns fall into the "tubular lantern" category. This confused me at first because I'd seen things like Aladdin lamps which have round wicks in a tube shape. So don't be confused by tubular lanterns which carry the air into the burner in tubes and round wick lanterns which have a round (or tube shaped) wick.

Anyway since I'd had some experience playing with the hot blast at camp got me interested in cold blast lanterns. Before I'd started looking for them I was seeing wick lanterns all over the place, now of course I'm hardly seeing any and the ones I am seeing are really expensive. So I was really happy to see this at a yardsale:


Its a Dietz D-Lite No. 2 made from 1919 to 1947, its got a great big 7/8" wick rated for around 7 candle power (cp). The D-Lite is a short globe lantern which is easier to clean than the tall globe models but it costs some light. The tall globes would get closer to 12cp. For comparison a Coleman 200A is more like 300cp. It had no price tag, I offered $3 and he accepted.

As you can see my lantern is all rusty, it looks like it was sitting under a hole in the barn roof for years and years. Originally the lantern was galvanized and the underside is perfect looking but every inch of the rest of the lantern is covered in rust.


The rust is worst at the top, it gets better toward the bottom of the air tubes and bad again at the flared part on top of the fuel tank. Also the top is dented and the whole top end of the lantern is twisted and leaning slightly.

I put some kero into the tank, trimmed the wick a little and it lit right up. Thats the great thing about these lanterns, theres only a moving parts, wick lifter, the globe lifter and the ring on top so theres really not much that can fail.

So what to do, what to do? I could leave it rusty, after all it works. I could clean the rust off, oil the metal and keep it that way hoping I always keep enough oil on it to prevent rust, or I could clean the rust off and paint it. While this one wasn't originally painted they were sometimes and many other models were and since I paid $3 for the lantern I'm not particularly worried about originality.

In the end I decided to clean and repaint. How to clean off the rust? I'm going the easy way:


The bucket is full of citric acid, the plastic wrapped brick on top holds the lantern down, I plugged the fuel tank, it was perfectly clean so I didn't want to worry about having citric acid in it. It took 4 days of soaking to get all the rust off but it finally came clean. As of yesterday I got the lantern out of the acid bath, rinsed off, dried and primed. The burner cover and top end pieces I've already painted Coleman green (Krylon Hunter Green). I went a little overboard with the primer on the main lantern body so I'll have to go back and sand off some runs before I can paint. It takes a couple days for the thick primer to harden enough to really do that well.

So green is the color except for the wires that hold the globe in place, I'm going to paint those grey. I'm not going to paint the bail at all, any paint on that would just wear off anyway...

Tuesday, August 4, 2015

621a o-ring fix

One of the big thing lantern people look for is the elusive "birthday lantern" which is one which was made in the same year as you were. I've got 4 of them now, a 200A, 335, 321a and most recently a 621a.
The 621a is interesting because its an Easi-light lantern which uses a schrader valve for the shut off. It also uses an o-ring for the seal around the control valve. While we were at the Coleman convention in Ohio that o-ring failed which resulted in fuel dripping out of the control valve. On a 550 candle power lantern with a great big old mantle that scared me so I poured the fuel out of it and set it aside for the rest of the trip.

Last week I received a set of new o-rings from OldColemanParts.com. Installation was surprisingly easy considering I hadn't been able to find much information on it.

With the top end of the lantern (vent, bail, glass, burner frame, collar) removed:


The nut in the picture comes off which allows the control detent to come off and the shaft to come out:


Which reveals the failed o-ring. Looking at it on the shaft I thought that it didn't look too bad. When I tried to pry it off it broke which proved to me it needed replacing...

Here with the new o-ring:


Reinstallation was super easy, I did have to bend the control detent slightly to get the knob to engage correctly but once it was all back together it lit right up with no leak.


The lantern is SUPER bright, it puts a 237 to shame. I've got a Peerless 24A mantle on mine now, I think it would be brighter with a 111 but I hate to remove a working mantle...

Monday, August 3, 2015

BLARG! An eBay seller to avoid.

You might remember a couple weeks ago when I complained about the NRV pip in one of my Tilley lanterns failing. I think I'd mentioned then that it was the second one which had done it to me, well now I can report a third.


This one was in fact the rubber pip that shuts the lantern off. See how its all swollen with fuel. When new it would just barely protrude from the cup, now it wont allow fuel flow so the lantern won't light. When I tried to pull the pip out of the cup it tore apart, the rubber was just saturated with kerosene. The irritating thing is that the eBay seller I got the pips from denies theres anything wrong with them and now won't even reply to my messages.

Since the seller refuses to make things right I have no problem calling him/her out, so for the record don't buy a Tilley service kit from hootflipflopandfly on eBay, the pips will swell up in the presence of kerosene which is the proper Tilley fuel. The pips are poorly shaped and don't fit particularly well in the  cups anyway. They were made with a cheap cutter and show significant hour glassing which leads me to believe they were homemade even though the seller claims they are "Genuine Tilley". Instead go to Harbor Freight and buy a punch set, then order a sheet of proper Buna-N rubber from McMaster Carr, you'll have enough material to make a lifetime of Tilley pips. I've had my sheet of rubber since 2013 and have used only a small corner of it.

Thursday, July 30, 2015

Oh geez, what now?

I've had my '84 190D for just about 6 years. In that time we've driven it just over 40,000 miles which realistically isn't all that much. Since we've had the Jetta I've been driving that a lot and the poor 190D has sat. Angie drives it some but when compared to the other vehicles in the fleet its really slow and sadly it handles poorly. A 190D thats correctly set up is quite spritely and handles nicely, mine never has done that even after replacing all the rubber components in the rear end.

So since neither of us really liked the car and since the tin worm was really getting its claws into the car I decided it was time to move on. My first step was to email Tom who sold me the Jetta. He runs a program for troubled teens and gets cars donated, because they didn't pay for the car and because they have no history I can generally get a really good deal. Tom had a 2005 Golf TDI with "a transmission problem." that nobody really knew anything about. We agreed on a price and the 190D went onto a U-Haul trailer.


The minimum tax deduction I'll get from the car is just slightly less than the amount I would have asked for the car but its much easier to just haul it down to Tom than to have a parade of tire kickers come to my house and offer me their sympathies but no money. Also it'll help Tom's program do their good work so I feel good about that.

Then we returned with a Golf:


Its actually both better and worse than I'd expected.
The good:
Good tires, perfect interior, good running 150,000 mile engine, very little rust

The bad:
Bent/rusted front fenders, bad transmission

The transmission is the really bad part. When we picked it up I backed the car up about 4 feet and the transmission locked completely. Fred thinks its probably the output shaft bearing on the transmission which has failed and is causing the transmission to lock when torque is applied, if the car is out of gear it rolls nicely. I hauled it directly to KMH Motors in Lowell and let Keith have his way with it. He's going to put in a new transmission, clutch and flywheel. These cars came with a dual mass flywheel (DMF) that is known to fail prematurely so we're going with a single mass flywheel (SMF) instead. This might give some clutch chatter but its probably a good choice, its cheaper too.

You might wonder why we're doing a clutch. As far as I know theres nothing wrong with the one in there but since the engine has to come out anyway this is quite an inexpensive time to do the job. He's also going to replace the rear main seal on the engine, again something smart to do while he's there.

At the other end of the engine he'll replace the timing belt and water pump. On a diesel engine if the timing belt fails the engine is junk. Since we have no history on this engine I don't want a failed timing belt to ruin the engine after putting all this work into the transmission. The water pump is driven by the timing belt, if it seizes it will ruin the timing belt and the engine and its another one of those things that should be done at this time since 90% of the labor is already taken up in replacing the timing belt.

The front fenders will want to be replaced, I need to get a price from a shop on this before I decide if I'll do it myself. Fortunately the parts are relatively cheap. If I had a shop do it we'll use new fenders, if I do it myself I'll get used fenders. My worry doing it myself with brand new fenders is that they won't fit correctly and I don't have the proper skills to get them just right. With luck I'll be able to get the right color in used fenders but even if I can't they should be relatively easy to paint.

Anyway I'm excited about this car, its engine is the Pump Deuse type which makes around 100hp stock compared to the Jetta's 90hp so it should be a little quicker than the Jetta at the cost of a little fuel. For about $300 I can raise that to 124hp just with a computer upgrade which will make the car even faster and might actually get a little of the fuel economy back. Making more power generally means raising efficiency which generally results in increased fuel economy, especially if I can keep from driving too fast. Once more into the breach!

Thursday, July 23, 2015

The good and the bad

Weird day yesterday...

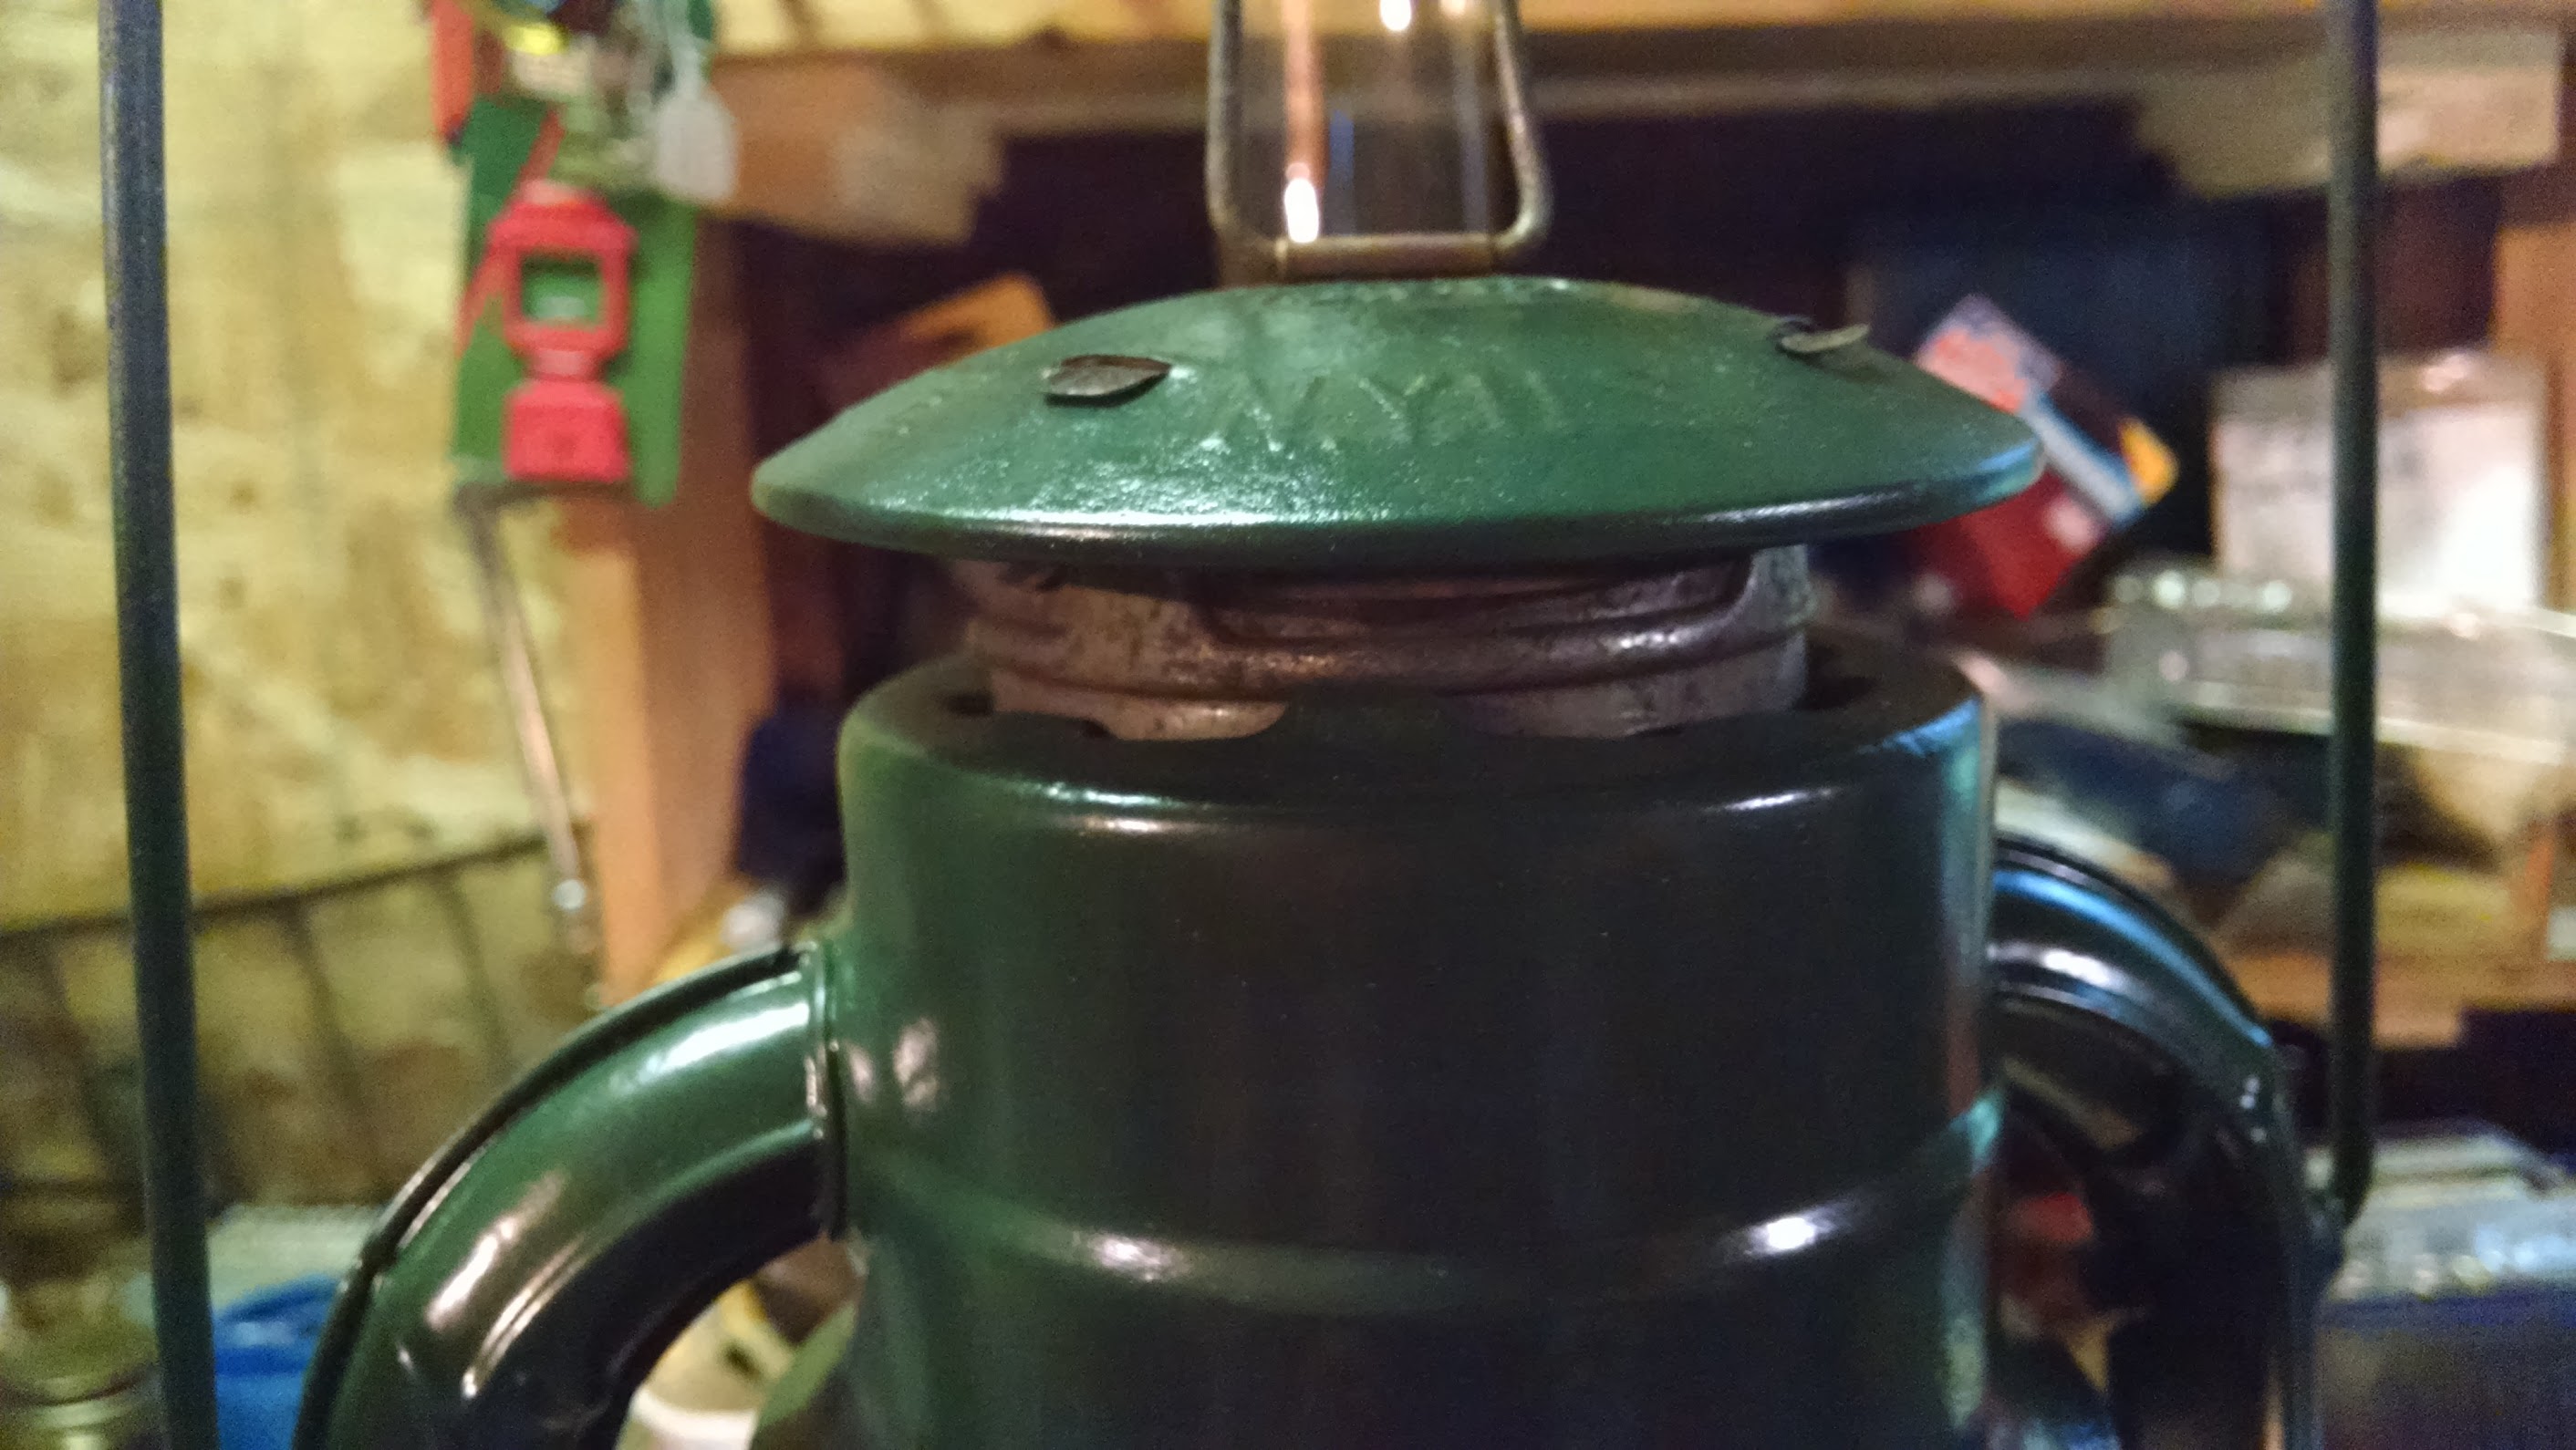
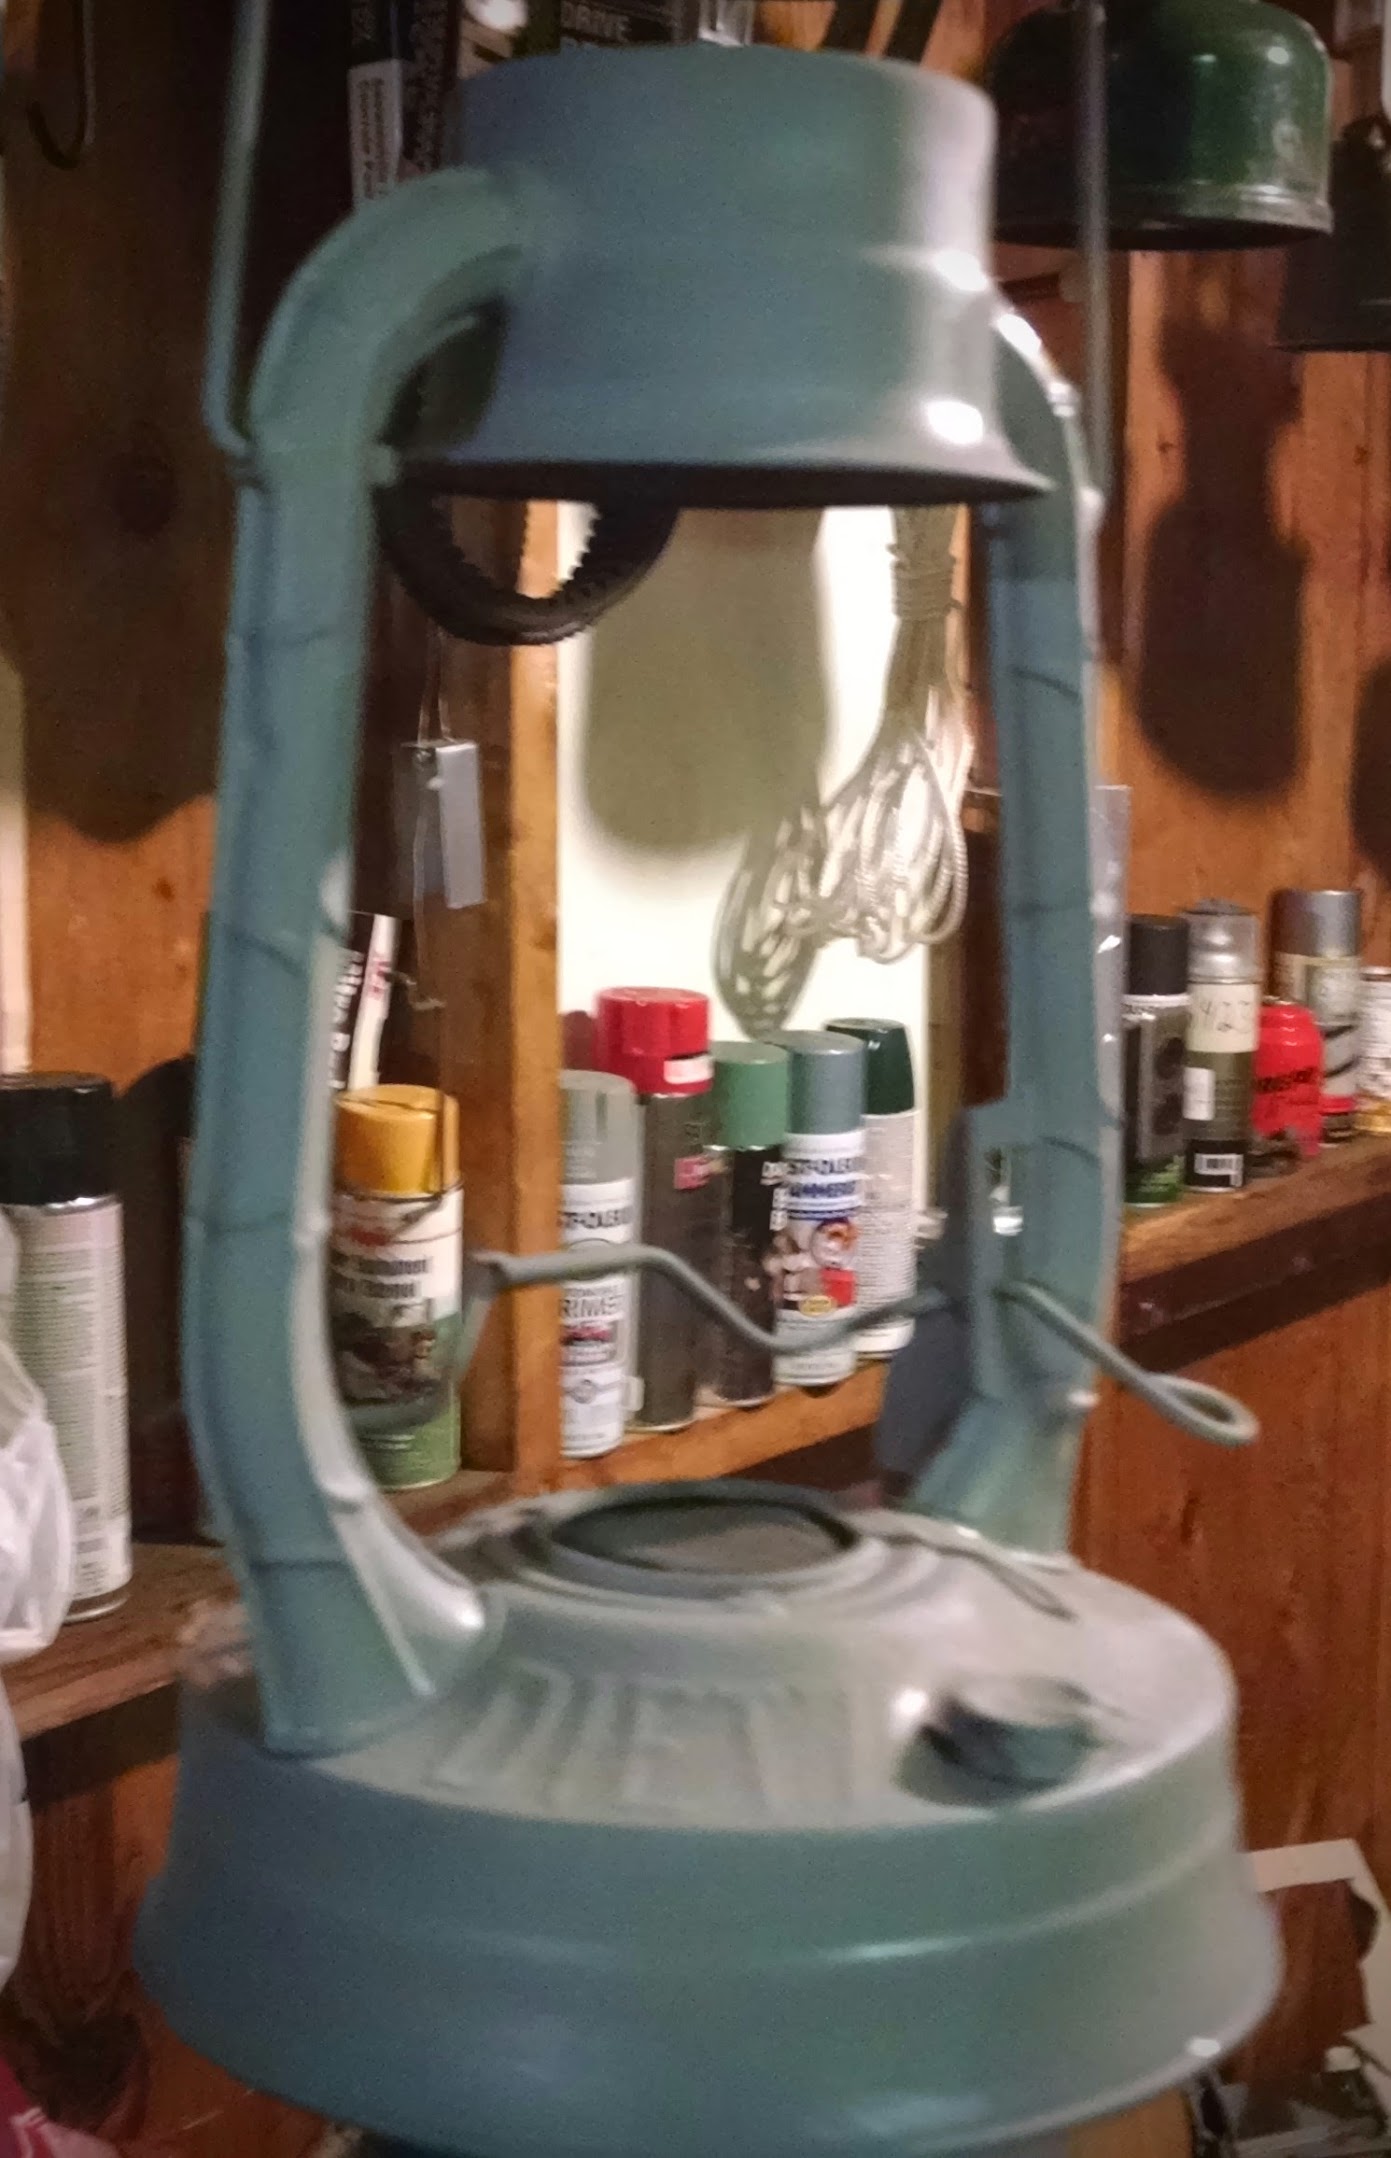
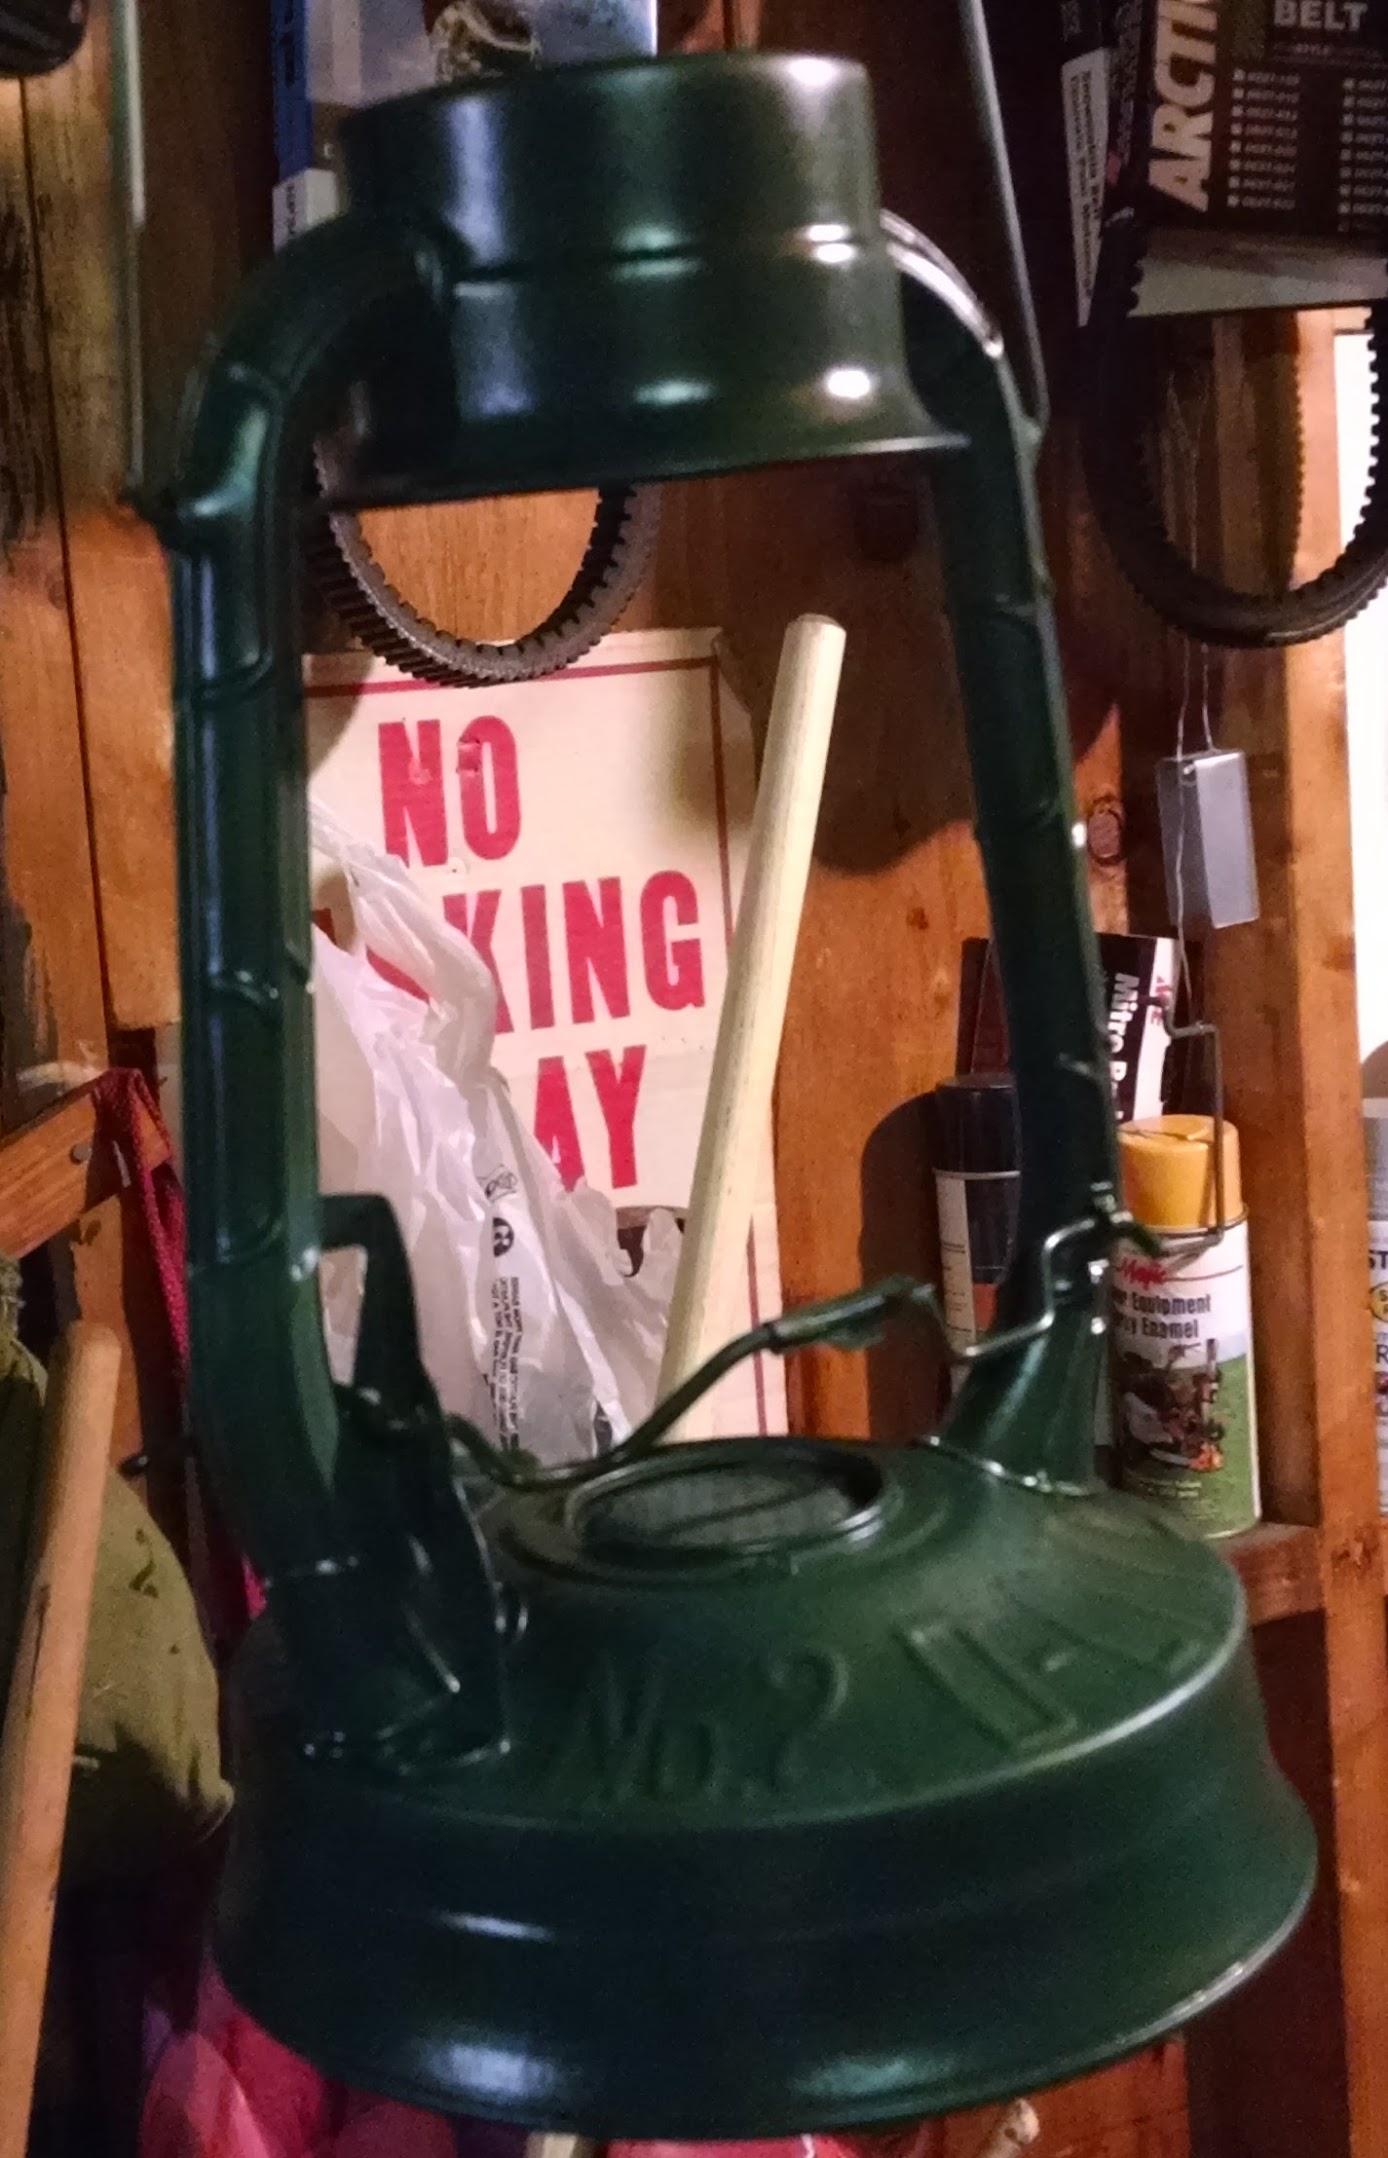
Figured I'd get to work on the second BQ lamp I bought in Ohio. I'd bought this one from Warren who took advantage of me being half in the bag ;). Actually I'd offered him a deal that I didn't expect him to take. Oh well right? I got the burner all cleaned up nice and then went after the fount, you might remember I had it passing air the other day. I dunked it into the citric acid bath and started scrubbing with a piece of steel wool:


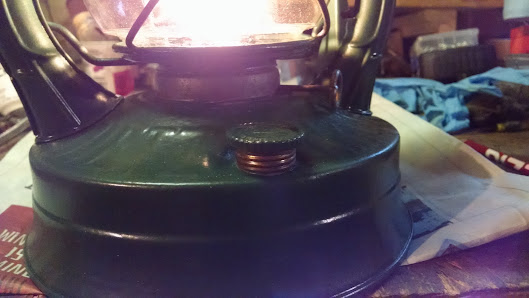
The nickel was worse than I'd hoped for and I was debating if the fount was nice enough to re-nickel when I found:


My first ever stress crack. Actually theres 2 if you look close at the picture. These are pretty bad as stress cracks go. In retrospect I should have expected them, when I pressurized the fount to test the generator I noticed it didn't hold pressure very long. At the time I figured it was probably the gas cap. I put out a WTB ad on the CCF, we'll see if somebody has one. If not maybe I'll try the Caswells treatment. Thats a fancy sealant folks are using in this kind of situation, apparently the results have been excellent. This is probably a good candidate for the treatment since the cracks are in one place, and theres no pump tube to worry about. I'd have to shoot some air down the pickup tube to keep it from filling but my new air compressor will regulate down pretty low.

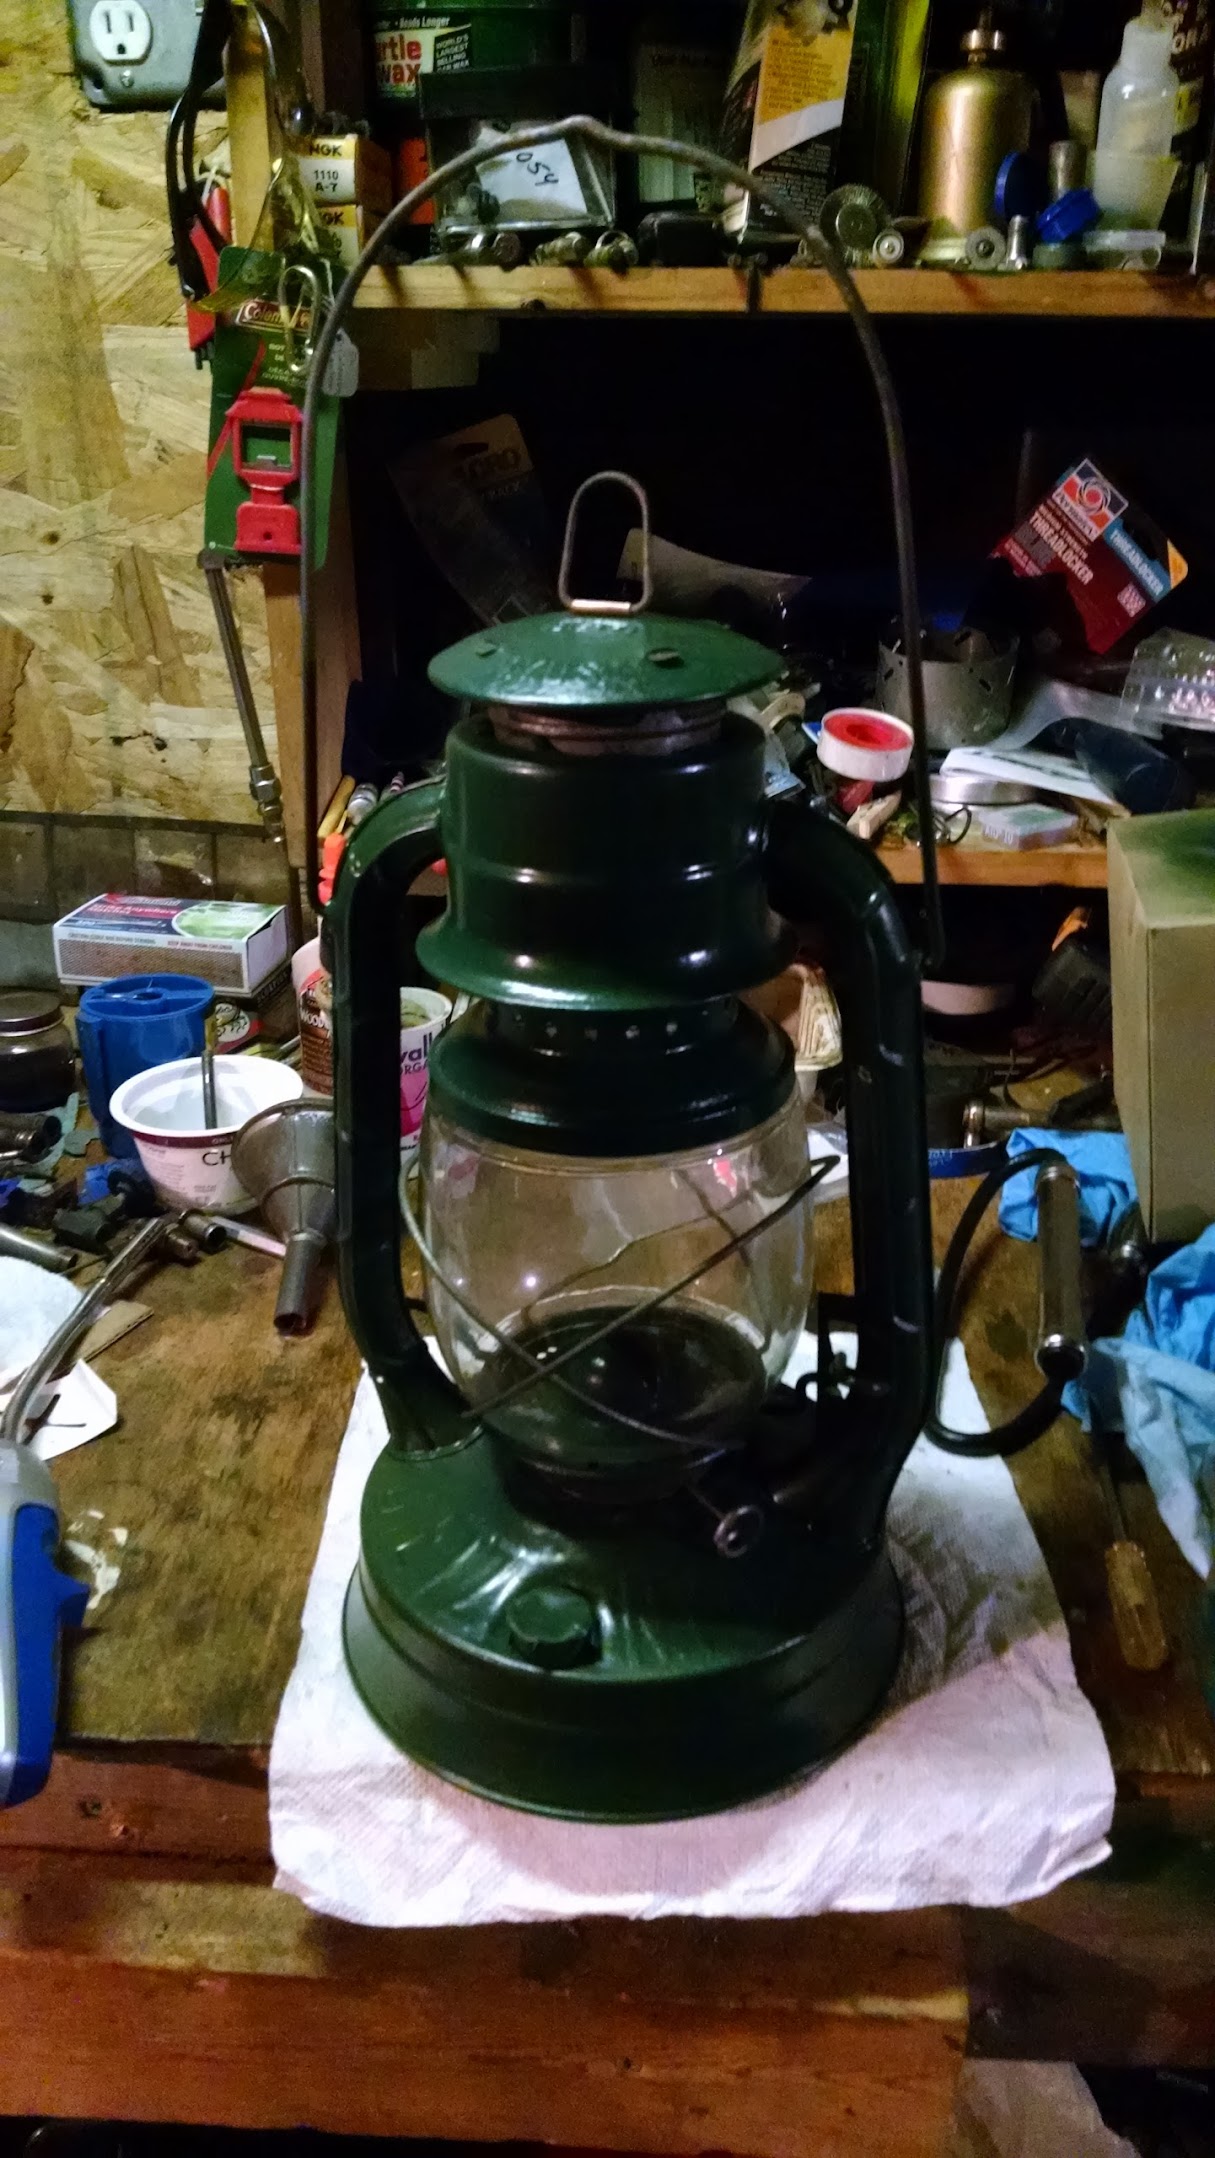
With the BQ off the table I went back to my third Tilley lantern. I'd traded a 202 for this lantern and an AGM but had never been able to get it to light bright and steady. Recently I bought a replacement vaporizer but that didn't seem to help. I figured maybe a good cleaning would at least make me feel better about the lantern so into the soak it went. The nickel on it isn't very good but after its bath it was presentable. I put it back together with its broken globe and played with lighting it.

At first I got nowhere which turned out to be a failed pip in the pump's non-return valve. The NRV keeps pressure from bleeding out of the tank through the pump. In this case the pip had swollen so bad I couldn't pump and pressure in.


I'd had this happen on another Tilley last spring. I'd bought a gasket set off eBay and when I messaged the seller who basically shrugged and suggested it was my fault. Fortunately for something like NRV pips I have a punch set and a sheet of Buna-N rubber which works well and doesn't swell.

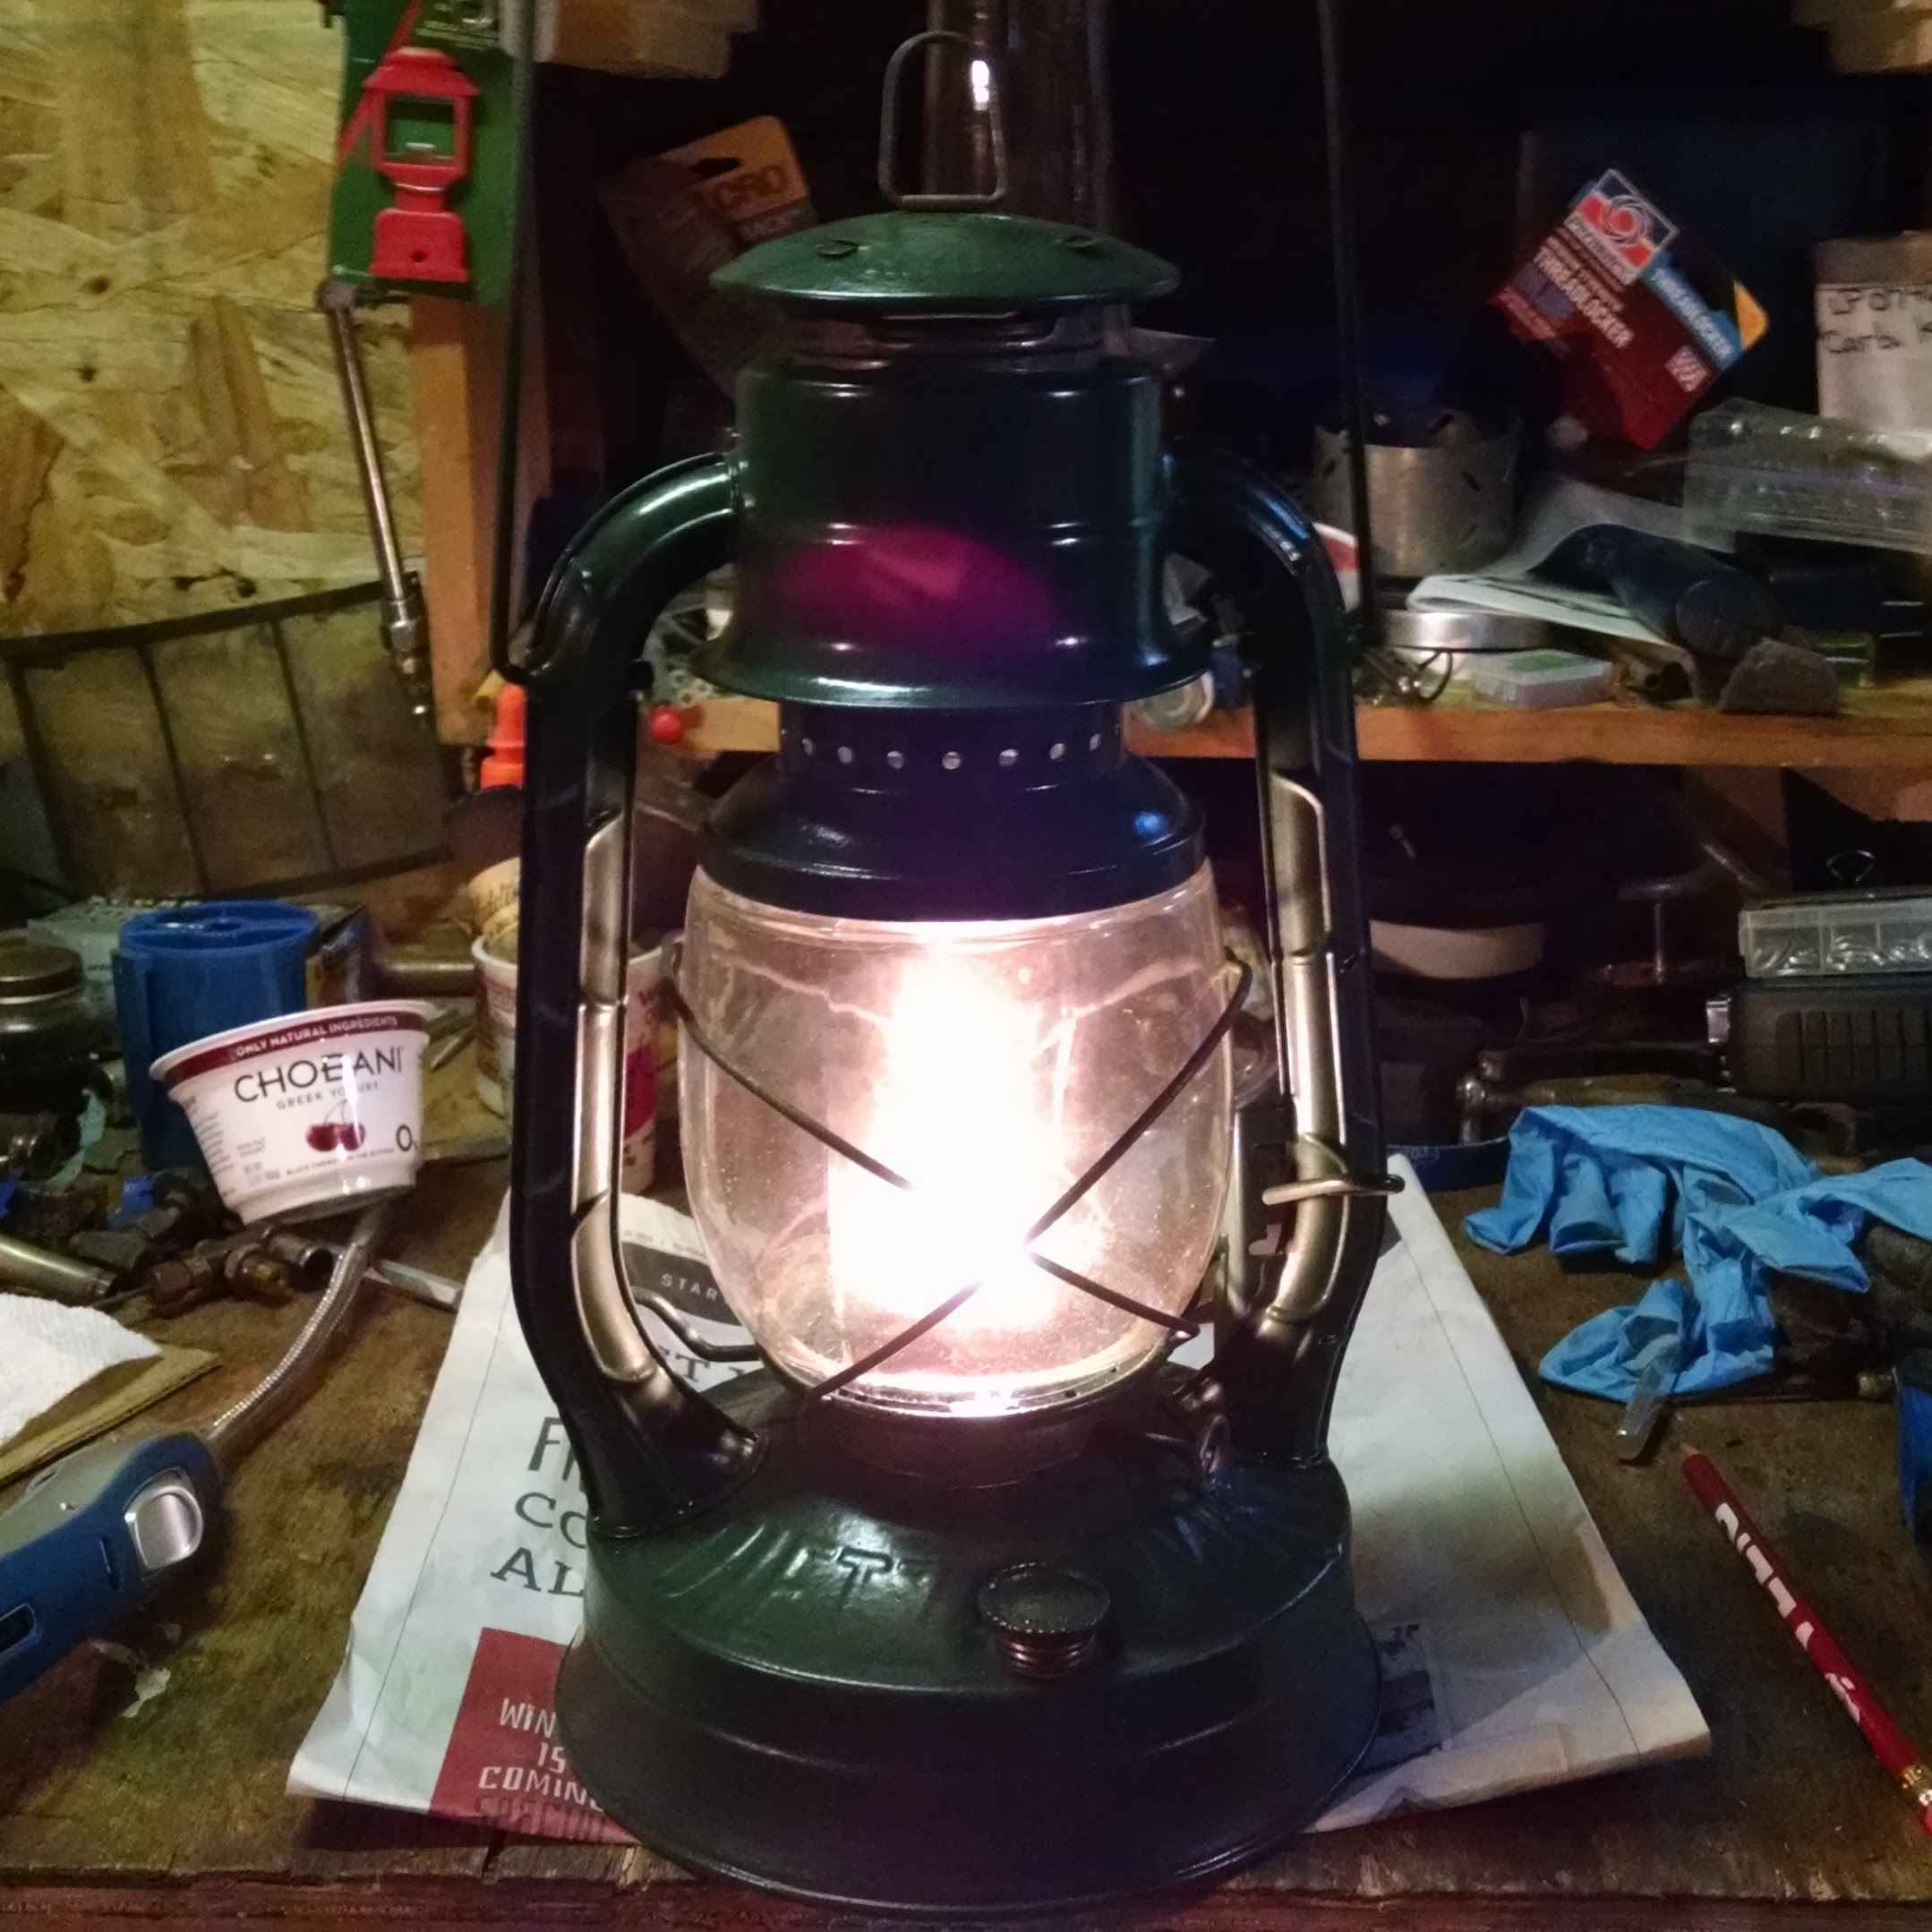
This was when I realized the pressure pip in the lantern worked. I'll write more on that some other time but Tilley lanterns have a little gauge that tells you when they're fully pressurized. Well when this one was fully pressured it was tricky to light and wanted to flame up badly but once it settled down it was nice and bright. I've had trouble with the pump on this lantern, its got a pump cup from the kit I mentioned earlier and those cups seem to be made out of really cheap leather so I don't think I'm getting full pressure. Actually now that I think on it I KNOW I'm not getting full pressure because I could pump even when the pip wasn't admitting any air.

Anyway, the result:


Finally I decided to play around with my Mil-spec. Mines a 1982 SMP (State Machine Products) and while I'd had it lit it had given me a bunch of problems. It was always very difficult to light which is common with Mil-Spec lanterns but it was much harder than normal and the last time I'd had it lit it wouldn't shut off, it popped and spit for an hour or more before it ran out of air. I'd taken the valve out and polished the ring off of it. The ring occurs when somebody tightens the valve too far and puts a groove into the valve which then won't seal anymore. I'd also pulled the FA tube out to try and make it light easier. The next time I tried to light it I held my torch in one place on the generator too long and ruptured it which was VERY exciting but not what you'd call fun.

So now I try to light it with just a butane lighter. After a couple false starts where the pump wouldn't work and I was trying to light the lantern without any fuel (DOH!) I finally got it to hiss and gurgle like a normal lantern does. this was a first for me on this lantern so I figured it was a good sign. With the butane lighter preheating I looked away for a second when "WHOOMP" it lit.


Pretty exciting eh? No worries, close the valve, wait while the flames burn off, then crack the valve, it flames up, close the valve and wait, etc. I'd probably over pressured a bit since back in the old days this thing wanted quite a bit of pressure to get burning. Most folks suggest starting one with very little pressure, like 5 pumps. This is another lantern with pump problems so even then I'd figure 8 pumps on this is like 5 pumps with a good pump.

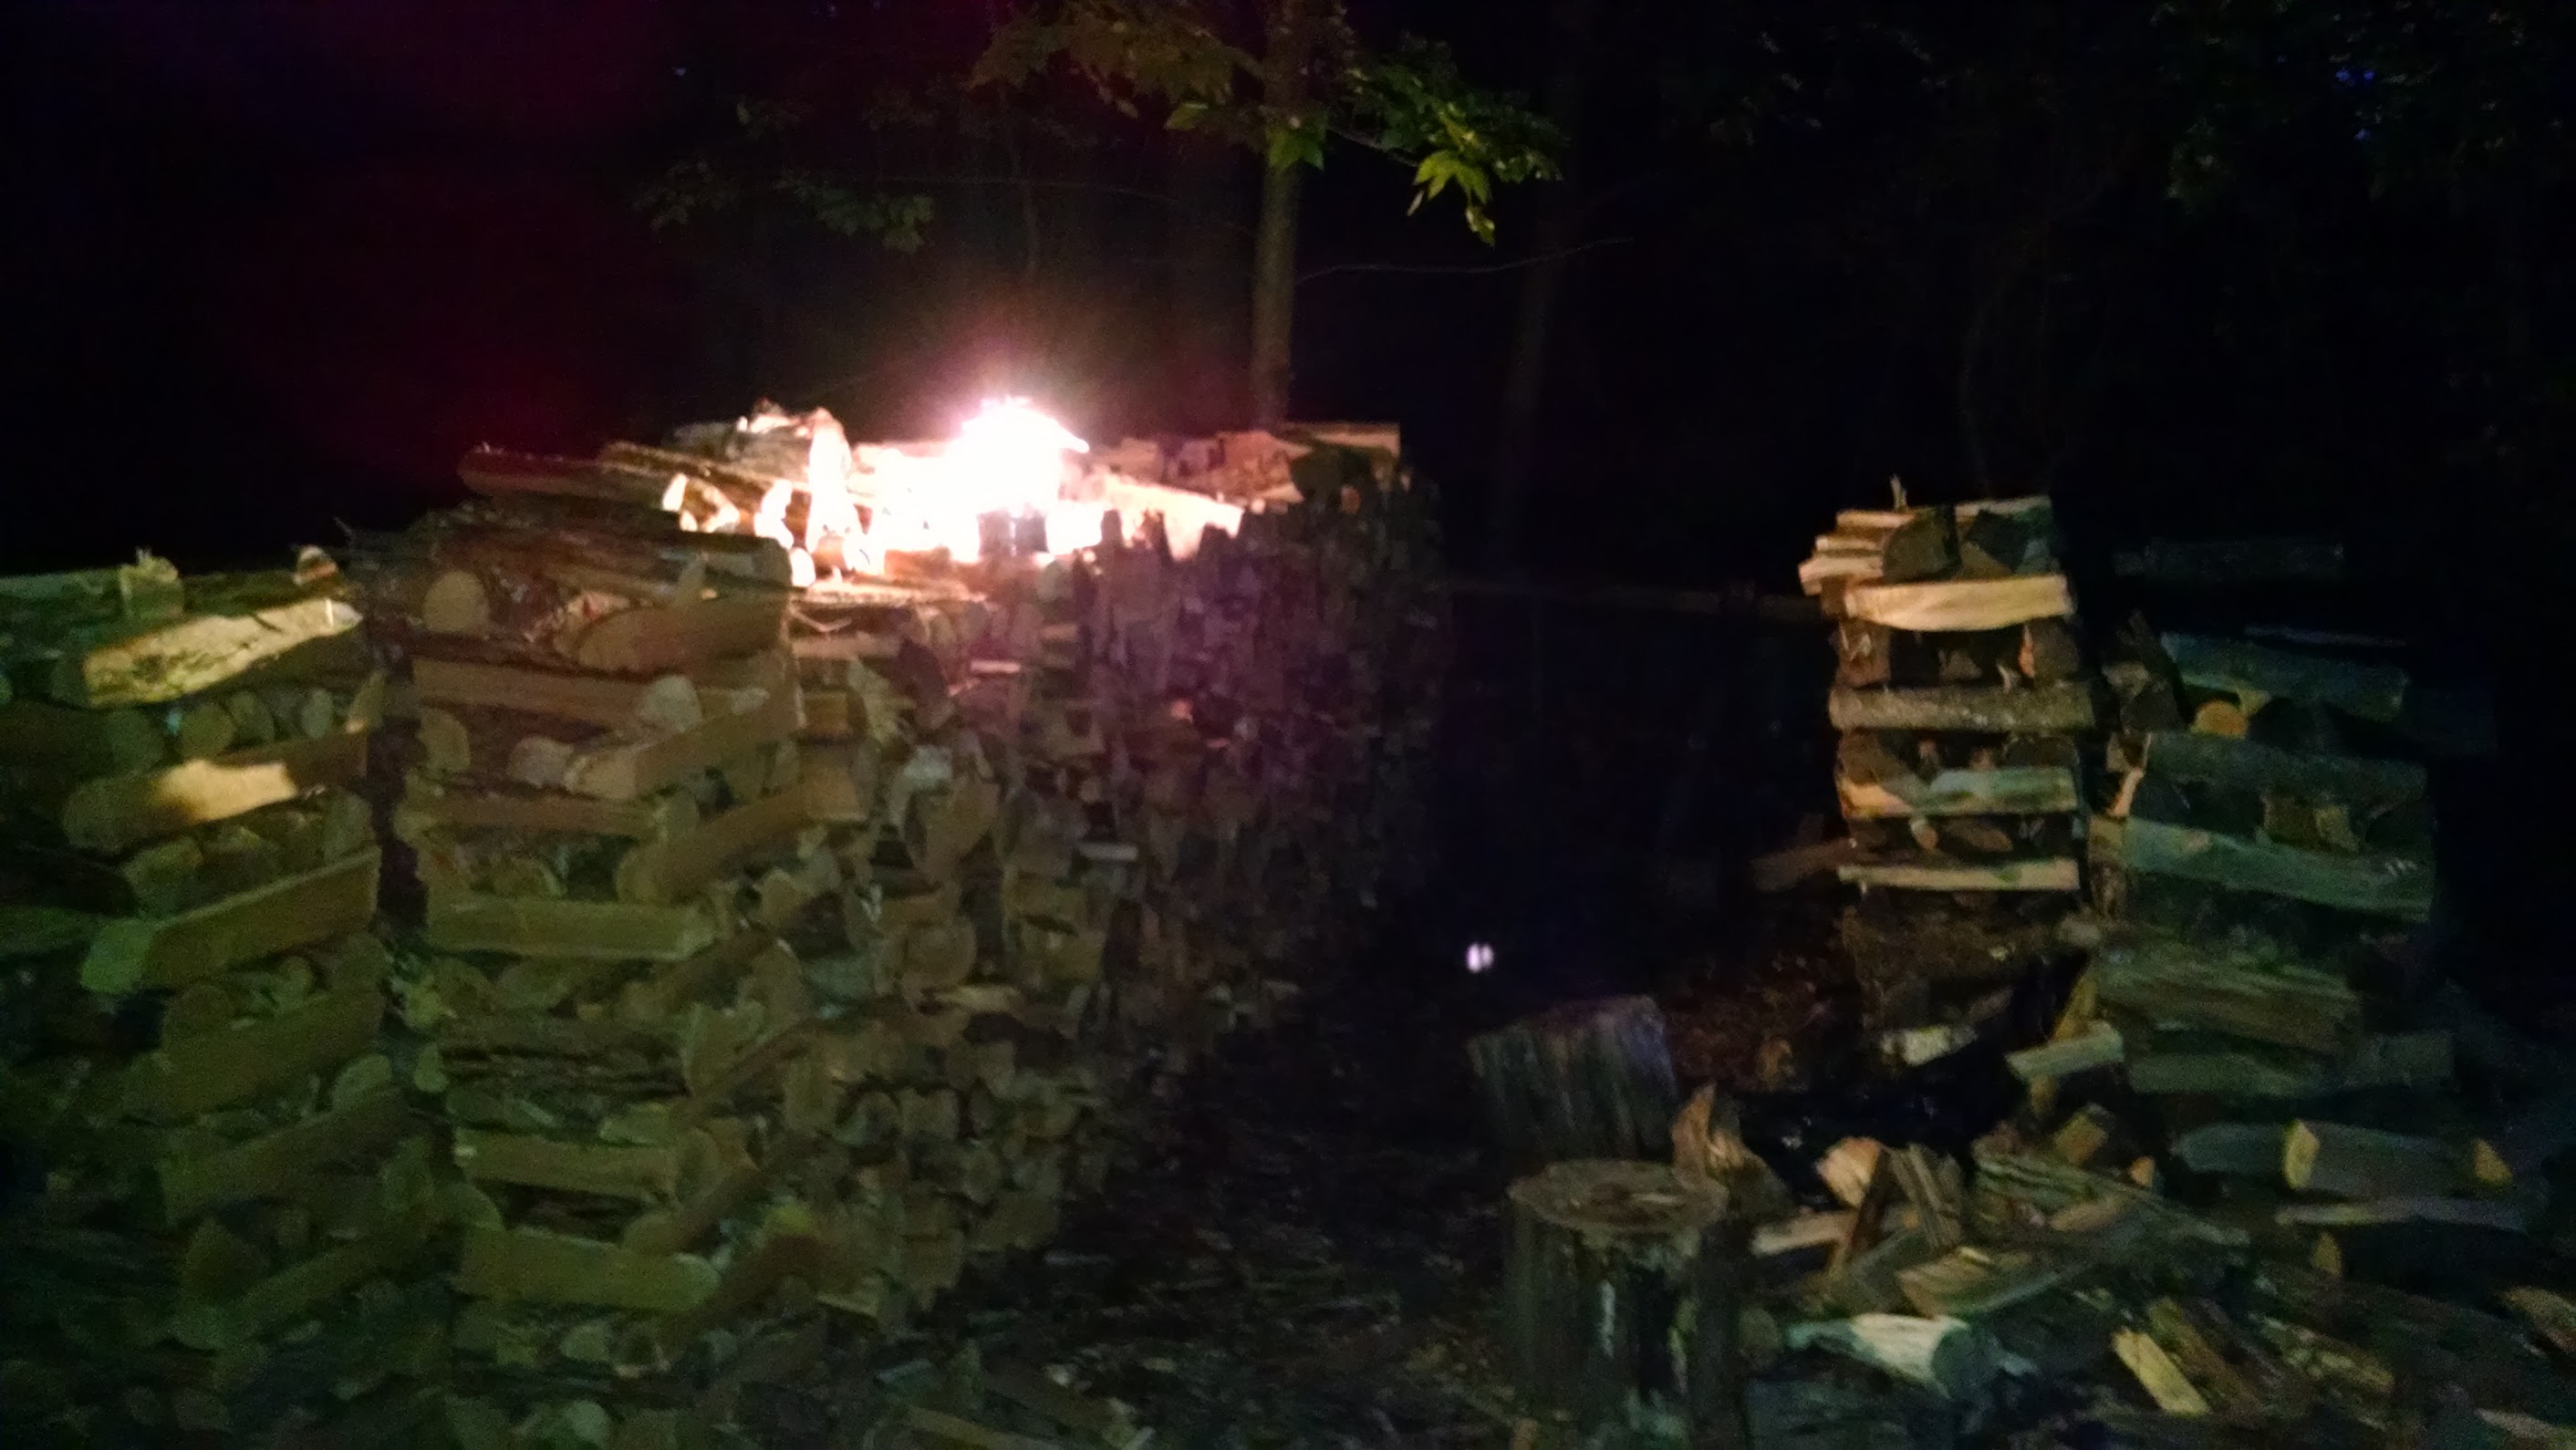
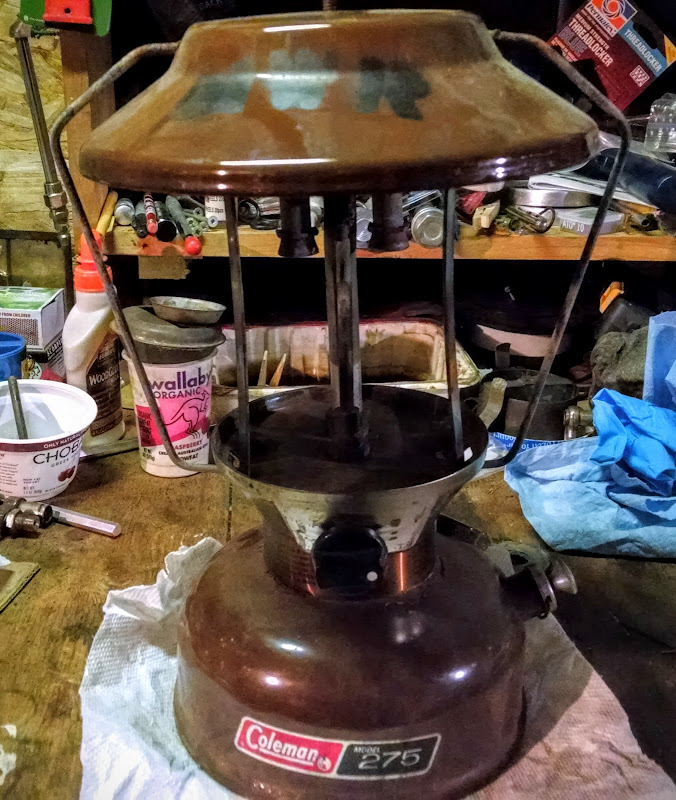
Anyway after a little bit it settled down:


It burned pretty nice, its loud but I didn't put much pressure in it since it doesn't really need much. I sat outside and read until it started to rain. This was a good test of shutdown and while it did pop and spit and complain some it finally settled down and went out.

So not the best day I've ever had lanterning but certainly not my worst. 1 broken, 2 fixed. I guess at that rate I'll call it progress...

Wednesday, July 22, 2015

Passive agressive lawncare

Our neighbor Bill's yard basically surrounds ours on two sides like an L. He's a terrific neighbor but this year he's been really outdoing me in the lawn mowing department. A lot of it is timing, remember that trip to Asia which actually came right on the heels of a week in Burbank. Also Angie has had terrible trouble with our lawnmowers. Twice now I've been on trips and she's been unable to start the Snapper and once she ran the Cub Cadet out of gas and was unable to get it to re-start once it was refueled.

So I was delighted yesterday to mow our lawn BEFORE Bill got a chance to mow his. I'd been debating if it needed mowing for a couple days, in the depths of summer like this it requires mowing less often.


Clearly it needed it, I was taking off almost 4 inches.


The tool for the job was my 1965 Snapper 308X, I looked back in the blog and realized I'd hauled it home back in 2008 which I think means I got it running in 2009. Its still got one original '60s vintage tire, the engine is from an '88 model, I replaced the belt, drive wheel and blade when I first started using it back in '09 and in fact the blade and drive wheel are probably due for replacement again, reverse is a little iffy. Otherwise this thing has been OUTSTANDING. I've done very little to it for 6 years of regular use. For me it always starts on the first or second pull of the rope and cuts all the grass on our quarter acre on less than a quart of gas. Once in awhile it throws the belt but thats really the worst that happens other than the time the last original front tire came apart while I was mowing. I finished mowing the lawn rolling on the tube which didn't steer very well...